

Playing with light and white balance during a portrait session
Sunday 25 August 2024, 13:31 by Nando Harmsen | 2,831 views | 6 commentsThis article was translated from Dutch with the help of AI. Read the original.
As a photographer, you are not completely dependent on the existing lighting conditions. With one or two flashguns, there are plenty of fun possibilities. In this article, I explain more about the camera and flash settings during a portrait session with Sanne.
Model or portrait photography in a studio gives you complete control over the light. If you take the flashguns outside, it is called strobist photography. Thanks to the flashguns, you keep control over the light. But you always have to take the existing light into account.
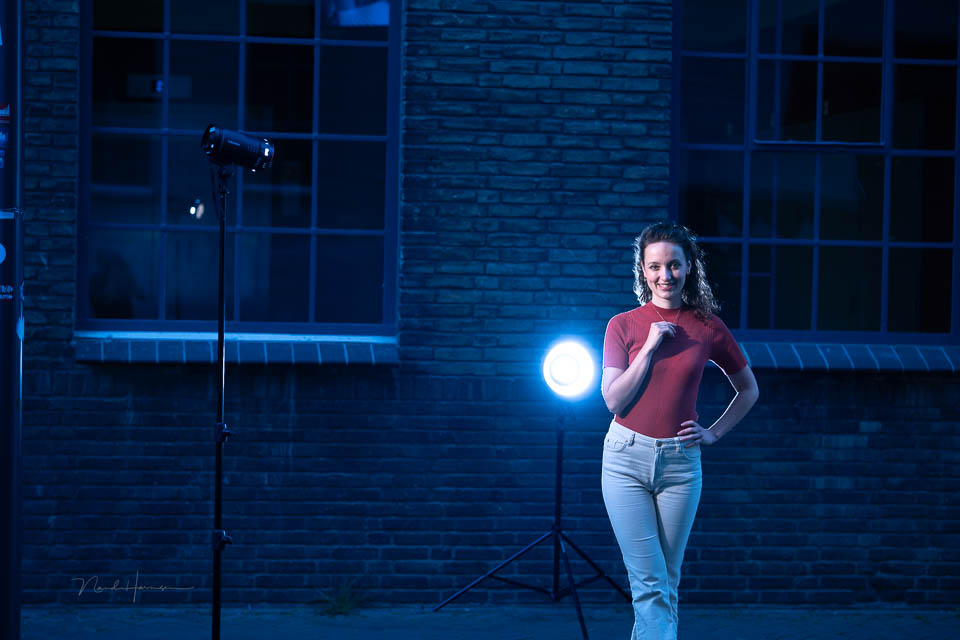
I took Sanne to Strijp-S in Eindhoven for a short photo session. It was early in the evening, with a low sun hidden behind the tall buildings. That is a lot of words to say that we were photographing in the shade.
The idea for this photo was simple. An almost silhouette against an illuminated wall. This was a brick wall, with a texture dark enough to make a patch of light possible. The exposure I chose was ISO100, f/6.3 and 1/125 sec.
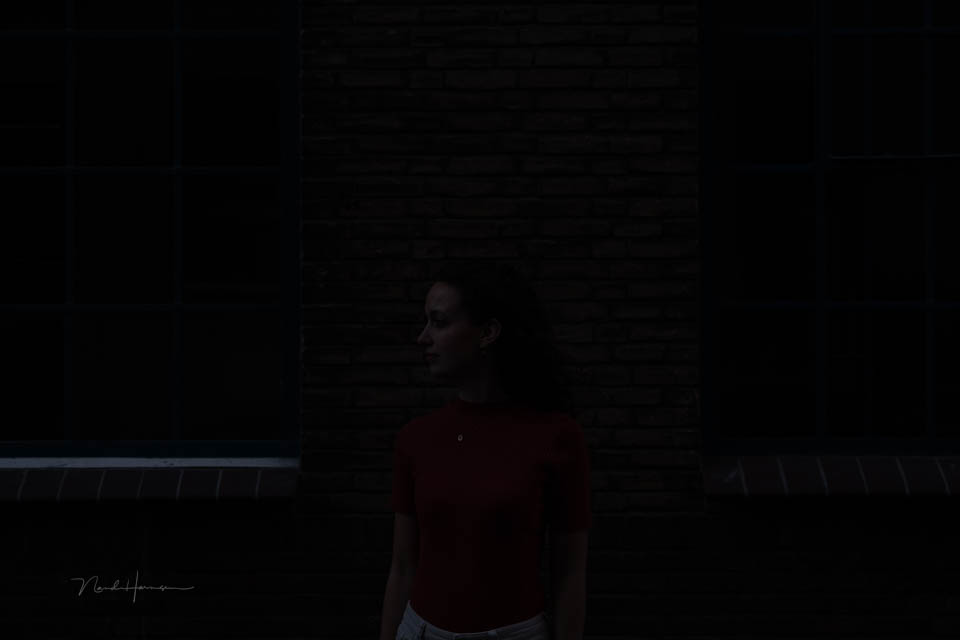
I then placed a flashgun behind Sanne, aimed at the wall. This flashgun provides the light against which Sanne should be visible as a silhouette. Because a little existing light is still being recorded, I do not have a complete silhouette.
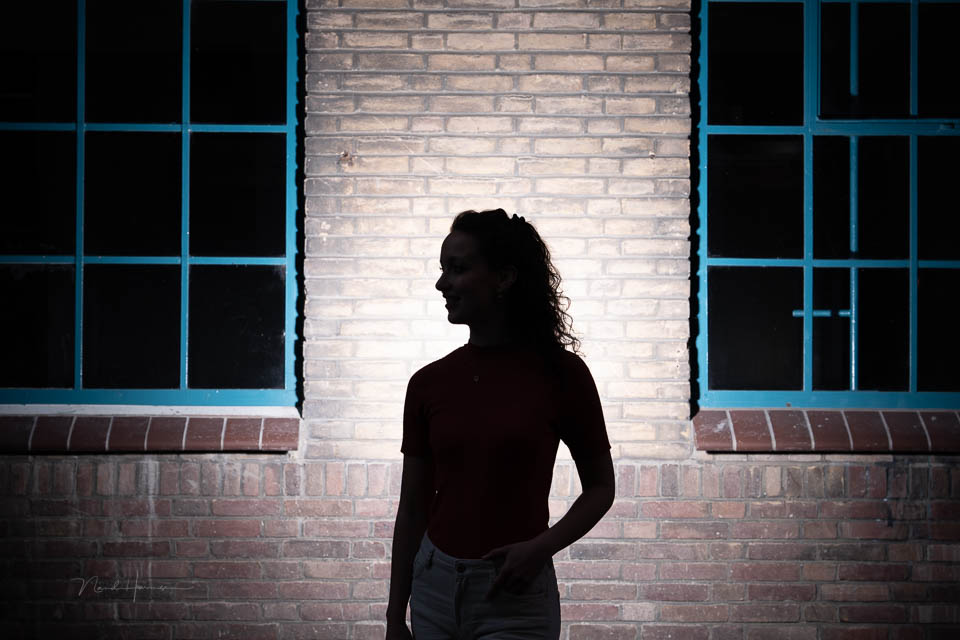
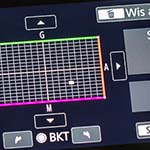
The next step is to add more atmosphere. I want a blue background. I achieve this by adjusting the camera's white balance. Until now, it was set to daylight (sun symbol). By setting it to tungsten, the photo turns blue.
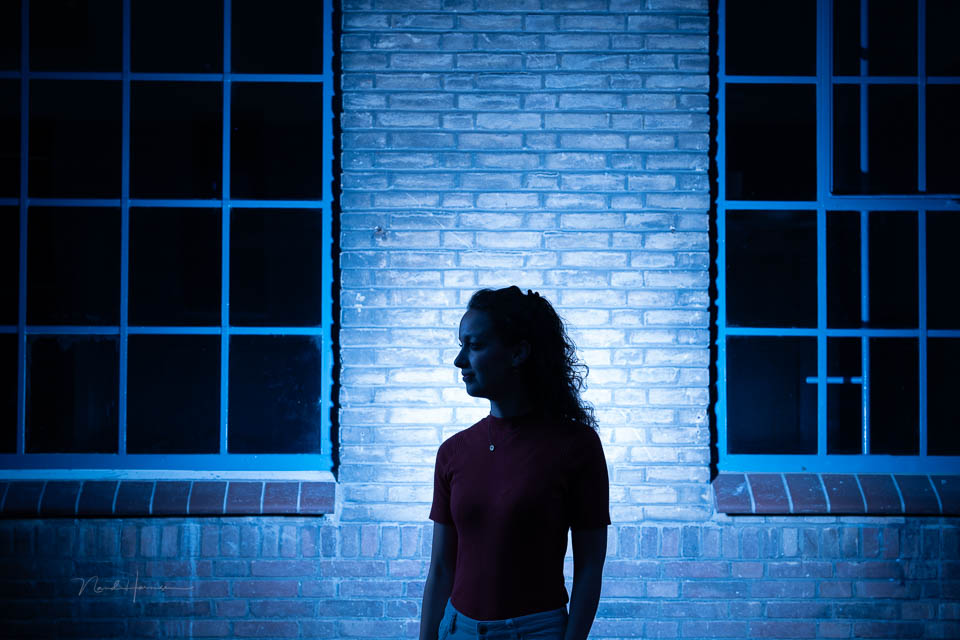
I do want a little more light on Sanne's face. That is why I place a second flashgun on the left. I fit it with a 30-degree grid so that this light does not reach the wall. I do not use a softbox or umbrella because I want hard light.
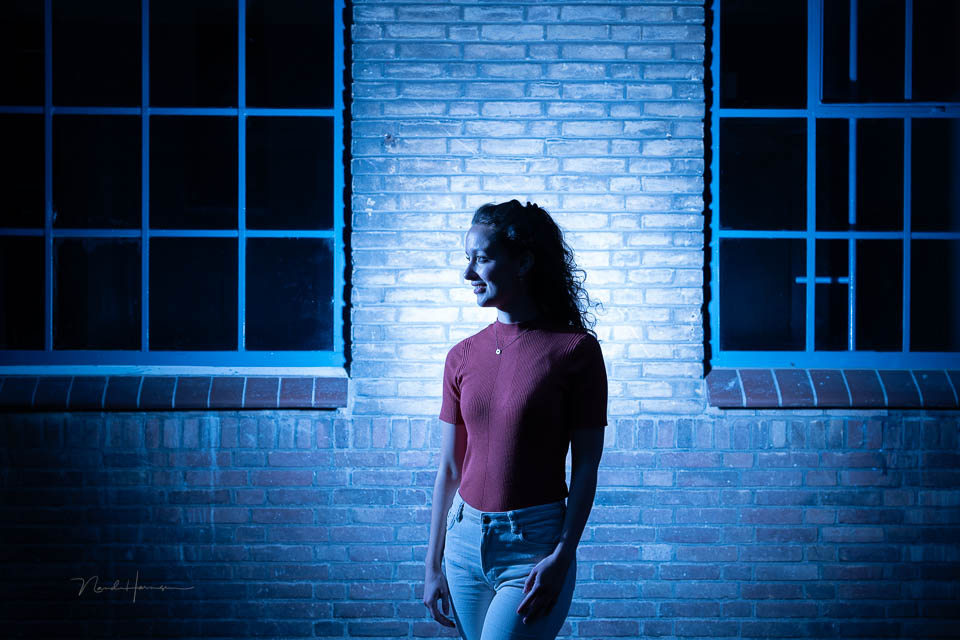
Because of the white balance setting, Sanne's face is naturally blue too. That does not look very good, and I want to give this light a normal warm colour. I achieve this by fitting the flashgun on the left with a full CTO filter. In other words, this orange filter compensates for the blue colour caused by the white balance setting.
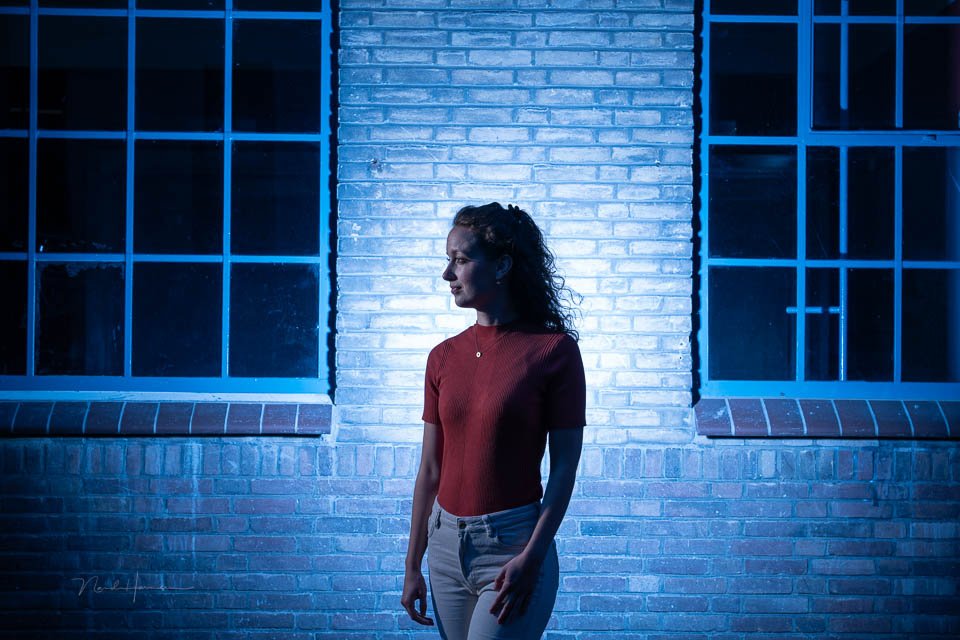
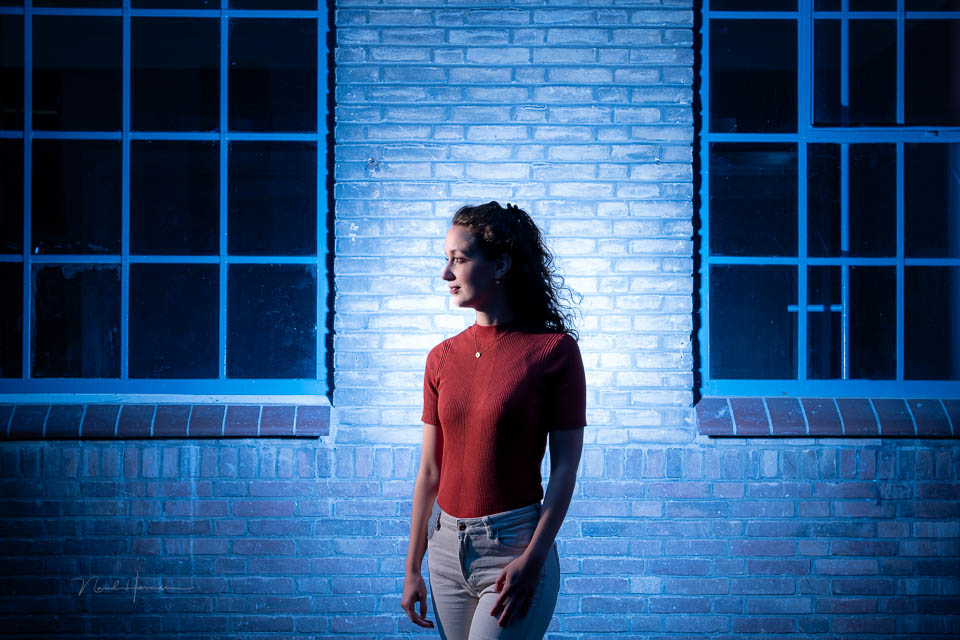
Then it is simply a matter of editing the photo in Lightroom Classic. You can do this entirely according to your own wishes and taste. This is my version.
About the author
Nando Harmsen has been photographing for more than 40 years. He specialises in wedding photography and landscape photography. Nando also gives talks, workshops, masterclasses and photo trips, and regularly reviews new and interesting equipment.
You might also like
-
 Choose white balance to suit your taste and create the right mood
by Nando Harmsen
-
 Which Strobist kit would you recommend?
by Elja Trum
-
 White balance and exposure in snow
by Nando Harmsen
-
 Beware the so-called perfect white balance
by Nando Harmsen
-
 Choose a Good Balance in Your Photo
by Nando Harmsen

6 comments
-
 Donald Willemsen wrote on Sunday 25 August 2024 at 23:42 | reply
This is an informative tutorial. Thank you Nando
Translated from Dutch. -
 uit de Bosch.J wrote on Tuesday 27 August 2024 at 12:25 | reply
great explanation and new info for me THANKS CLASSY
Translated from Dutch. -
uit de Bosch.J wrote on Tuesday 27 August 2024 at 12:36 | reply
great explanation TOP educational regards Jan
Translated from Dutch. -
 guest wrote on Wednesday 28 August 2024 at 16:16 | reply
Thanks for the great explanation. I had definitely lost sight of playing around with the white balance a bit
Translated from Dutch. -
 P. Kooijman wrote on Friday 30 August 2024 at 15:20 | reply
Good information to move forward with.
Translated from Dutch.
This piece made me wonder to what extent photographing with Kelvin can or may play a role in this. Would it be an idea to dedicate an article to that sometime? -


Have your say
Please note: Articles older than a week can only be commented on by signed-in visitors.Would you still like to comment? sign in or create a free account.
Become a better photographer every week
A practical photography tip in your inbox every week.
39,013 photography enthusiasts already receive the tips! More about the weekly mail. Or keep up to date via  Facebook.

Elja Trum
Photofacts; everything to do with photography!
Would you like to take better photos and keep up with what is happening in photography? Photofacts publishes articles that teach you something about photography — from a product announcement to a practical shooting tip or a look at a website. Photofacts covers photography every day and is a hobby project of Elja Trum's that got out of hand. The articles are written by a team of volunteer authors. If you would enjoy writing one or more articles for Photofacts, do get in touch.More about PhotofactsPhotofacts is made possible in part by
