

A vertical panorama for a wider angle
Saturday 31 January 2026, 20:02 by Nando Harmsen | 2,234 views | 2 commentsThis article was translated from Dutch with the help of AI. Read the original.
When we think of a panorama, we always think of a photo that is much wider than it is tall. But did you know you can also make vertical panoramas? This is especially useful when you do not have enough wide-angle coverage and you have an interesting foreground.
Take a camera and make a number of photos from left to right, with about 30% overlap between them. Software can easily merge these into a wide panorama.
Hold the camera vertically and you also get a less narrow panorama. I have made a whole course about this on Photofacts Academy, which is linked below this article. You can see the promotional video below.
It is also possible to make vertical panoramas. After all, what works in width also works in height. The idea is not to photograph 180 degrees or more, unless you want to. It is simply a way to get a little more wide-angle coverage than you have available.
A portrait-oriented photo is perfect in landscape photography for getting a foreground very prominently in the frame. As you have more image area vertically, you can separate the foreground, middle ground and background more effectively.
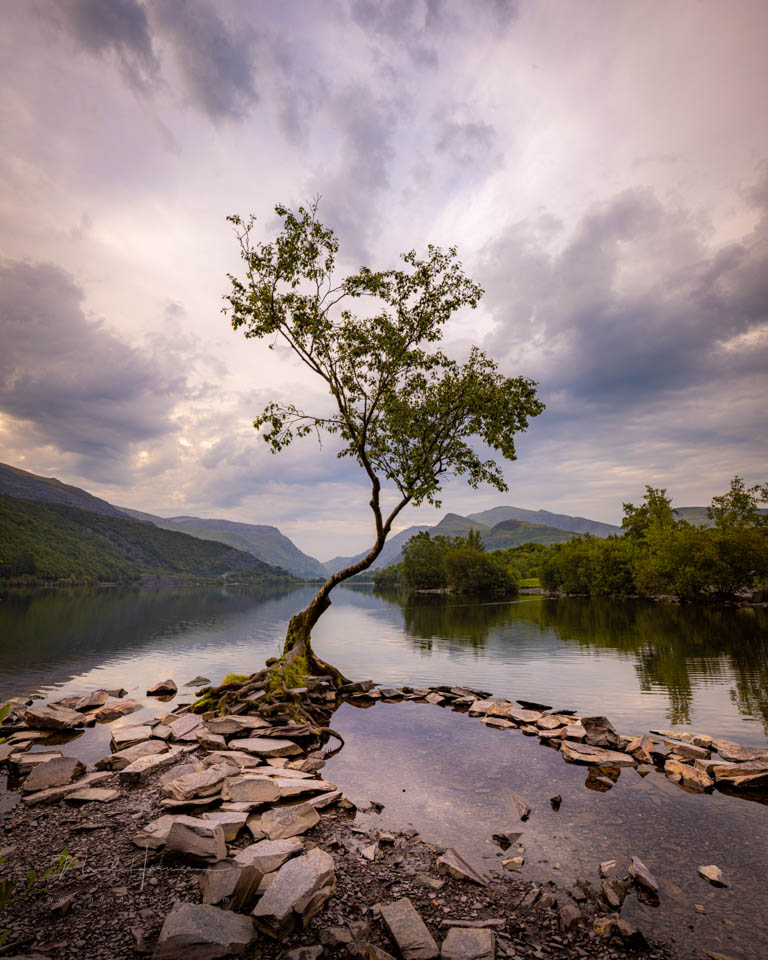
In many cases, you need plenty of wide-angle coverage to make full use of the desired effect. But even then, it may not be enough. A vertical panorama can solve that perfectly.
How to do it
The way of working is actually quite straightforward. Hold the camera in a horizontal position and make a series of photos from bottom to top. You can do this handheld or use a panorama setup on a tripod.
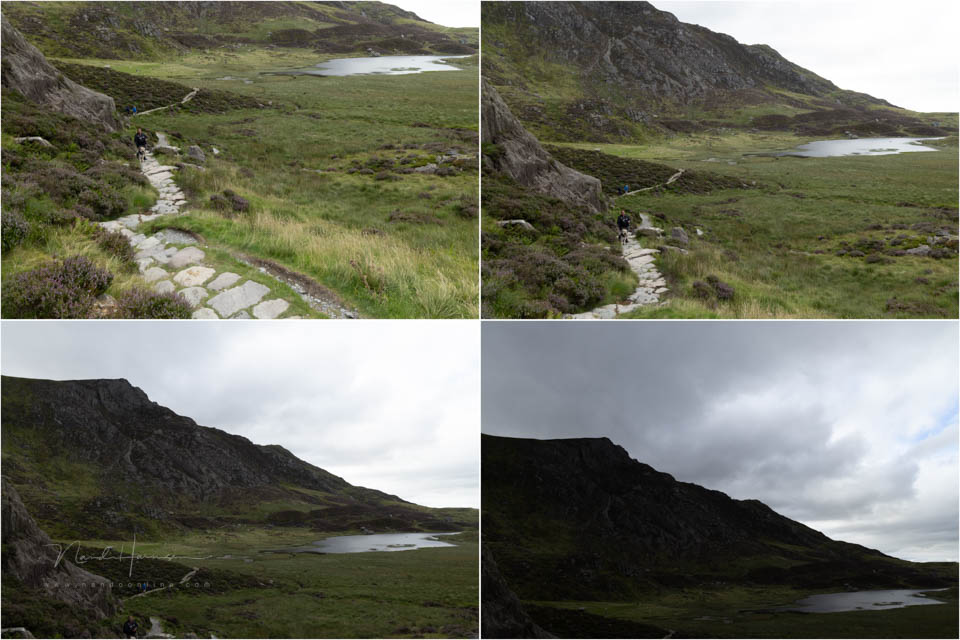
Make sure you include a little more in the frame than you want in the final result. You need room for cropping, more than you might expect at first. Especially when shooting handheld.
This series can then be merged in Lightroom or other software that supports panorama stitching. You will probably notice that there is a lot of distortion. That then needs to be corrected.
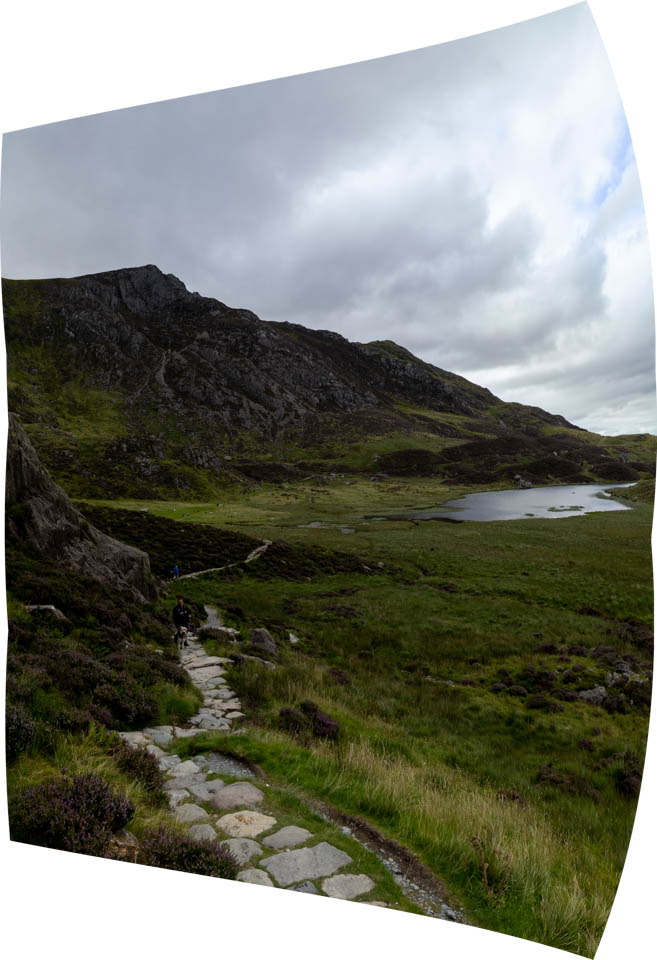
For vertical panoramas, consider using a little more overlap than you normally would. It gives you more correction options. A programme such as Photoshop, or something similar, also offers extra options for correcting unwanted distortion.
When should you use it?
I mentioned it at the beginning of the article. You use this when you do not have enough wide-angle coverage to frame the foreground, middle ground and background as you want. It gives you more wide-angle coverage when you do not have enough.
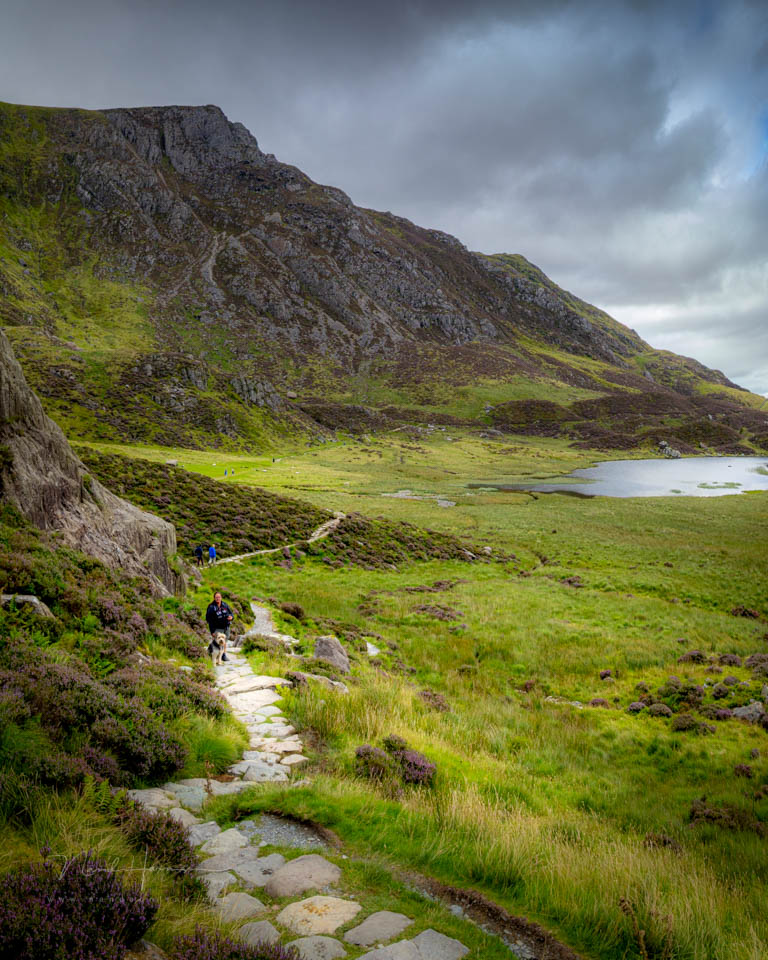
I have already had a lot of fun with this on holidays, when travelling light with just a 24-105mm lens. Or when using a drone that does not support vertical shooting.
The best thing of all is that you also get some extra resolution. If you need it. Let me know in a comment below whether you have ever made vertical panoramas and how you did it. I look forward to hearing about your experiences.
About the author
Nando Harmsen has been photographing for more than 40 years. He specialises in wedding photography and landscape photography. Nando also gives talks, workshops, masterclasses and photo trips, and regularly reviews new and interesting equipment.
You might also like
-
 A panorama or a panorama crop?
by Nando Harmsen
-
 A little short on wide angle? Make a panorama
by Nando Harmsen
-
 When to use which type of panorama?
by Nando Harmsen
-
The Biggest Disadvantage of a Panorama
by Nando Harmsen
-
 Photographing or cropping a panorama
by Nando Harmsen
-
 A panorama should add value
by Nando Harmsen
2 comments
-
 Paul wrote on Tuesday 3 February 2026 at 12:56 | reply
I once stitched several photos together both horizontally and vertically, it works pretty well. Only: when the photos are taken with a wide-angle lens, the sides don't line up as nicely.
Translated from Dutch. -


Have your say
Please note: Articles older than a week can only be commented on by signed-in visitors.Would you still like to comment? sign in or create a free account.
Become a better photographer every week
A practical photography tip in your inbox every week.
39,078 photography enthusiasts already receive the tips! More about the weekly mail. Or keep up to date via  Facebook.

Elja Trum
Photofacts; everything to do with photography!
Would you like to take better photos and keep up with what is happening in photography? Photofacts publishes articles that teach you something about photography — from a product announcement to a practical shooting tip or a look at a website. Photofacts covers photography every day and is a hobby project of Elja Trum's that got out of hand. The articles are written by a team of volunteer authors. If you would enjoy writing one or more articles for Photofacts, do get in touch.More about PhotofactsPhotofacts is made possible in part by
