

Working with flashguns, the basics of flash photography
Monday 12 August 2024, 15:30 by Elja Trum | 128,162 views | 8 commentsThis article was translated from Dutch with the help of AI. Read the original.
Many people see using a flashgun as a necessary evil. They think it will remove the atmosphere from their photos. Used properly, however, a flashgun can preserve the atmosphere and improve the final result.
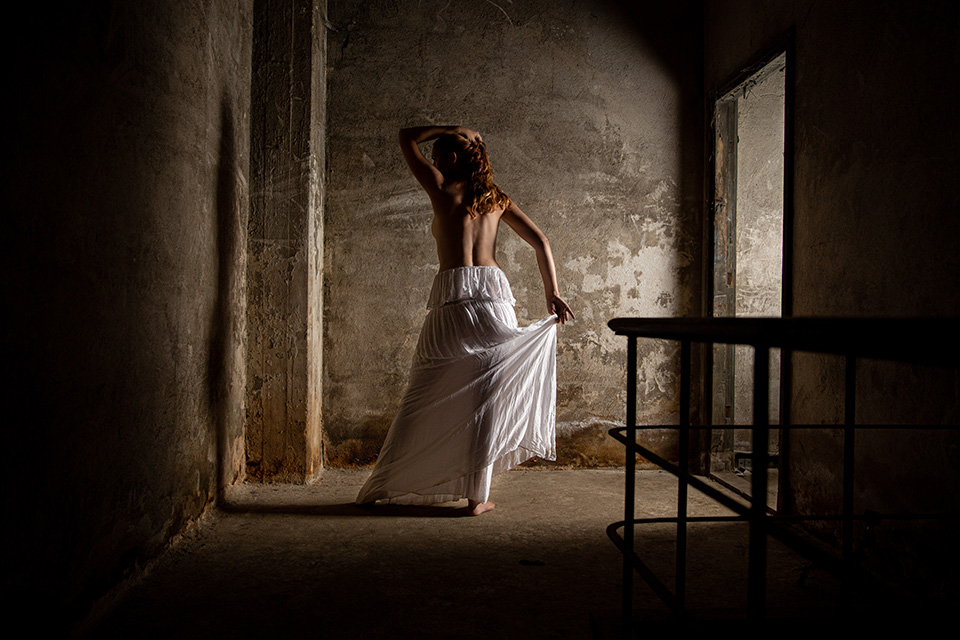
A flashgun can be a useful addition when taking a successful photo. Since you are using your own light source, you are less dependent on the available light. In the evening, you can use a flashgun when otherwise you might have taken a blurred photo, or no photo at all due to a lack of light.
On a sunny day, a flashgun is very useful for lifting the harsh shadows caused by direct sunlight. Indoors, you can use a flashgun, for example, to prevent the light from a window becoming a large bleached-out area while the living room remains too dark. This allows you to provide as much light indoors with your flashgun as is coming from outside.
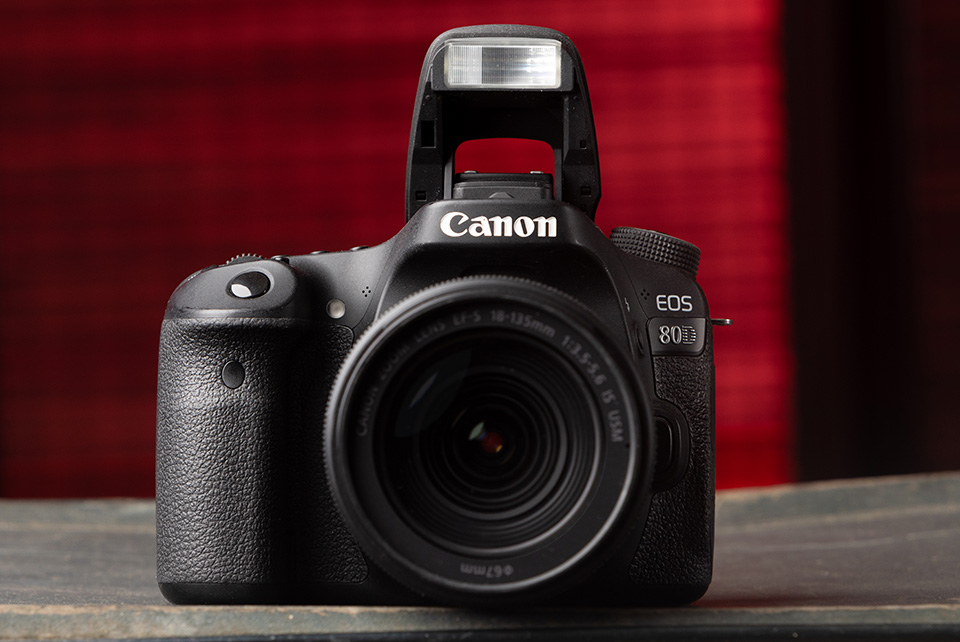
Almost every camera has a built-in flash. Unfortunately, this flash has limited use. The built-in flash is often positioned just above the lens and fires straight forwards. This generally produces flat, harsh lighting with hard shadows.
You are also much more likely to get red eyes with a built-in flash, and they are not particularly powerful either.
When a subject is a little further away, the flash does not have enough power to provide sufficient exposure. The result is an overly dark photo, often with an overexposed foreground.
The built-in flash is really only useful as a fill flash at most. You use the flash to lift the shadows on your subject slightly. In general, my advice is: do not use the built-in flash.
Flashgun
You already have many more options with a flashgun. Since the flash is higher than the built-in flash, you are less likely to get red eyes in a photo. With most models, you can also bounce the flash thanks to a swivelling head.
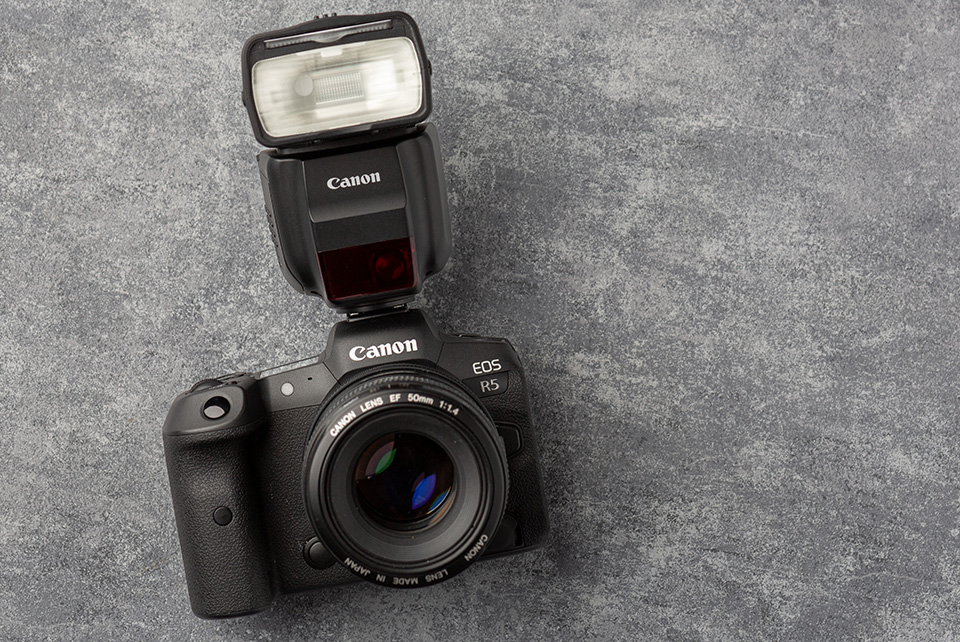
Reflecting the flash off a wall or ceiling makes the light much softer, and it also comes from a different angle.
Do bear in mind that a coloured surface can cause a colour cast in your photo. Bouncing the flash also uses more energy because you need a more powerful flash, so your batteries will run out sooner.
When using a large lens, the built-in flash can cause the shadow of your lens to appear in the photo. A flashgun is positioned so much higher that this problem will no longer occur.
Your camera's built-in flash is also nowhere near as powerful as a flashgun. A flashgun uses its own batteries too, so your camera battery will last longer.
Another added advantage is the autofocus assist light found on many flashguns. This light on the flashgun illuminates your subject, often with unobtrusive red light, so your camera can focus on it easily.
On some models, this assist lamp can even be used when the flash itself is switched off. This means it is still useful when you do not want to use flash, but it is too dark to focus automatically properly.
There are also flashguns with an LED lamp that serves as a modelling light. This gives you a better idea of the final result before you take the photo.
Take your flashgun off the camera
A flashgun is already a significant improvement over a built-in flash. For the best result, you should also take your flashgun off your camera. Firing the flashgun at your subject from an angle gives your image much more depth.
You can still control your flashgun by using a (radio) trigger. Most modern flashguns already have this option built in. You only need a matching trigger.
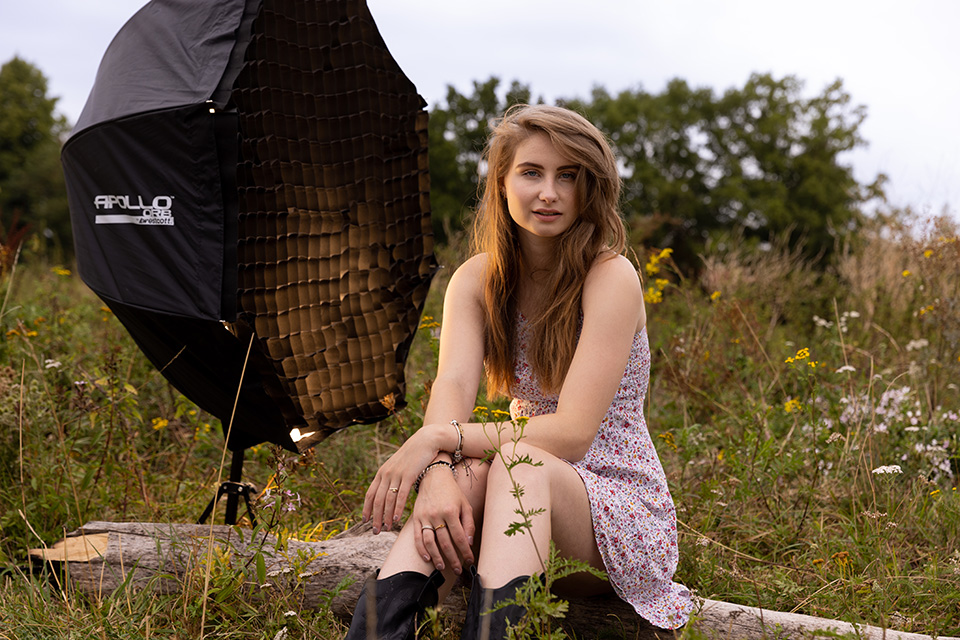
Then attach a light modifier, such as a softbox, to your flashgun, which is now separate from your camera. This gives you endless possibilities for creative lighting.
Flash sync speed
Regardless of the type of flashgun you use, it is always important to pay attention to your camera's flash sync speed. You can find this in the manual, and for many cameras it is 1/200 or 1/250 second.
This sync speed indicates the shortest shutter speed you can use. If you choose a shorter shutter speed, only part of the image will be properly exposed. Using a longer shutter speed is not a problem.
If you still want to take a photo at a faster shutter speed, set your flashgun to the so-called 'High Sync' mode. This option is available on most flashguns. In this mode, the flashgun fires several times in quick succession, ensuring that the entire image is properly exposed.
In this mode, however, the flashgun is less powerful and uses more power, so your batteries will run out faster.
Your camera's shutter actually consists of two blades, also called curtains, which move vertically across the sensor one after the other. The space between the two blades provides the exposure for your sensor. At fast shutter speeds, this space gets smaller and smaller.
The flash sync speed is the shutter speed at which this space is the same size as the sensor itself. A flash is so brief that otherwise only the gap between the blades would be illuminated by the flash. Depending on the type of camera, the sync speed is often between 1/60 and 1/500 second.
Flash settings
The aperture setting determines the correct exposure when using a flashgun. By adjusting the aperture, you let in more or less light. This only becomes important when you start using your flashgun manually.
With your camera's shutter speed setting, you determine how much of the background is visible. The longer the shutter speed, the more of the surroundings you will see.
By using a shorter shutter speed, you can make the background of your photo dark. This gives the main subject, which is lit by the flash, extra attention in the photo.
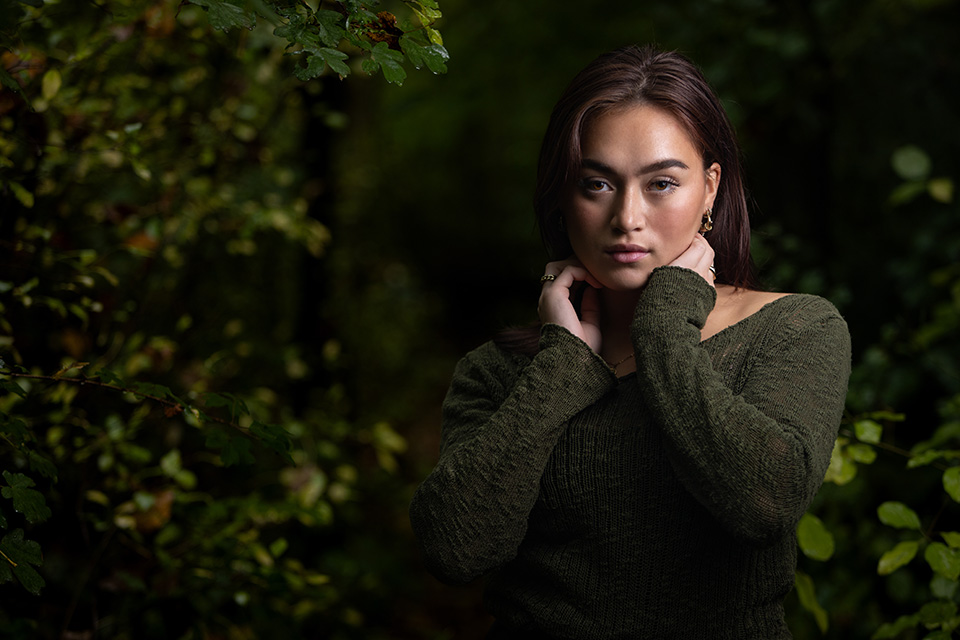
Many flashguns can use through-the-lens metering (TTL). These are always brand-specific flashguns. The camera, rather than the flashgun, measures the light and indicates when the flash should stop.
When you press the shutter button, a pre-flash is fired first. This allows your camera to measure the required flash power. This flash is fired so shortly before the actual flash that you cannot see it with the naked eye. You see the two flashes as one flash.
The advantage of a TTL flashgun is that you need to pay less attention to the correct settings yourself. The camera does the work for you and produces a good image. If you want more creative options, however, it is useful if your flashgun can also be set manually. This is something to look out for when buying a flashgun.
Many flashguns have a zoom option. Depending on the lens being used, the flash zooms with it to optimise the angle of the light.
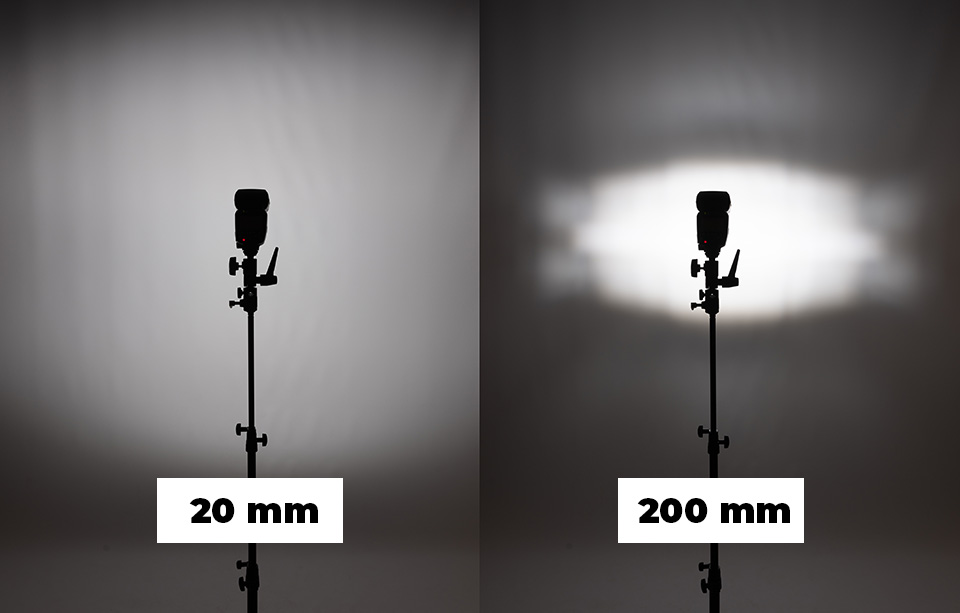
In the wide-angle setting, the light is spread as widely as possible. If you zoom in, the light is also emitted over a narrower angle. This allows the light to reach further at the same power.
When your flashgun is on your camera and the flash head is pointing straight forwards, your camera will automatically adjust the zoom head to match the focal length of the lens you are using. In other situations, you can set the flashgun manually to the desired zoom position.
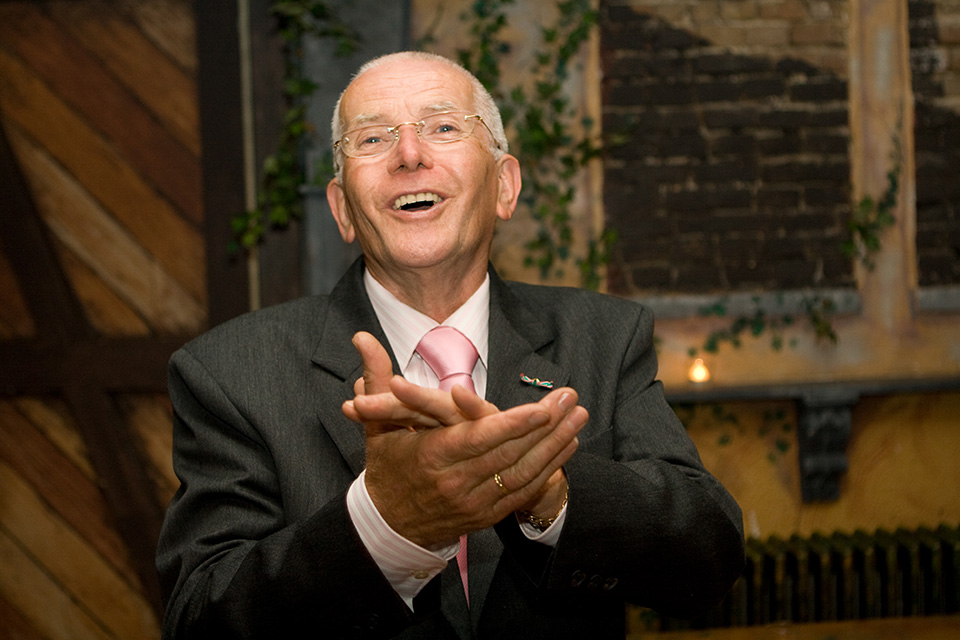
Flash photo in a poorly lit room. A high ISO setting ensures
that the background remains nicely lit too.
Flash range
Flashguns are designed for use with lenses within the standard range, roughly from 24 to 200mm. You need to bear this in mind when going outside that range.
With a wide-angle lens, you can prevent vignetting by using a diffuser. For an extreme telephoto lens, there are reflectors that focus the light from your flashgun further. In both cases, a powerful flashgun will be helpful.
Guide number
When you buy a flashgun, its maximum power is indicated by the guide number. The higher the guide number, the greater the light output.
The guide number is equal to the product of the distance to the subject and the required aperture. With a guide number of 42, at a distance of 3 metres you need an aperture of f/14 for a correctly exposed image (3 x 14 = 42).
The guide number is always based on a camera setting of 100 ISO. Since a flashgun can also fire at less than maximum power, it is advisable to buy a flashgun with as high a guide number as possible.
The guide number is also just what the name suggests, a guide number. The required flash power varies depending on the lens and the surroundings. White walls, for example, provide more reflection than dark walls, so a less powerful flash is needed.
The ISO setting also affects the guide number. If you switch to 200 ISO, you need half the flash power to illuminate the same subject properly.
By setting your camera to 400 ISO for flash photos, you can also save a lot of battery power. In addition, at this higher sensitivity your sensor records more of the ambient light at a shorter shutter speed. This means you are less likely to get dark backgrounds in your photos.
First or second curtain
Your camera offers more options for influencing the behaviour of your flashgun. For example, you can set whether you want the flash to fire on the first or second curtain.
This is usually set to the first curtain by default, so the subject is illuminated when you press the shutter button. With movement, however, this can produce a strange effect.
For example, if you photograph a moving car in the dark at a slightly longer shutter speed, such as 1/60 second, the rear lights will appear as a blurred streak against the direction of movement in the photo.
The flash fires immediately when you press the shutter button, but the sensor remains exposed for longer. You can counteract this strange effect by setting your flashgun to fire on the second curtain.
The flash then fires at the end of the exposure, so the blurred streak is created first, and you then freeze the car just before the shutter closes again.
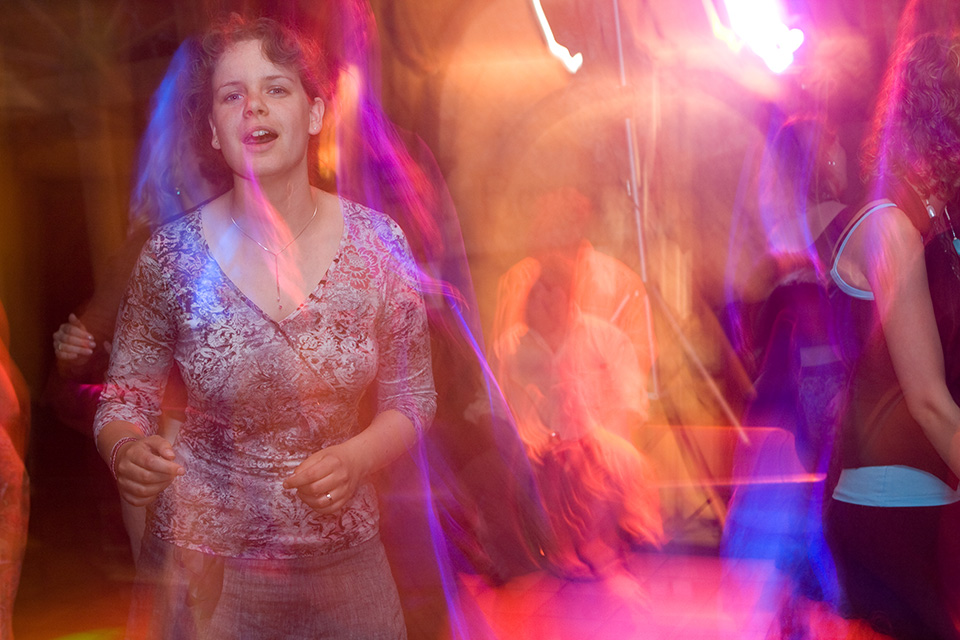
You can create a special effect by combining a longer shutter speed with a flash
Flash exposure compensation
Flash exposure compensation can also be set on most cameras. This allows you to tell the camera to emit slightly more or slightly less light than the metered value.
For example, if you consistently get an overexposed photo, you can reduce the flash exposure compensation by one stop. The flashgun will then emit half as much light compared with the metered value.
Painting with light
A fun way to work with a flashgun in a dark room or outdoors in the evening is so-called light painting. Put your camera on a tripod and set a long shutter speed, such as 30 seconds.
Choose a suitable aperture for a correct exposure, or let the camera do this by using shutter priority (S/Tv).
Take the flashgun off the camera and hold it in your hand. While the photo is being taken, point the flashgun at parts of the room that you want to illuminate additionally. There is a button on your flashgun for firing it manually, which you can now use. By firing the flash once or several times in your scene, you can add extra light to the areas you want.
Make sure that you do not appear in the photo when you fire the flash, by standing out of shot or behind an object. This technique can also be used with a torch instead of a flashgun.
A cable release is a useful accessory for making even longer exposures with your camera's bulb setting without moving the camera.
Studio flashes
When mobility is less important, you can use studio flashes and a studio location to have full control over your light.
A major advantage of studio flashes is that they do not run on batteries, but use mains power. This makes them much more powerful than separate flashguns.
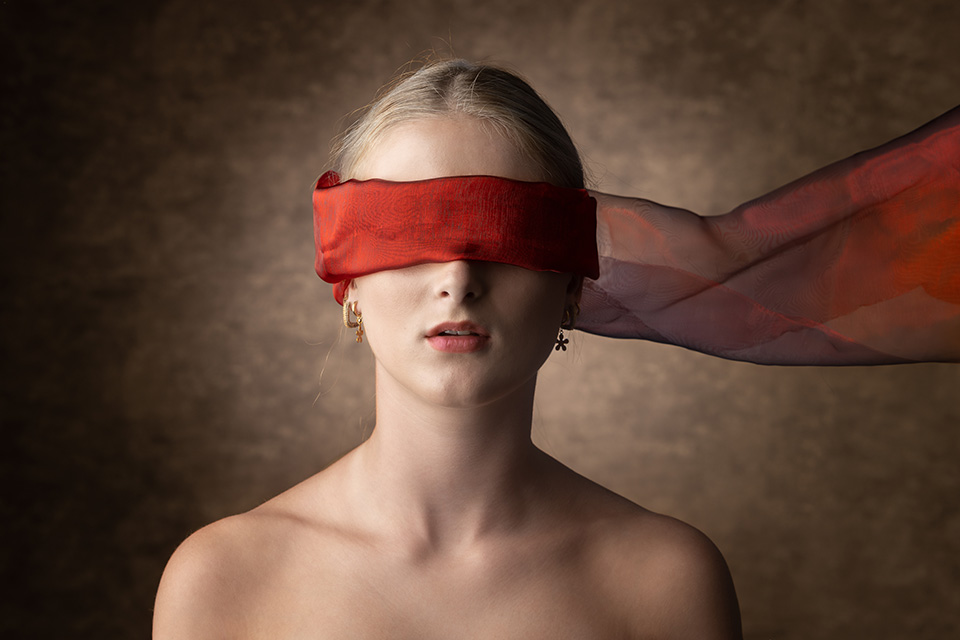
Rechargeable batteries are also available for studio flashes, allowing you to use them on location. In recent years, flashes with built-in batteries have become much more affordable and lighter. This makes them an excellent, more powerful alternative to flashguns.
When using the built-in flash or a brand-specific flashgun as the trigger for a studio flash set-up, the pre-flash mentioned earlier can cause problems. The studio flashes detect the pre-flash and fire along with it. When the actual flash follows shortly afterwards, while the shutter is open, the studio flashes have not recharged yet.
The result is a dark, sometimes even black image. To prevent this, you need to set the flashgun to manual or buy a separate flash trigger.
Measuring flash light
Working with studio equipment does require some practice, and it is a good idea to buy a proper flash light meter for this.
With a light meter, you can determine exactly how much light falls on your model and which aperture you should set.
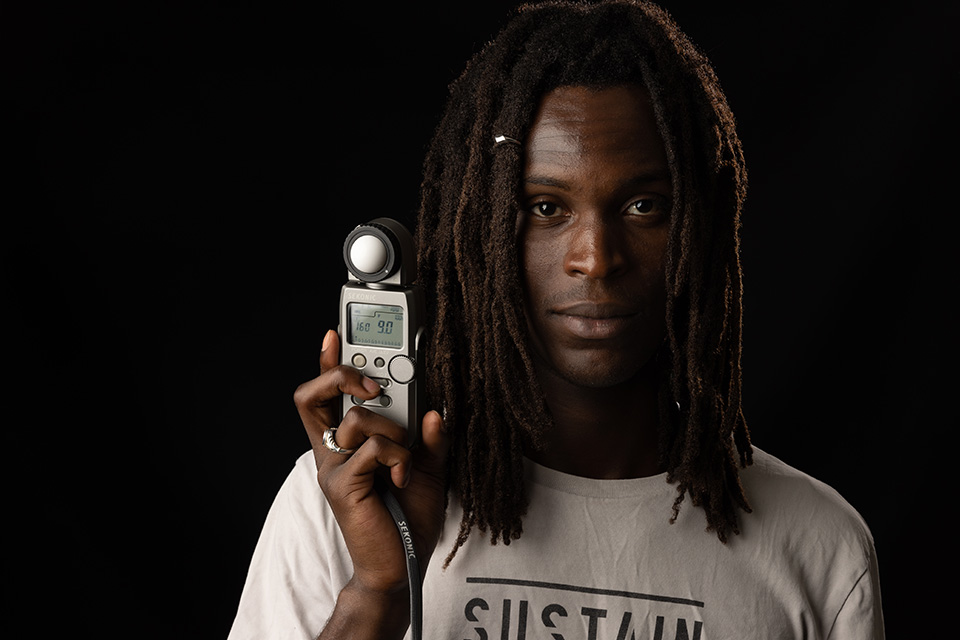
An alternative to a light meter is to view the histogram on the camera. This provides information about the exposure.
Buying a studio flash set including the necessary accessories, such as a light meter, flash trigger and possibly a softbox, will quickly cost around 1,000 to 1,500 euros. Affordable studio flashes are available from, for example, Falcon Eyes, Jinbei and the Elinchrome D-lites.
A model rated at around 400 watts is suitable for most situations. The same applies here: you get what you pay for. If you want more robust equipment and consistent light output and colour temperature, spend a little more money.
Conclusion
Using flashguns can be a great addition when taking good photos. You do need to pay attention to what you are doing, however, rather than simply relying on the automatic metering and your camera's built-in flash.
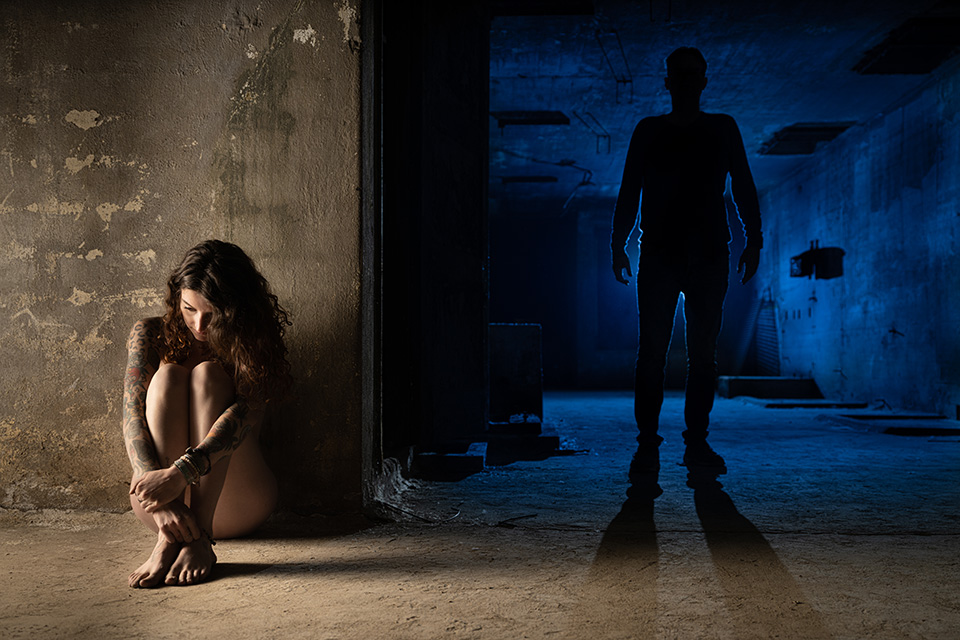
Want to discover more about flash photography?
At Photofacts Academy, our online learning environment for photographers, we offer more than 100 photography courses. In our Getting Started with Flash course, you will get the best tips to get started with this.
Een eerdere versie van dit artikel is verschenen op dinsdag 15 januari 2008, 08:31.
About the author
Elja Trum is the founder of Photofacts and online photography course website Photofacts Academy. He has been writing about photography since 2006. Elja is also the author of (Dutch) books on composition, black-and-white photography, flash photography and portrait photography.
You might also like
-
 Combining Coloured Light with Flashguns
by Frank Doorhof
-
 The basics of photography in 10 minutes
by Elja Trum
-
 Flash photography tip: Buy a generic flashgun
by Elja Trum
-
 The basic settings for action photography
by Nando Harmsen
-
 Getting started with photography
by Jerry van Es
-
 Stuck at Home and Back to Basics
by Lorette Janssen
8 comments
-
 guest wrote on Tuesday 15 January 2008 at 19:26 | reply
I regularly see the Sekonic L-358 popping up in articles and reviews. I have a Minolta Autometer VF. It's about the same price range. What are the main differences between the two?
Translated from Dutch. -
Robert wrote on Tuesday 15 January 2008 at 22:53 | reply
I don't think there's much. I have the Minolta Flashmeter V. Maybe with the Sekonic you can turn the dome in the ring to get a flat diffuser, and with the Minolta you have to replace that dome with a separate flat diffuser.
Translated from Dutch.
I can't think of anything else offhand. -
Koen (fotogeniek Belgie) wrote on Wednesday 16 January 2008 at 22:14 | reply
Thank you for your tip (via Serge) to take a look here regarding flash photography, Elja. I didn't know this site yet and I am pleasantly surprised. Very informative and I will certainly come here from time to time to look something up.
Translated from Dutch.
I obviously know the basic theory of flash photography (you can't avoid it at weddings and such, but otherwise I always swear by natural light (I still think it is the most beautiful, even for portraits etc. And yet I discover photos by various bloggers that convince me to delve into wireless flash photography after all (which I sometimes already apply in my interior photography) and then knowledge of equipment is indispensable. -

-
Koen (fotogeniek Belgie) wrote on Wednesday 16 January 2008 at 23:31 | reply
Quick little secret, Elja...Every now and then I even use the technique of wireless flash with my nature photos (even though some nature photographers consider it 'not done') and that is the case with my series of rotting peaches from the last few days. You're a champ if you can spot which photos...
Translated from Dutch.
-

 Edwin van de Graaf
wrote on Friday 4 November 2011 at 14:55
| reply
Edwin van de Graaf
wrote on Friday 4 November 2011 at 14:55
| reply
always useful to brush up on your knowledge again.
Translated from Dutch. -
 Donald Willemsen wrote on Monday 12 August 2024 at 20:43 | reply
A story published a long time ago, but still just as relevant in 2024.
Translated from Dutch.
Time for me to revisit the course on Photofacts Academy to refresh my memory once again.
Just under 2 months ago I bought a new speedlight, with a set of light modifiers and a trigger as well.
By now I’ve been able to pair the trigger with the speedlight. So I can get started with it. -
Elja Trum
wrote on Tuesday 13 August 2024 at 09:09
| reply
Have fun with it, Donald!
Translated from Dutch.
Yes, I went through the article again in its entirety and brought it up to date; added new text and photos. We've published quite a few nice (timeless) articles over the years, so I want to bring them back to the forefront like this from time to time.
Have your say
Please note: Articles older than a week can only be commented on by signed-in visitors.Would you still like to comment? sign in or create a free account.
Become a better photographer every week
A practical photography tip in your inbox every week.
39,024 photography enthusiasts already receive the tips! More about the weekly mail. Or keep up to date via  Facebook.

Elja Trum
Photofacts; everything to do with photography!
Would you like to take better photos and keep up with what is happening in photography? Photofacts publishes articles that teach you something about photography — from a product announcement to a practical shooting tip or a look at a website. Photofacts covers photography every day and is a hobby project of Elja Trum's that got out of hand. The articles are written by a team of volunteer authors. If you would enjoy writing one or more articles for Photofacts, do get in touch.More about PhotofactsPhotofacts is made possible in part by
