

10 Tips for Long Exposures
Monday 26 October 2026, 20:02 by Nando Harmsen | 50 views | 0 commentsThis article was translated from Dutch with the help of AI. Read the original.
Photographing with long exposures gives your photo a different look. Simply using a long exposure because you can is pointless. It needs to serve a purpose. Are you going to use long exposures? I have 10 tips for you.
1 - Set up your tripod securely
This sounds obvious, but it always deserves attention. Set up your tripod as securely as possible. Watch out for vibrations caused by people walking past, or by yourself. Keep in mind that sand can be washed away from under the legs.

Opal Coast, France - f/16, 1/8s, 50 ISO @ 24mm
A securely placed tripod is a good foundation. Make sure you give it enough attention. It reduces the risk of camera movement or, in the worst case, the tripod tipping over.
2 - Use the self-timer
You press the shutter button to take a photo. This means there is a chance that you will move the camera. A cable release or remote control is best. If you do not have one, use the self-timer.
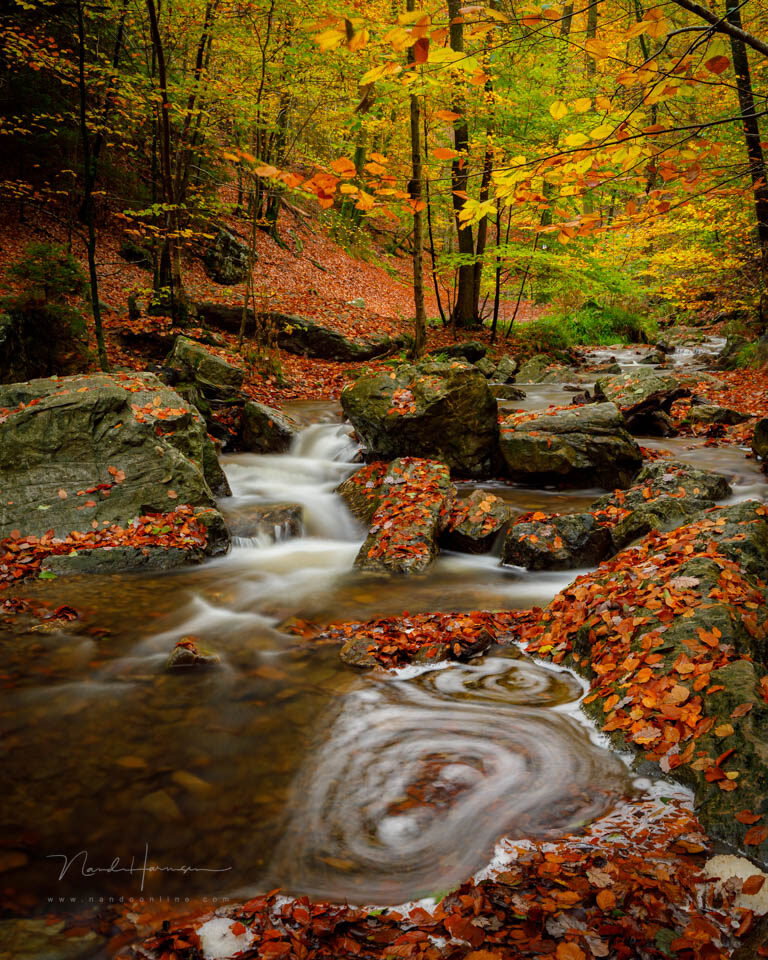
Ardennes, Belgium - f/11, 10s, 100 ISO @ 31mm
With the self-timer, you press the button and the photo is taken after a short delay. Choose two, five or ten seconds, whatever you prefer. This way, you know for certain that the camera will not move when the photo is taken.
3 - Choose the right long exposure
Simply using a long shutter speed is not a smart idea. You just have to wait and see what the result will be. Choose the shutter speed for the effect you want to achieve: removing movement or showing it instead.

Gullfoss, Iceland - f/14, 1s, 64 ISO @ 12mm
Look at how much movement there is and how you want it to appear in the photo. Use this to decide how long you want to expose. This also tells you which filter you need to make that shutter speed possible.
4 - Do not hang a camera bag from the tripod
Do not hang a camera bag underneath your tripod. It does not make the tripod more stable, it only puts more strain on it. If you are not careful, the weight may exceed the tripod's maximum load capacity.

Opal Coast, France - f/11, 60s, 100 ISO @ 28mm
Is it windy? A camera bag can even move in the wind, making the tripod unstable. This can actually introduce more movement and instability.
5 - Prevent a flapping camera strap
Do you have a camera strap attached to your camera? Make sure it does not flap in the wind. This can move the camera. The camera strap then causes blurry photos.

Lofoten, Norway - f/11, 25s, 100 ISO @ 100mm
Remove the camera strap from the camera when photographing with long exposures. If that is not possible, wrap it around the tripod head or secure the strap. Make sure it is not hanging loose.
6 - Use a proper ND filter
Good filters are expensive. You also have to carry a lot of filters to use the desired shutter speed. It is best not to use a variable ND filter. Not even if it seems more practical and cheaper.
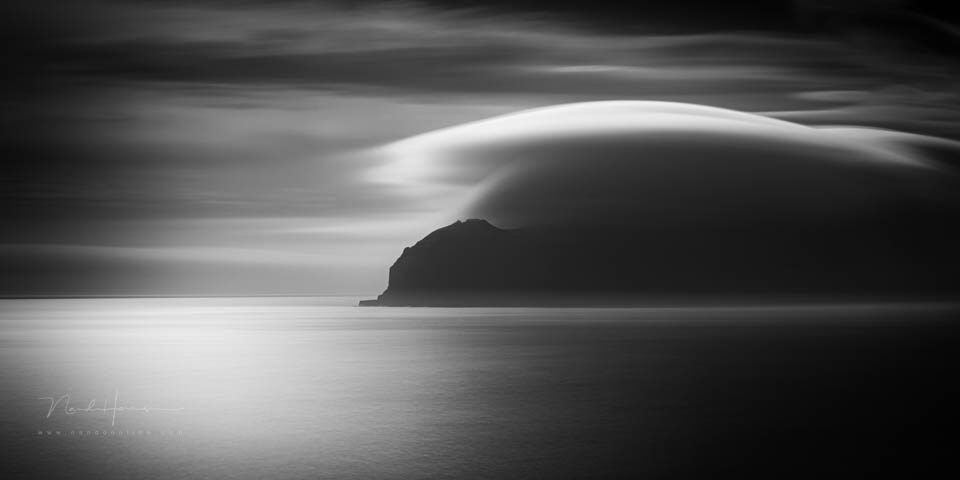
Mykenes, Faroe Islands - f/11, 120s, 100 ISO @ 70mm
Variable ND filters can never block enough light for genuine long exposures. Many variable ND filters also cause uneven exposure across the image.
7 - Turn off long exposure noise reduction
Long exposure noise reduction takes an extra shot after the exposure. This takes just as long as the exposure itself. Thirty seconds then becomes one minute. Five minutes becomes ten minutes.
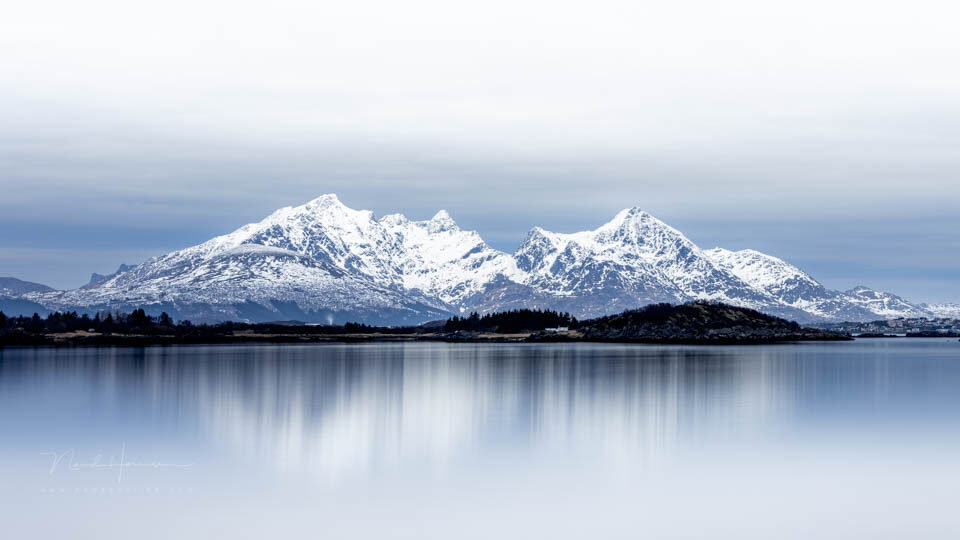
Lofoten, Norway - f/11, 60s, 50 ISO @ 67mm
Turn off long exposure noise reduction. This reduces the waiting time to the shutter speed you have chosen. It makes photographing much more enjoyable. You can leave normal noise reduction switched on.
8 - Use back button focus
It is a good idea to focus before you put the filter in place. If you use the shutter button to focus, you must switch off autofocus after focusing.

Kirkufell, Iceland - f/8, 230s, 100 ISO @ 24mm
You can also use back button focus. This means you no longer use the shutter button for autofocus. In that case, you can simply leave the camera set to autofocus. That saves you another step when photographing.
9 - Image stabilisation is not needed
Does your camera or lens have image stabilisation? If so, it is best to switch it off. You do not need it, and in some cases it can actually unintentionally cause motion blur.

Auvergne, France - f/11, 30s, 100 ISO @ 95mm
Make sure you know where to switch off image stabilisation. In the camera or on the lens. This way, you know for certain that the system will not work against you.
10 - Allow for changes in light
You choose long exposures based on a light reading. If the light changes during the exposure, the photo will fail. This can happen when clouds move in front of the sun, or when the sun comes out from behind the clouds.

Tyrol, Austria - f/11, 30s, 100 ISO @ 30mm
Photographing at dusk also means that the light changes over a short period of time. Take this into account as much as possible, especially with very long exposures.
Do you have any more tips?
There are, of course, many more points to keep in mind. You can find plenty of them in the long exposure course on Photofacts Academy. Perhaps you have some useful tips too. Share them in a comment below this post.
About the author
Nando Harmsen has been photographing for more than 40 years. He specialises in wedding photography and landscape photography. Nando also gives talks, workshops, masterclasses and photo trips, and regularly reviews new and interesting equipment.
You might also like
-
 Which is better? Stacking or noise reduction?
by Nando Harmsen
-
 New update for Lightroom Classic enables AI noise reduction
by Nando Harmsen
-
 Night photography tip: long exposure noise reduction
by Nando Harmsen
-
 Removing noise? Use it in moderation
by Nando Harmsen
-
 Review: LRTimelapse Pro Timer 3 for timelapse photography
by Nando Harmsen

0 comments
Be the first to share what you think!
Become a better photographer every week
A practical photography tip in your inbox every week.
38,982 photography enthusiasts already receive the tips! More about the weekly mail. Or keep up to date via  Facebook.

Elja Trum
Photofacts; everything to do with photography!
Would you like to take better photos and keep up with what is happening in photography? Photofacts publishes articles that teach you something about photography — from a product announcement to a practical shooting tip or a look at a website. Photofacts covers photography every day and is a hobby project of Elja Trum's that got out of hand. The articles are written by a team of volunteer authors. If you would enjoy writing one or more articles for Photofacts, do get in touch.More about PhotofactsPhotofacts is made possible in part by
