

When to Use Which Depth of Field in Landscape Photography
Thursday 18 September 2025, 15:30 by Nando Harmsen | 3,329 views | 5 commentsThis article was translated from Dutch with the help of AI. Read the original.
You can also choose a shallow depth of field in landscape photography. It doesn't always have to be large, or even as large as possible. When do you choose which depth of field? I'll give you a guide.
A shallow depth of field can be very useful. It gives you the opportunity to create a 3D effect. That allows you to direct attention in a photo. You do need to make the right choice about how shallow the depth of field should be.
You need to know how depth of field works, of course. The amount of depth of field is determined by the aperture, focal length, distance to the subject, and distance from the subject to the background.
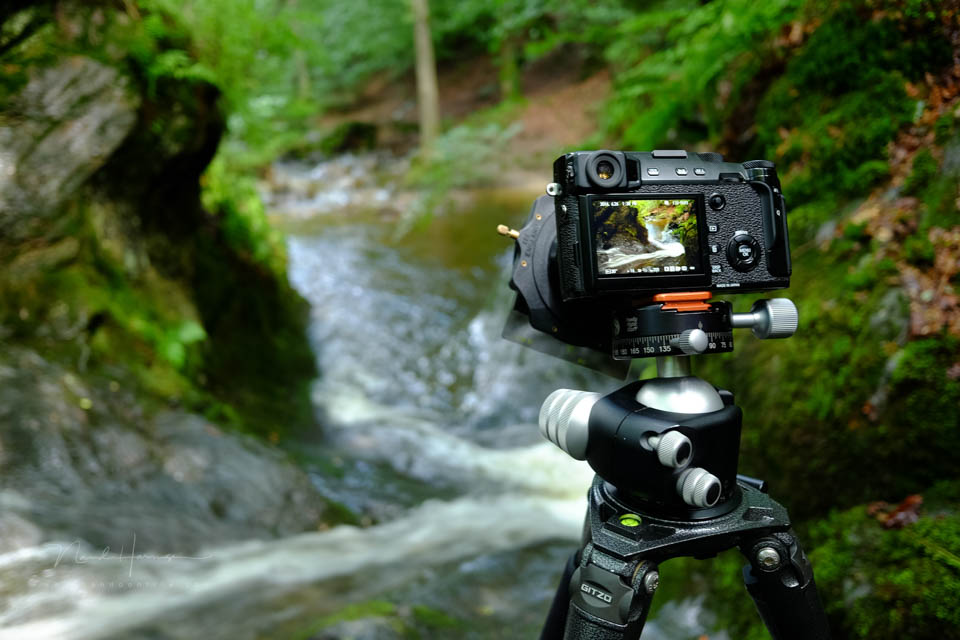
In general, you can assume that a small aperture number produces a shallow depth of field. A large aperture number produces a large depth of field. So, f/4 gives you less depth of field than f/8, and so on.
You should also remember that a short focal length produces more depth of field than a longer focal length. As long as you keep the aperture the same, of course.
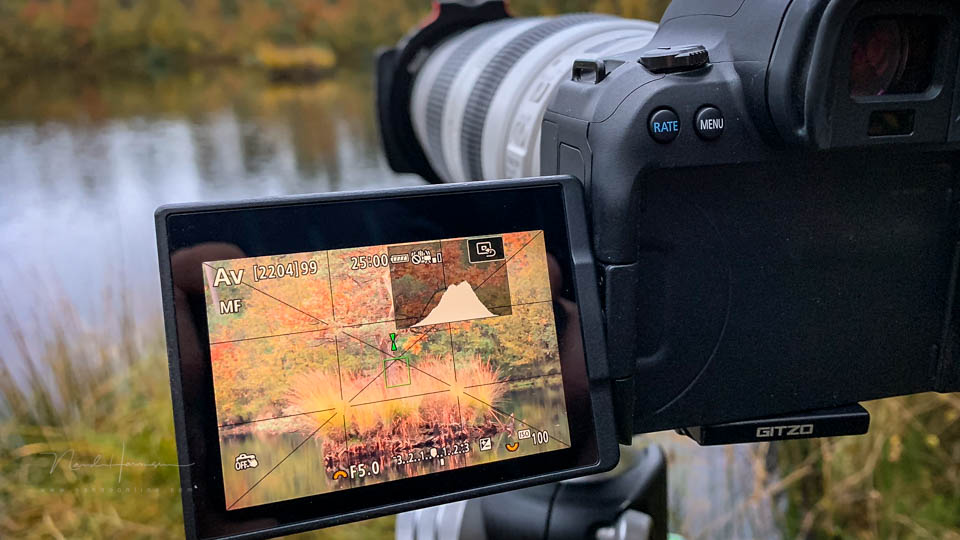
The relationship between the distance to the subject and the distance from the subject to the background is also decisive. If you are closer to the subject than the subject is to the background, the background will become blurred more quickly.
Finally, there is the most difficult factor of all: image size and viewing distance. But I'll leave that aside for the sake of simplicity, because otherwise it becomes far too complex.
With these basics behind us, I can give you a guide. Remember that you are free to deviate from it. Nothing is required, anything goes.
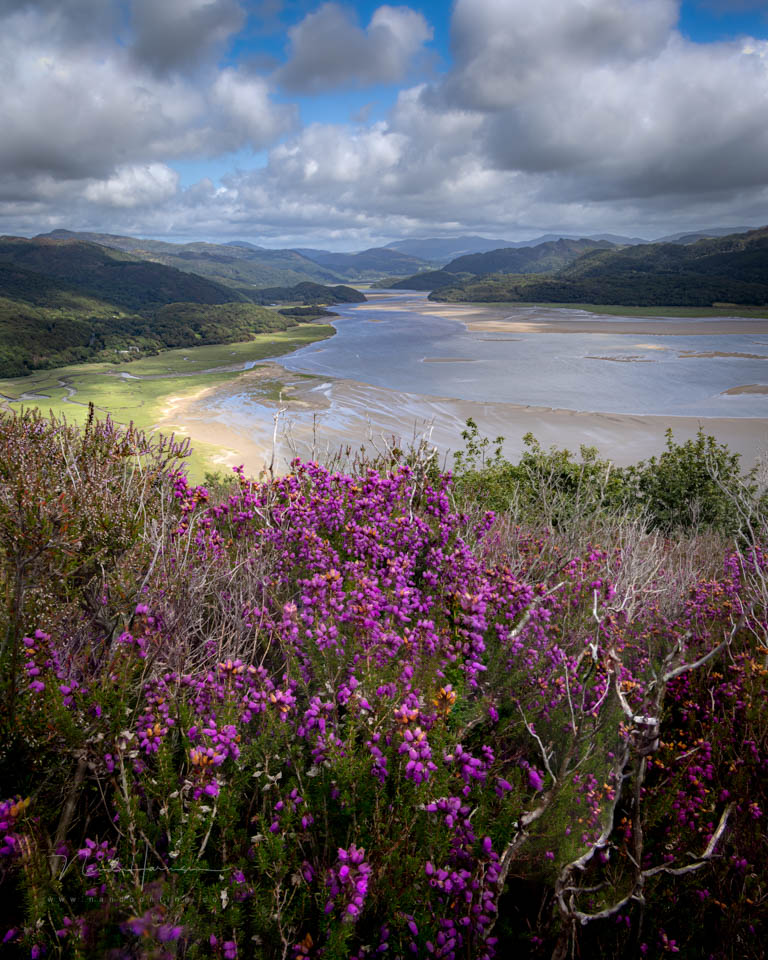
If you use a wide-angle lens, choose a large depth of field. You will often be fairly close to the foreground, while the background will be relatively further away. Only with a short focal length is it possible to get both in focus.
If you use a telephoto lens, the choice is less straightforward. You then have to base your choice on the distances between the subject and background, in relation to your distance from the subject.
If the subject is very far away, just like the background, everything will be in focus regardless of the aperture. Choose an aperture close to f/8, where almost every lens performs at its best.
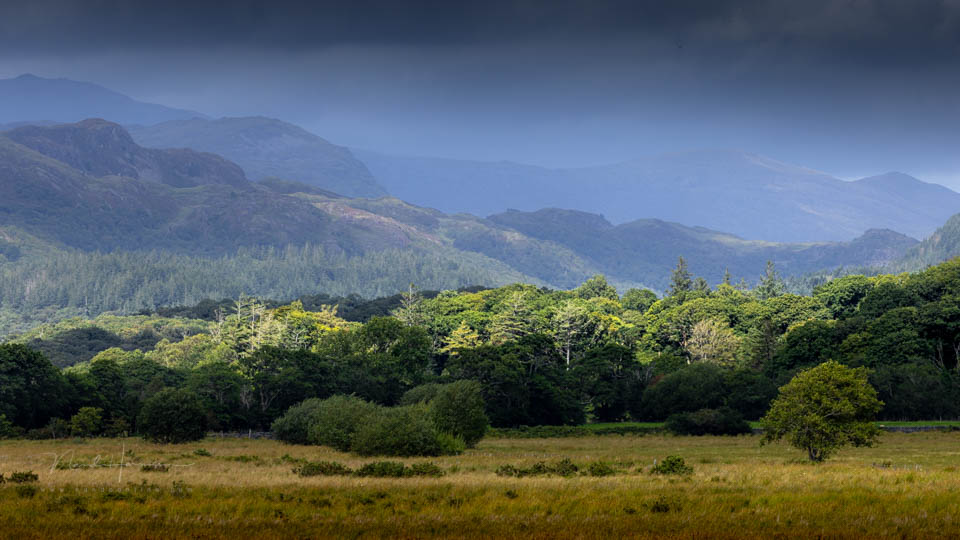
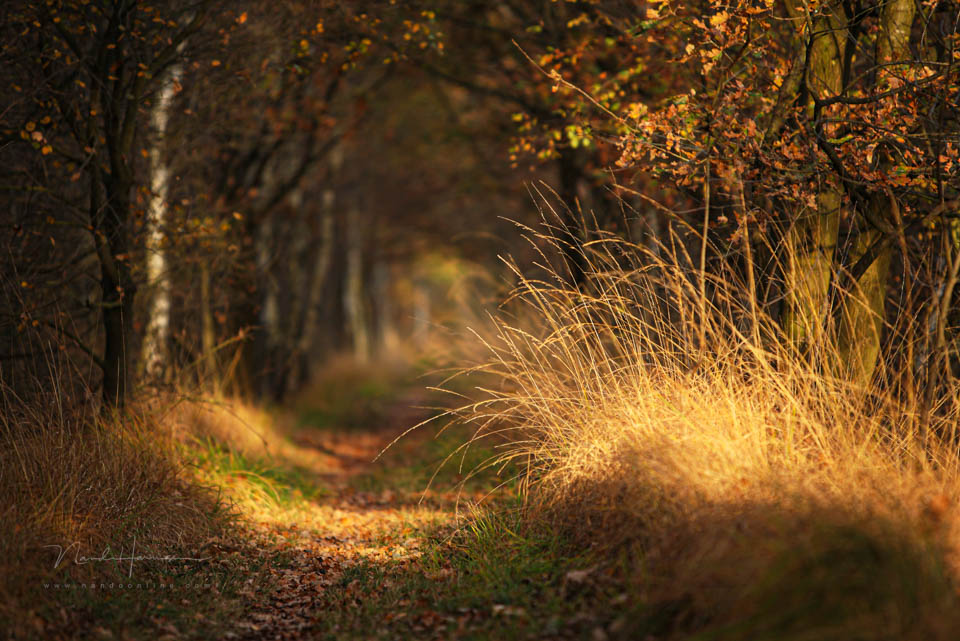
If your subject isn't very far away from you, choose a shallow depth of field. Even if the background isn't much further away, even the smallest aperture will not be enough to get everything in focus.
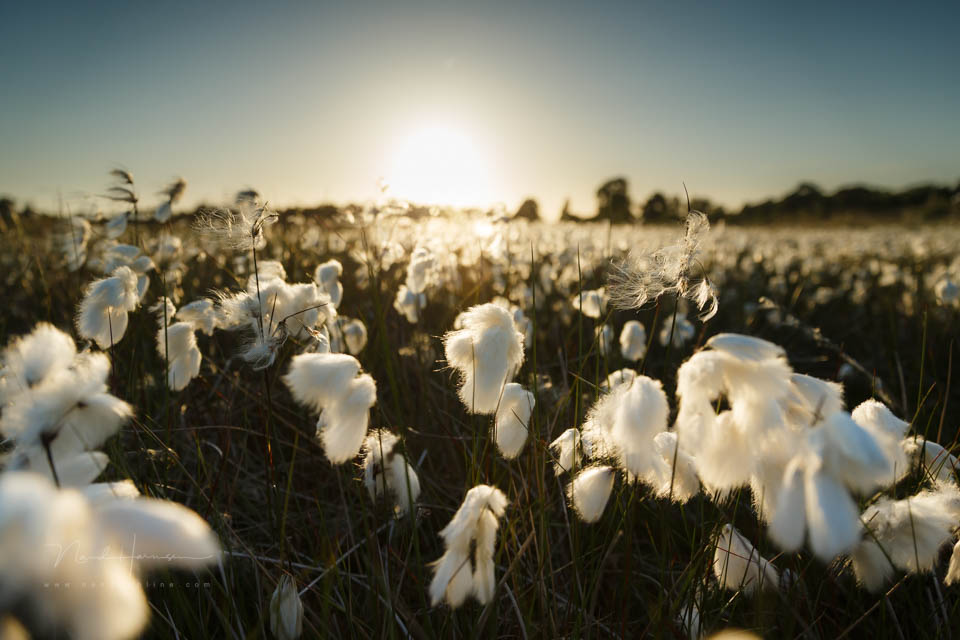
You can of course also use a shallow depth of field with a wide-angle lens. But remember that this only works well if your subject is almost at the minimum focusing distance. Only then will there be enough blur in the background.
Avoid having a background that is just not sharp. Make sure you have real blur, or real sharpness. If it falls somewhere in between, it becomes distracting. Image size and viewing distance will also become very important then.
What do you prefer to use? Do you prefer photos with a large depth of field, or a shallow one? Let us know in a comment below this post.
About the author
Nando Harmsen has been photographing for more than 40 years. He specialises in wedding photography and landscape photography. Nando also gives talks, workshops, masterclasses and photo trips, and regularly reviews new and interesting equipment.
You might also like
-
 The difference between bokeh and shallow depth of field
by Nando Harmsen
-
 How to use depth of field correctly?
by Elja Trum
-
 A shallow depth of field in landscape photography
by Nando Harmsen
-
 Just use depth of field, and don't make an issue of it
by Nando Harmsen
-
 7 tips for adding depth to your landscape photos
by Elja Trum

5 comments
-
 Donald Willemsen wrote on Thursday 18 September 2025 at 16:55 | reply
Nando, I think the 4th photo is very beautiful and you mention that you took it with a wide-angle lens. Now I would like to make a similar photo, so with a subject in the foreground and a very interesting background, with a focal length in the telephoto range and a low aperture value because of the light. I am thinking of a focus stack (the Canon Eos R7 does this automatically) to get the photo sharp from front to back. So a large distance has to be bridged.
Translated from Dutch.
Is there a method to determine how many photos you need to take and how large the spacing may be in order not to get blurry parts in the photo? Can Photopills be helpful with this? -

 Nando
wrote on Tuesday 23 September 2025 at 09:11
| reply
Nando
wrote on Tuesday 23 September 2025 at 09:11
| reply
The fourth photo? The one with the cotton grass?
Translated from Dutch.
That can't be done this way with a telephoto lens. A low aperture value (large aperture) for the light isn't needed at all. Even with lots of light, you can use a large aperture.
It's trial and error. The smaller your depth of field is, the more photos are needed. Your camera takes care of that itself; you don't have to choose the number of photos. On Photofacts Academy you'll find instructions on focus stacking settings on a Canon camera. -
 Paul eos wrote on Tuesday 23 September 2025 at 16:30 | reply
Hi Nando, I don't know whether a Canon EOS R7 needs to be set up in the same way to make a stack as my EOS R5 mk II, but in any case I have to set the number of photos myself as well as the distance between the photos, which has to be set experimentally depending on the type of lens, aperture and subject.
Translated from Dutch. -
 Donald Willemsen wrote on Tuesday 23 September 2025 at 17:05 | reply
Paul, on the R7, the stack must be set in the same way as with the R5 II. You set the camera to the maximum number of photos you think you will need and also the distance between the photos. The camera then determines itself how many of the maximum number of set photos are needed for the stack. Suppose you have set 30 shots and the camera only needs 20, then the stack is carried out with 20 photos.
Translated from Dutch. -
Paul eos wrote on Wednesday 24 September 2025 at 08:00 | reply
Thank you Donald, I hadn't noticed yet that my camera limited the number of photos. I know that now too.
Translated from Dutch.
Have your say
Please note: Articles older than a week can only be commented on by signed-in visitors.Would you still like to comment? sign in or create a free account.
Become a better photographer every week
A practical photography tip in your inbox every week.
39,079 photography enthusiasts already receive the tips! More about the weekly mail. Or keep up to date via  Facebook.

Elja Trum
Photofacts; everything to do with photography!
Would you like to take better photos and keep up with what is happening in photography? Photofacts publishes articles that teach you something about photography — from a product announcement to a practical shooting tip or a look at a website. Photofacts covers photography every day and is a hobby project of Elja Trum's that got out of hand. The articles are written by a team of volunteer authors. If you would enjoy writing one or more articles for Photofacts, do get in touch.More about PhotofactsPhotofacts is made possible in part by
