

Exposure bracketing instead of brightening dark areas
Saturday 4 July 2026, 14:14 by Nando Harmsen | 1,893 views | 0 commentsThis article was translated from Dutch with the help of AI. Read the original.
Modern cameras promise a huge dynamic range. Sometimes as much as 14 stops or more. That is of course wonderful. Yet sometimes it is better not to use it. Exposure bracketing is then the wiser choice.
I was handed a camera when I was standing on the Hverfjall volcano in Iceland. Would I take a photo of a group of American tourists? It turned out that the camera was set to bracketing by default.
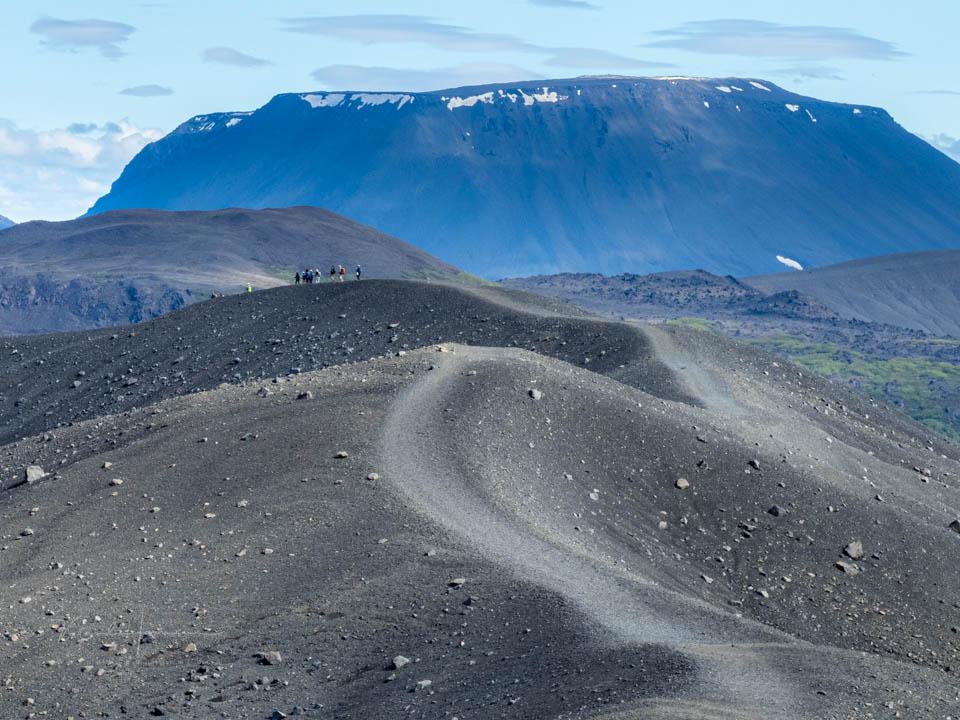
The reason the American gave me was: 'so that the sky wasn't overexposed.' A good reason, if it weren't for the fact that the dynamic range of the scene did not make exposure bracketing necessary.
At that moment, the camera sensor's dynamic range was more than large enough to capture everything with the correct exposure. Anything that is still too dark can easily be brightened. And vice versa.
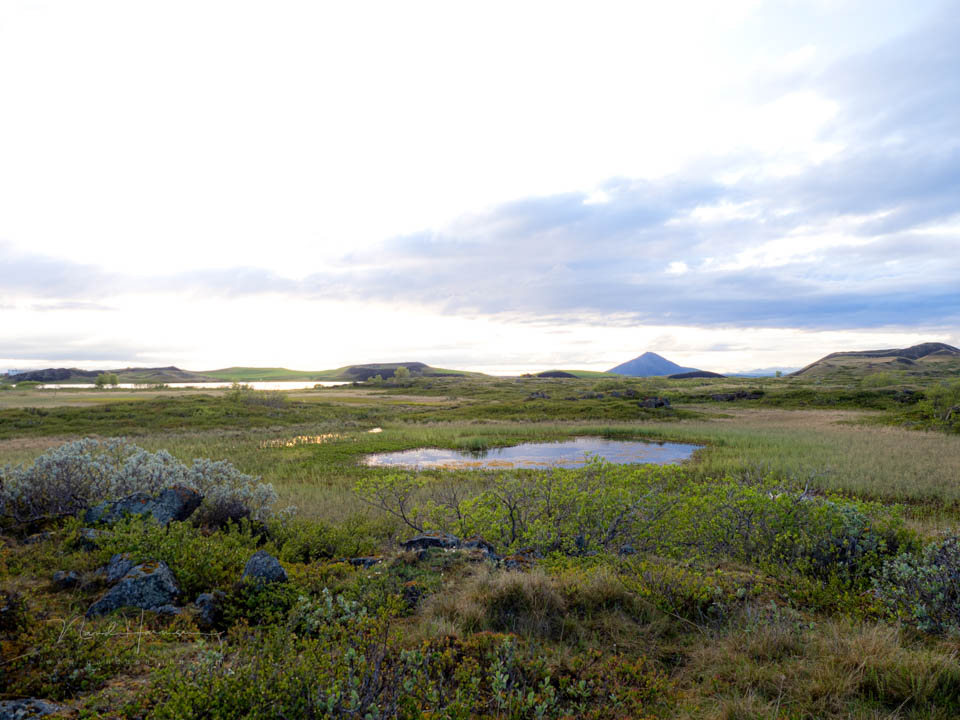
By making use of the camera's dynamic range, exposure bracketing is not necessary. If you make sure you expose for the light areas (EttR), everything that is dark can be rescued in post-processing.
There is a downside to this. If you push the limits of the camera's dynamic range (DR), you will always be confronted with poor image quality. That is unavoidable and it can be distracting.
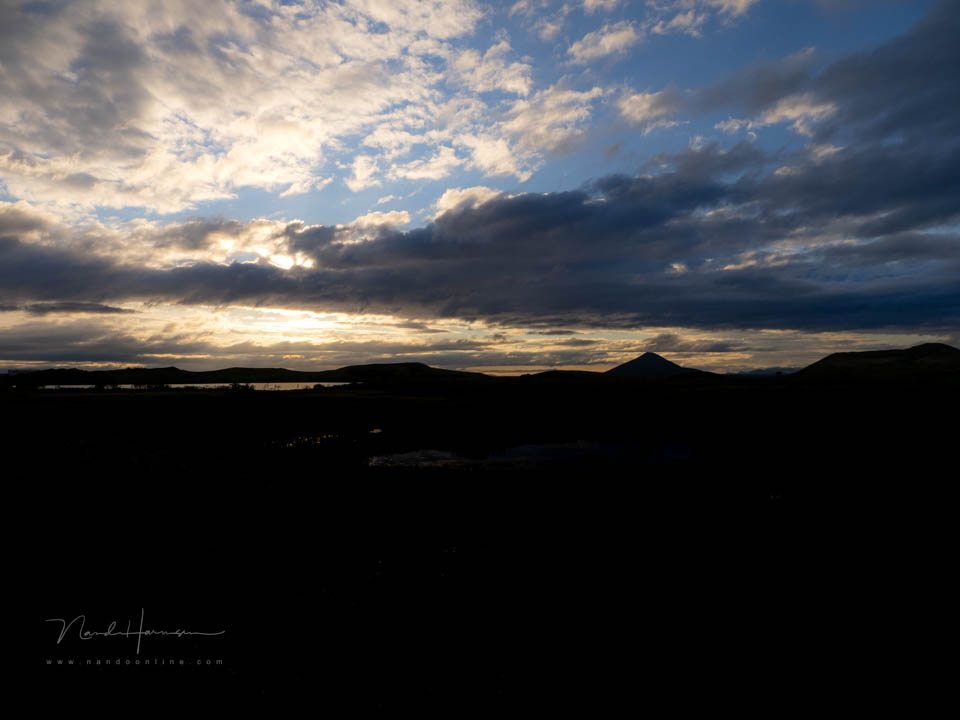
Of course, there are all kinds of noise reduction methods that work surprisingly well. However, they remain emergency solutions. Prevention is always better. You can achieve that with exposure bracketing, which is what that American used.
It is simple. Take a series of photos with different exposures. One photo for the light areas. One photo for the dark areas. And one, two or three photos in between. Use steps of 1 stop if possible.
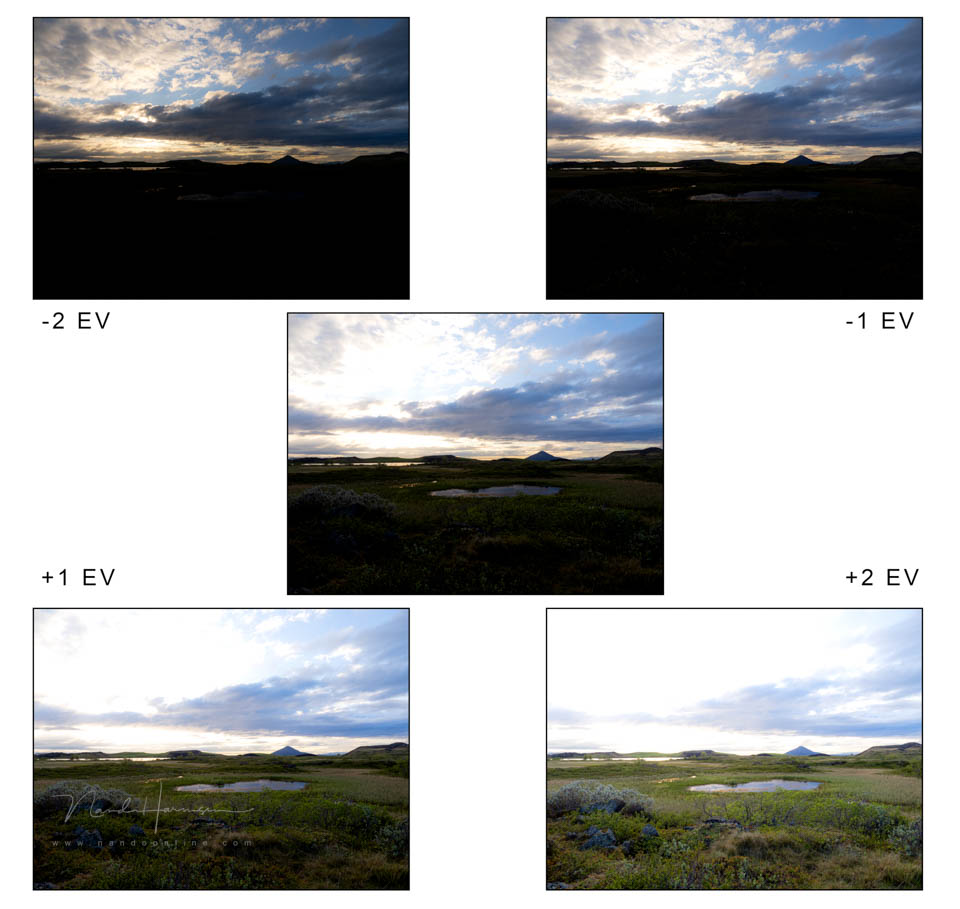
The ideal option is to use a tripod. But it can also be done without one. Use auto exposure bracketing (AEB or BKT) and set your camera to continuous shooting. Stand steady and keep the shutter button pressed.
You can easily merge these photos in post-processing. Use Lightroom, Photoshop, Affinity, Luminar or any other programme that supports merging into HDR. You will often get an automatic result.
The best approach is to edit an HDR photo like any other normal photo. Because that is what it is. Do not think it should look different because it has the name HDR attached to it.
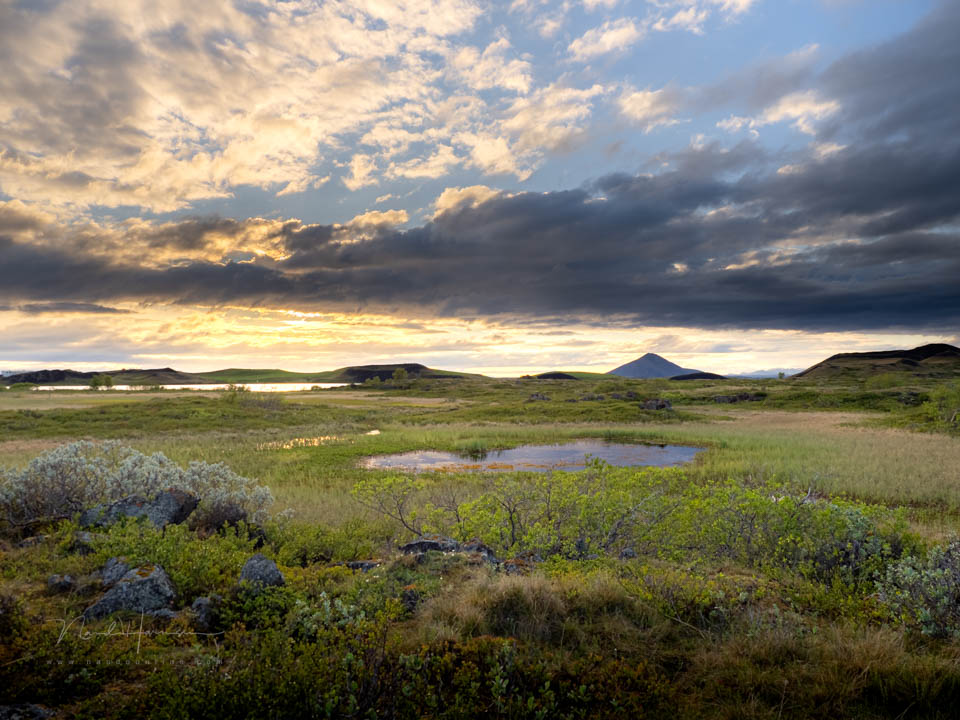
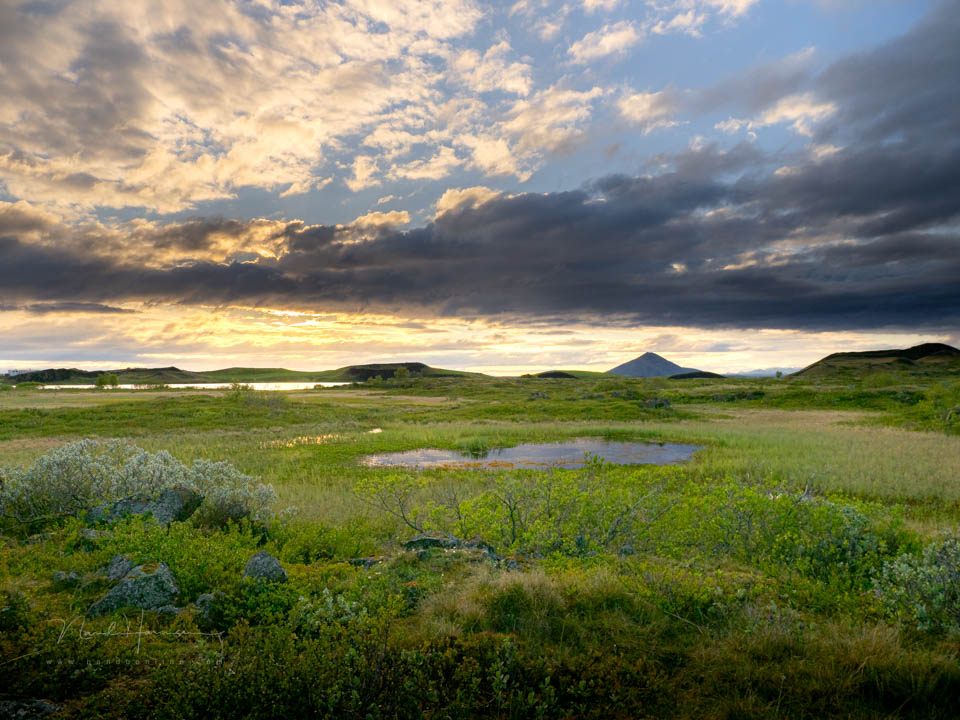
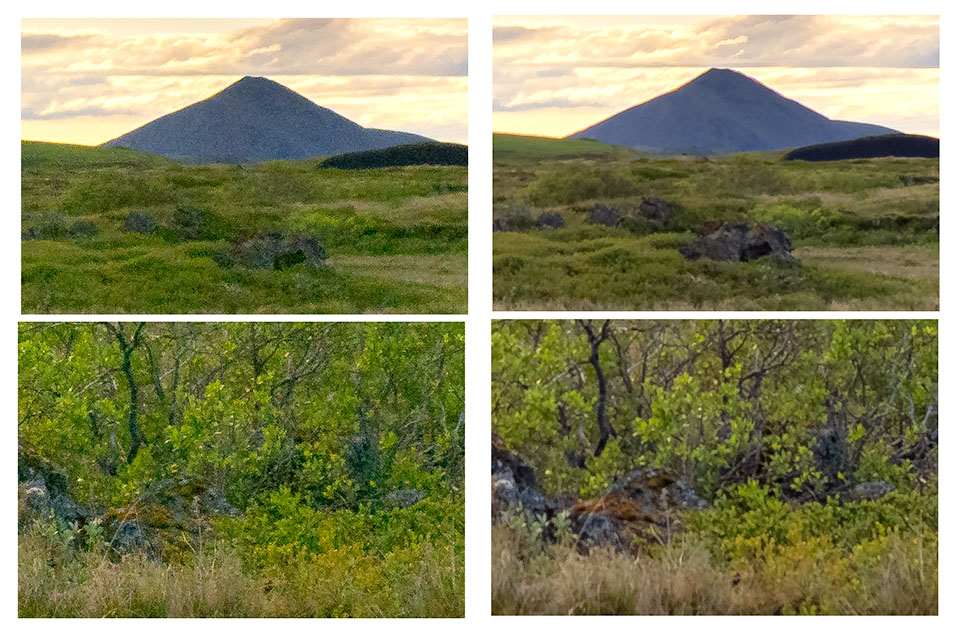
What is the advantage of HDR over making maximum use of the camera's dynamic range? Simple, the HDR has much less noise than the brightened photo. Details and colours are much better preserved.
Of course, exposure bracketing is not always possible. With a group photo, like the one I took of the American group, it is difficult. People move between the different shots.
In that case, brightening the image and making use of the camera's dynamic range is the answer. Those clever noise reduction methods are then a fantastic emergency solution.
Do you have the opportunity to use exposure bracketing? Then it is always better than brightening the image afterwards in post-processing. You get much more detail, better colours and no excessive amount of noise. No AI noise reduction can compete with that.
About the author
Nando Harmsen has been photographing for more than 40 years. He specialises in wedding photography and landscape photography. Nando also gives talks, workshops, masterclasses and photo trips, and regularly reviews new and interesting equipment.
You might also like
-
 Review: HDR and Dynamic Range Course
by Martin van Rooij
-
 Photographing an Exposure Bracket Without a Tripod
by Nando Harmsen
-
 Edit an HDR like a normal photo
by Nando Harmsen
-
 Exposure bracketing without a tripod
by Nando Harmsen
-
 Programme your camera for HDR
by Nando Harmsen
-
 HDR: What do you mean?
by Rob IJsselstein
0 comments
Be the first to share what you think!
Have your say
Please note: Articles older than a week can only be commented on by signed-in visitors.Would you still like to comment? sign in or create a free account.
Become a better photographer every week
A practical photography tip in your inbox every week.
39,079 photography enthusiasts already receive the tips! More about the weekly mail. Or keep up to date via  Facebook.

Elja Trum
Photofacts; everything to do with photography!
Would you like to take better photos and keep up with what is happening in photography? Photofacts publishes articles that teach you something about photography — from a product announcement to a practical shooting tip or a look at a website. Photofacts covers photography every day and is a hobby project of Elja Trum's that got out of hand. The articles are written by a team of volunteer authors. If you would enjoy writing one or more articles for Photofacts, do get in touch.More about PhotofactsPhotofacts is made possible in part by
