

Photographing an Exposure Bracket Without a Tripod
Friday 10 June 2022, 16:32 by Nando Harmsen | 6,170 views | 0 commentsThis article was translated from Dutch with the help of AI. Read the original.
Suppose there is a huge dynamic range, leaving you with either overexposed or underexposed parts in your photo. You create an exposure bracket to spread the dynamic range over several photos.
But what if you don't have a tripod with you? You do it without one, of course.
A tripod gives you the best results when creating an exposure bracket. It ensures that the photos line up perfectly when you create an HDR. But what do you do if you don't have a tripod with you or aren't allowed to use one, for example on holiday?
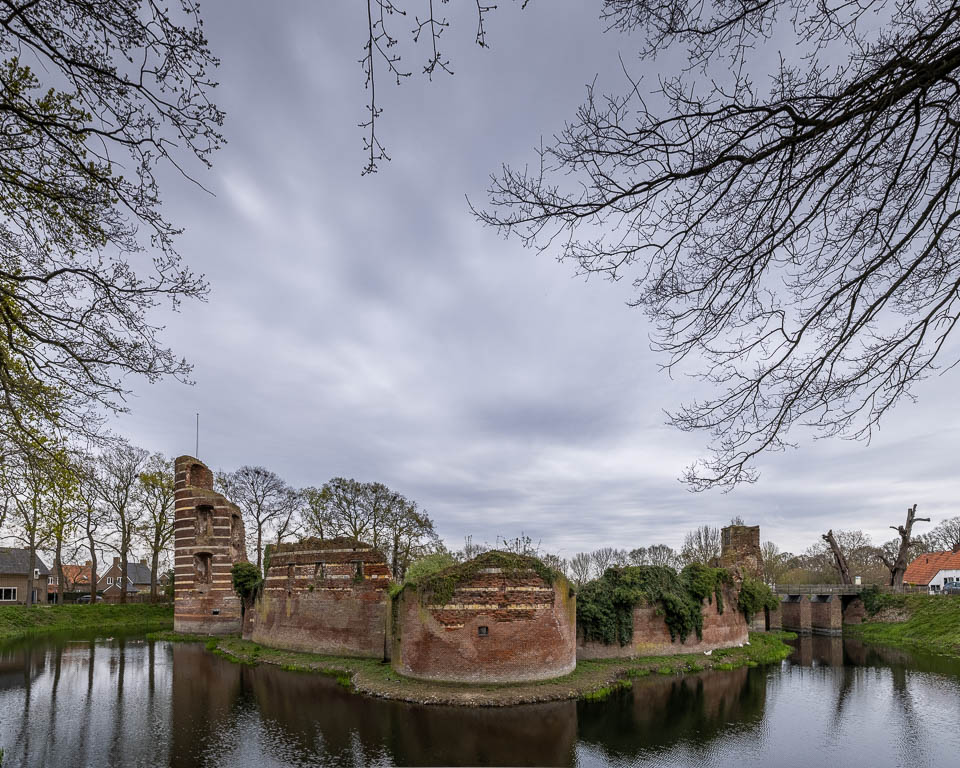
You can try placing your camera on something, but that comes with quite a few limitations. The simplest option is to just photograph the exposure bracket handheld. Pay attention to the following settings.
- Set your camera to aperture priority
- Switch on auto exposure bracketing (AEL or BKT)
- Set the camera to continuous shooting, the fastest setting
- Stand as steadily as possible
- Breathe in and out calmly a few times, then keep the shutter button pressed while breathing out
- And you're done
Because you have enabled bracketing and activated continuous shooting, the camera will take the exposures for the exposure bracket in quick succession and stop automatically once the images have been made. Since you can often shoot 3 to 10 photos per second, the movement between the photos will be minimal.
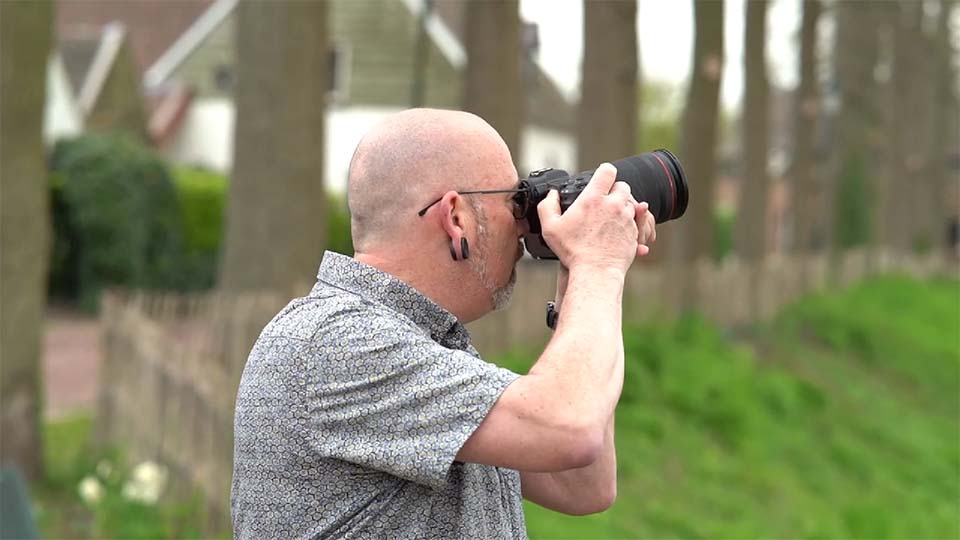
When combining the photos, make sure automatic alignment is checked. The unavoidable movement between the exposures in your bracket will then be corrected.
There is one condition for this method. Make sure the photo with the longest shutter speed, the one for the darkest areas, is fast enough. You obviously want as little movement as possible between the photos themselves, but the shutter speed must also be fast enough to prevent motion blur.
This means you may have to set the ISO higher than you normally would, but that isn't a problem. The alternative is a photo with blown-out whites or blocked-up blacks.
You can find this tip and more in my HDR photography course at Photofacts Academy.
About the author
Nando Harmsen has been photographing for more than 40 years. He specialises in wedding photography and landscape photography. Nando also gives talks, workshops, masterclasses and photo trips, and regularly reviews new and interesting equipment.
You might also like
-
 Review: HDR and Dynamic Range Course
by Martin van Rooij
-
 How many shots do you need for an HDR?
by Nando Harmsen
-
 Exposure bracketing instead of brightening dark areas
by Nando Harmsen
-
 Edit an HDR like a normal photo
by Nando Harmsen
-
 An HDR photo is just a photo
by Nando Harmsen
-
 Exposure bracketing without a tripod
by Nando Harmsen
0 comments
Be the first to share what you think!
Have your say
Please note: Articles older than a week can only be commented on by signed-in visitors.Would you still like to comment? sign in or create a free account.
Become a better photographer every week
A practical photography tip in your inbox every week.
38,982 photography enthusiasts already receive the tips! More about the weekly mail. Or keep up to date via  Facebook.

Elja Trum
Photofacts; everything to do with photography!
Would you like to take better photos and keep up with what is happening in photography? Photofacts publishes articles that teach you something about photography — from a product announcement to a practical shooting tip or a look at a website. Photofacts covers photography every day and is a hobby project of Elja Trum's that got out of hand. The articles are written by a team of volunteer authors. If you would enjoy writing one or more articles for Photofacts, do get in touch.More about PhotofactsPhotofacts is made possible in part by
