

Exposure bracketing without a tripod
Sunday 31 August 2025, 22:44 by Nando Harmsen | 3,616 views | 2 commentsThis article was translated from Dutch with the help of AI. Read the original.
Sometimes the difference between light and dark areas is so great that the camera cannot capture it in a single shot. The dynamic range is too large. Exposure bracketing is the solution. But what if you do not have a tripod with you?
Exposure bracketing is a series of photos with different exposures. You use this when the difference between the lightest and darkest parts of a photo is too great. A photo will then either have a lot of 'blocked-up' black, or 'blown-out' white.
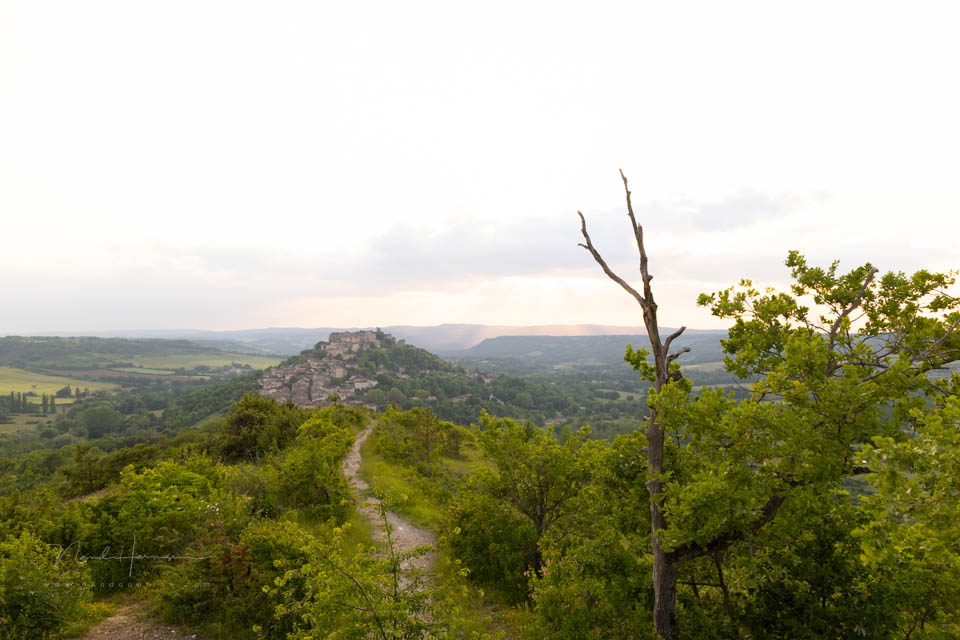
Exposure bracketing solves this. You take a series of photos, one exposed for the lightest areas and one for the darkest areas. You also take one or more images in between. You combine all of these later into an HDR photo.
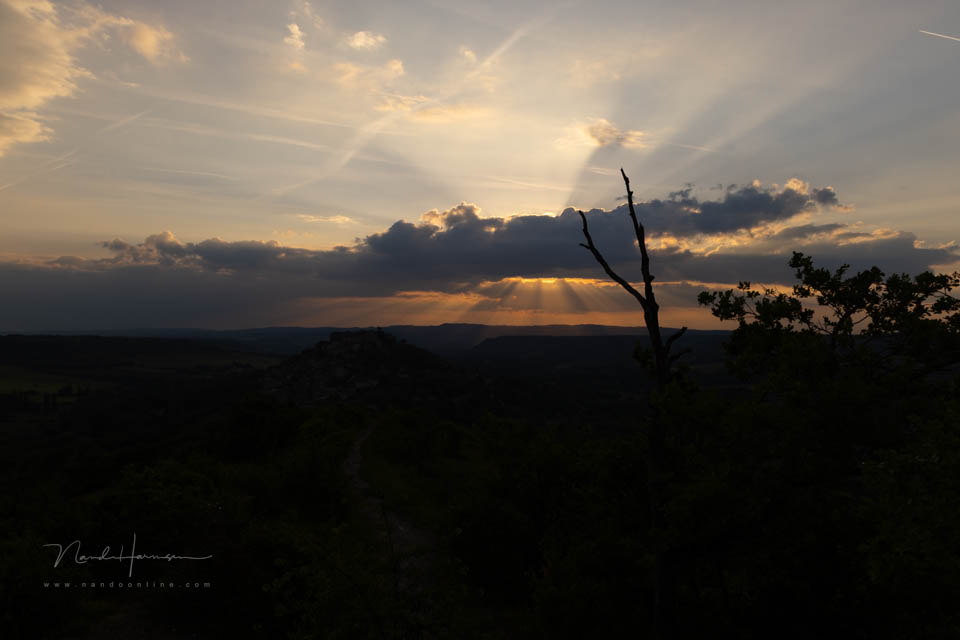
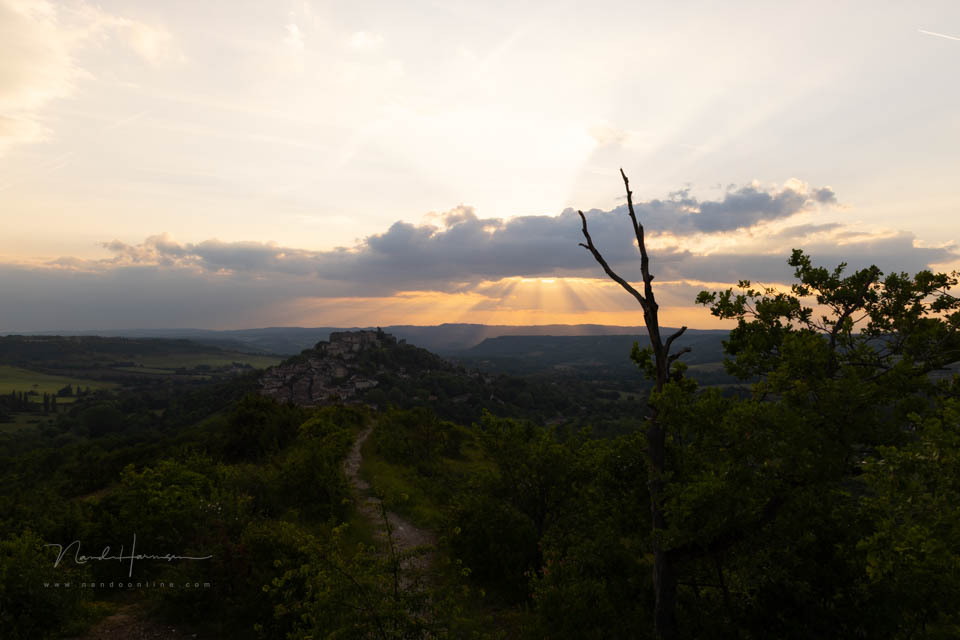
Exposure bracketing requires the photos in the series to line up exactly. In other words, a tripod is almost essential. But what if you are out walking and do not have a tripod with you? What then?
There is a solution. You can create an exposure bracket handheld. You use the AEB setting (Automatic Exposure Bracketing), continuous shooting or the self-timer, and a stable stance.
It works as follows. Set the AEB to the desired number of shots and the stops between the shots. Choose the fastest continuous shooting setting, or a 2-second self-timer.
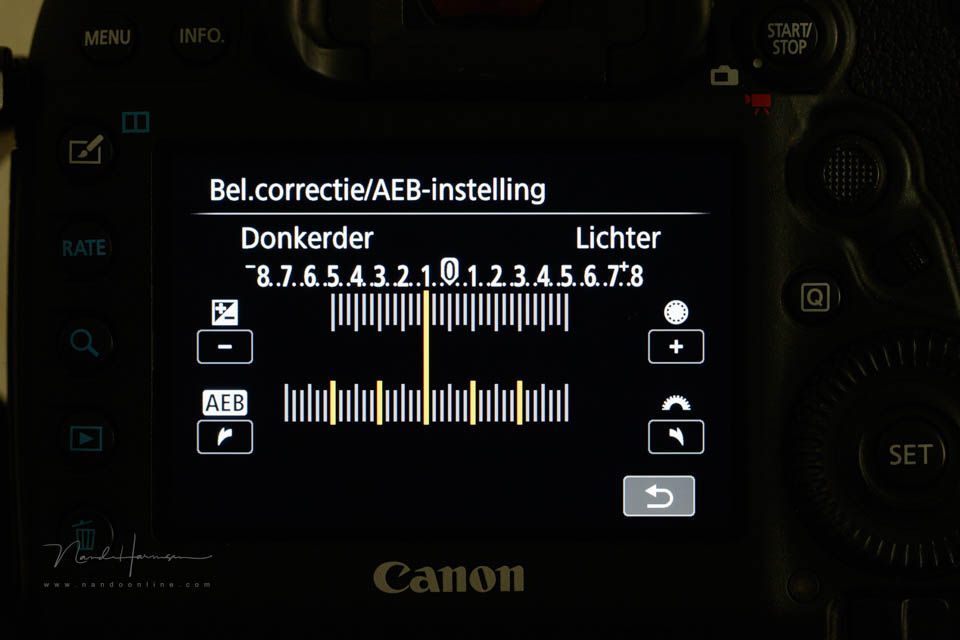
Set the base exposure halfway between the lightest and darkest areas. Make sure the longest exposure time is still fast enough to take a sharp photo handheld. Use a higher ISO value if necessary.
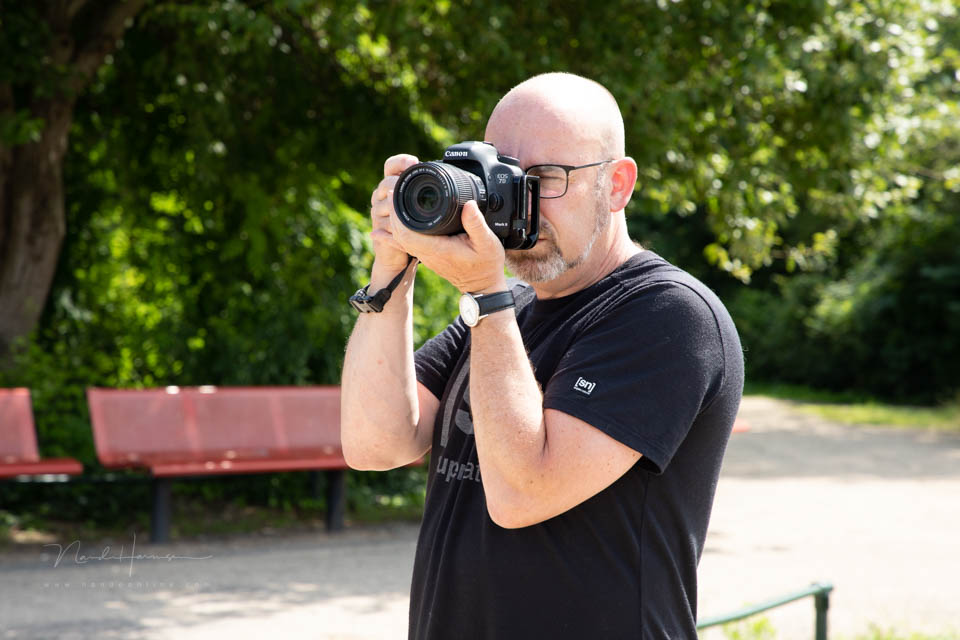
Adopt an extremely stable stance and press the shutter button. With continuous shooting, hold the button down until the camera is finished. It will probably stop by itself after the exposure bracket. With the self-timer, the camera will automatically create the exposure bracket after the delay.
The photos will not line up perfectly, but they will not be far off. The software you use to combine the exposure bracket into an HDR image has an option to align the photos. Use that option.
About the author
Nando Harmsen has been photographing for more than 40 years. He specialises in wedding photography and landscape photography. Nando also gives talks, workshops, masterclasses and photo trips, and regularly reviews new and interesting equipment.
You might also like
-
 Programme your camera for HDR
by Nando Harmsen
-
 How many shots do you need for an HDR?
by Nando Harmsen
-
 HDR: What do you mean?
by Rob IJsselstein
-
 Exposure bracketing instead of brightening dark areas
by Nando Harmsen
-
 Edit an HDR like a normal photo
by Nando Harmsen
-
 Got flare in your HDR photo? Remove it with your finger
by Nando Harmsen
2 comments


Have your say
Please note: Articles older than a week can only be commented on by signed-in visitors.Would you still like to comment? sign in or create a free account.
Become a better photographer every week
A practical photography tip in your inbox every week.
39,079 photography enthusiasts already receive the tips! More about the weekly mail. Or keep up to date via  Facebook.

Elja Trum
Photofacts; everything to do with photography!
Would you like to take better photos and keep up with what is happening in photography? Photofacts publishes articles that teach you something about photography — from a product announcement to a practical shooting tip or a look at a website. Photofacts covers photography every day and is a hobby project of Elja Trum's that got out of hand. The articles are written by a team of volunteer authors. If you would enjoy writing one or more articles for Photofacts, do get in touch.More about PhotofactsPhotofacts is made possible in part by
