

Less is more: put quality before quantity
Monday 7 August 2017, 15:51 by Michelle Peeters | 11,634 views | 15 commentsThis article was translated from Dutch with the help of AI. Read the original.
More and more photos are being taken, even with a smartphone! Digital photos cost nothing at all and your memory card is no longer a limitation either. Unfortunately, quality often fails to keep pace with quantity.
Your data storage is slowly but surely filling up, and you never look at many of your shots again. So how do you take fewer, but better photos?
Years ago, I was a photographer who mainly took lots of photos. If you take lots of shots, there is always something usable among them. But often that still did not work: lots of snapshots, but 'the' photo was not among them. Not at a professional level, and actually unsellable.
Now I photograph more thoughtfully and with more purpose. I take fewer, but better photos. How did that happen? In this article, a number of tips to help you encourage yourself to do this. And also a number of pointers to help you get the technical side right.
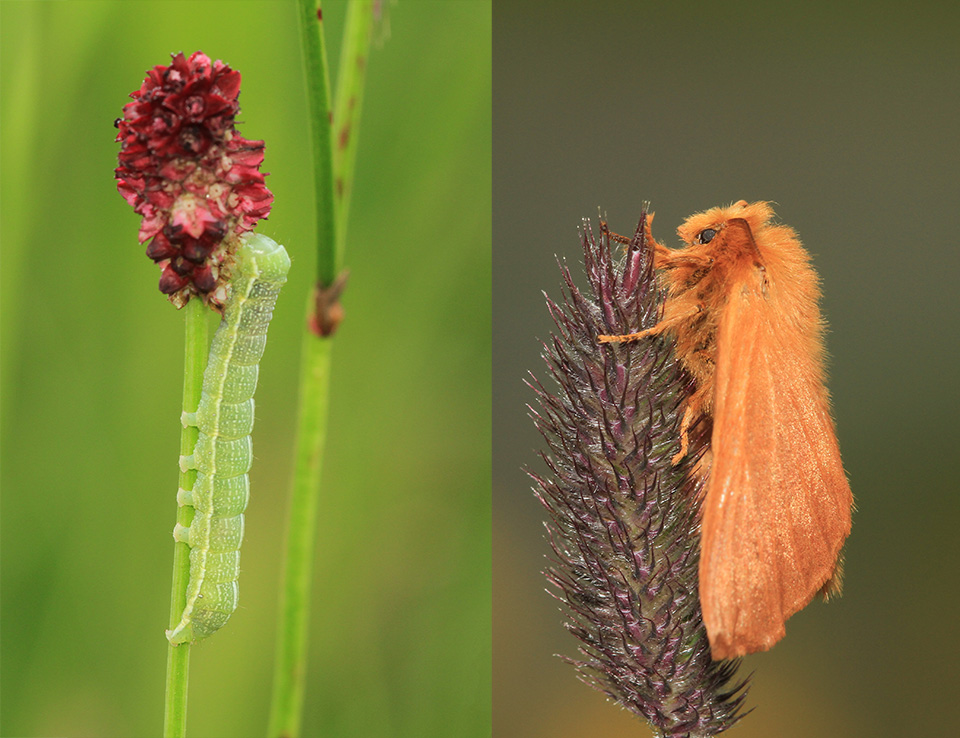
Forget the 'spontaneous' approach
In the past, I always took all my equipment with me when I went out, so I could be prepared for anything. Macro, telephoto and wide-angle lenses, tripod, filters, stools, everything came along.
I also usually photographed in Tv or Av mode and with autofocus. Nice and easy and quick, just let the camera do all the thinking. All I had to do was press the button.
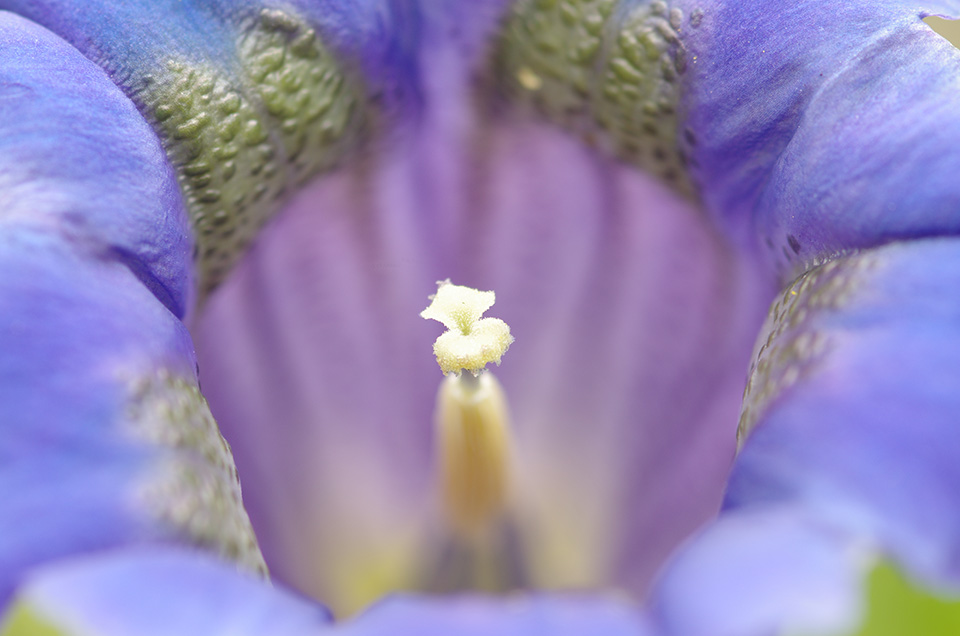
But when I had to or wanted to photograph more difficult subjects, such as the Milky Way, the Northern Lights or a macro photo where the focus had to be exactly right, I soon ran into problems. You often have to photograph with longer shutter speeds, sometimes as long as thirty seconds, the limit for most cameras, or more. The only option then is B(ulb) mode.
And with manual focusing, you decide exactly where you want your focus point to be, rather than leaving it to the camera.
Long shutter speeds
When photographing with long shutter speeds, you really need a tripod. Preferably with a remote control for your camera as well.
M mode
It is best to photograph in M mode, where you operate your camera completely manually. Manual focusing is also recommended. It requires much more attention, which means you also engage with your subject much more consciously.
ND filters
Setting your exposure correctly with long shutter speeds is far from easy. During the day there is almost always too much light, so even with the lowest ISO setting and the smallest aperture, the shutter speed will not be long enough in sunny weather if you want to show movement in your photo, for example a waterfall or star trails.
You are then dependent on ND filters to reduce the light, such as the Big Stopper from LEE. This filter reduces the light by no less than ten stops.
You can also choose variable ND filters, where two polarising filters, placed over each other, can block almost all the light. However, they also allow you to reduce the amount of light transmitted, depending on the conditions.
Suitable subjects for long shutter speeds
Waterfalls are very suitable for photographing with a long shutter speed. The water is not 'frozen', but shown as a kind of veil, creating a fairytale atmosphere. A shutter speed of just one second will get you a long way.
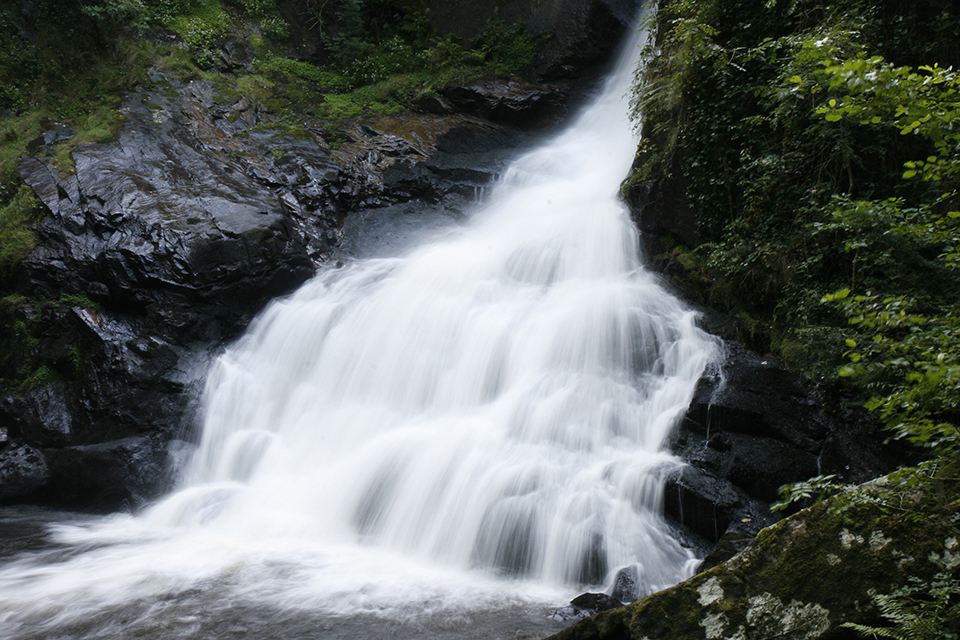
You can also nicely 'smooth out' the water in lakes or even the surf with more extreme shutter speeds. Make sure you have a good image stabiliser!
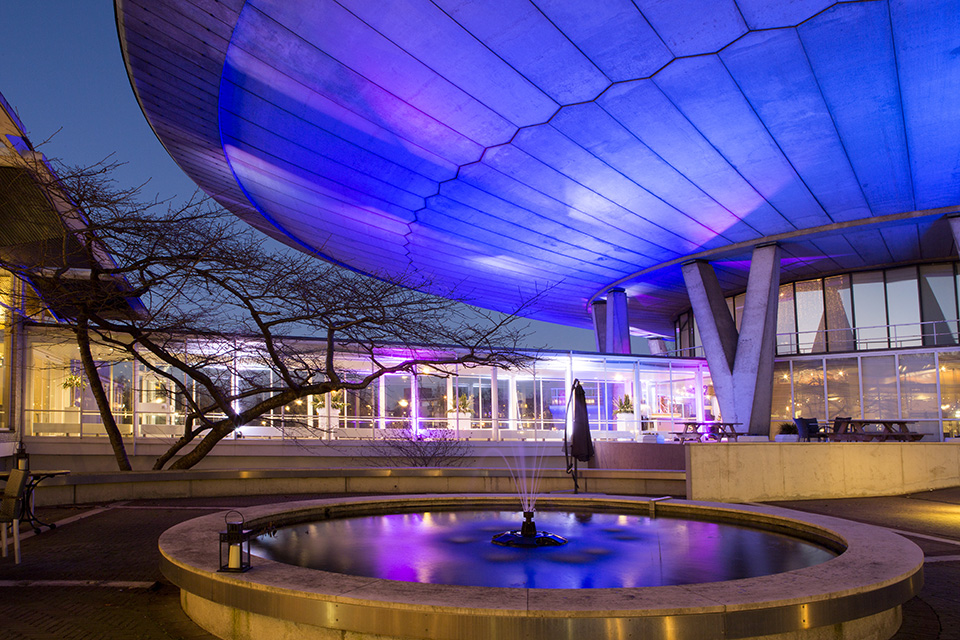
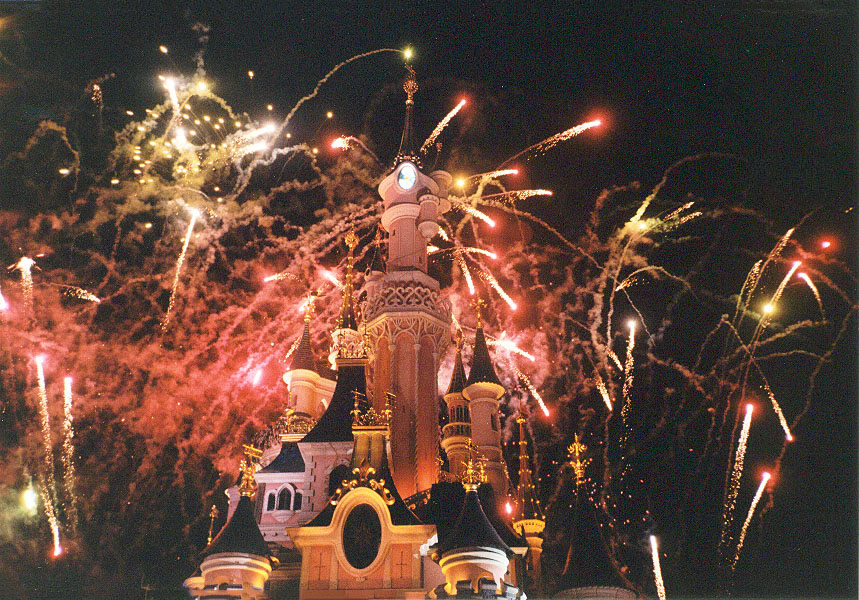
Fireworks are also well suited to long shutter speeds. The only problem is that you never know exactly when they will be set off. Finding a good spot is the least preparation you need to do.
Photographing in B(ulb) mode, with the camera on a tripod of course, gives you the best chance of success. Keep the shutter open with a remote control until a fine series of explosions has passed by.
Try out in advance which aperture works best. So first make a few test shots at a low ISO setting, so that you can use long exposure times. A good basic setting to start from and then refine is: F/16 with a shutter speed of 7 seconds and an ISO setting of 200.
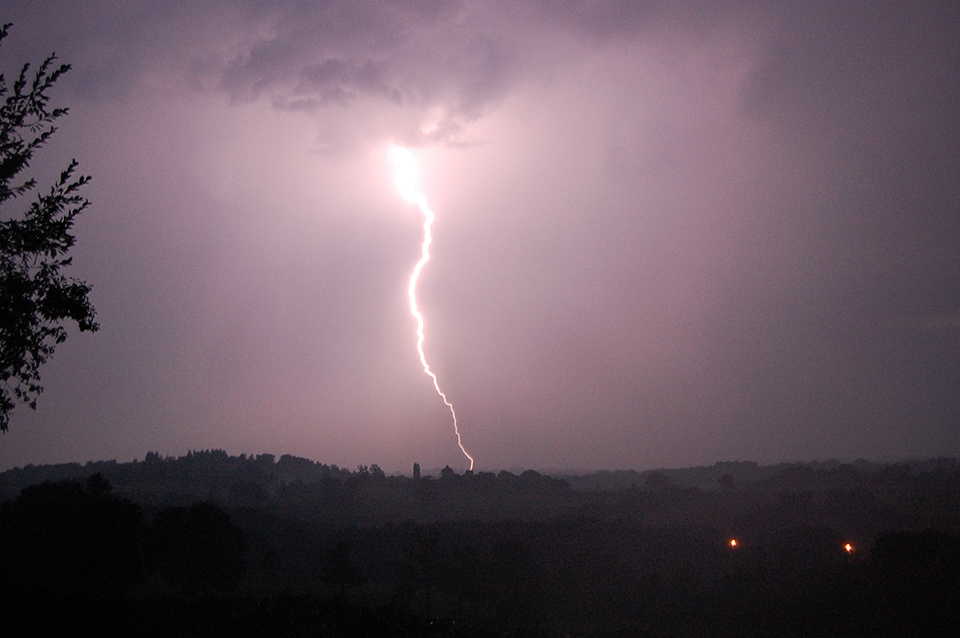
Lightning is just as difficult to photograph as fireworks, perhaps even more difficult. Lightning bolts are even more unpredictable, as you never know when such a discharge will appear.
What often works well is to watch the storm for a while, so that you have a rough idea of where most of the activity is. Then point your camera in that direction and start photographing.
It is best to let the camera keep photographing continuously, with a long shutter speed or in bulb mode with a remote control. Waiting and then pressing the shutter will not work, you will always be too late! You can also use a so-called Lightning Trigger, such as the Joopic Cambuddy pro. See the article on photographing lightning here.
A good starting setting for lightning, which you can use as a basis and then refine, is: F/22 with a shutter speed of 1 second and an ISO setting of 100 if you take a series of photos one after the other in the hope of capturing the lightning.
Because of the low ISO setting and small aperture, these settings also allow you to use a longer exposure time of, for example, half a minute during the day without having to use ND filters.
Star trail photos require even more time and attention if you want to capture them properly. Because the earth rotates, the starry sky moves past us. To the eye, everything seems still, but you soon see that the constellations are moving.
You can capture that apparent movement relative to the earth, the earth rotates, not the stars, nicely in an image when you use long shutter speeds.
However, it is better to make a series of exposures, each lasting about 30 seconds, the maximum shutter speed, and combine them with photo-editing software.
If you have to expose continuously for hours, in order to show the movement of the stars properly so that they become real trails, you risk overexposing the lighter parts of the landscape.
In any case, you need a sturdy tripod that does not move at all. If you want to be completely sure, you can even lock up your mirror to eliminate that source of vibration as well.
For star trail photography, you will need to use a high ISO setting and a wide aperture. Stars give off almost no light. And of course you also need a long shutter speed to achieve a good exposure.
Check in advance what your test shot looks like. The better it is, the less work you will have afterwards when editing and assembling your series of photos.
Point your camera north, the stars seem to rotate around the Pole Star, and use your remote control to make the camera take photos, for example for an hour continuously, each time with a shutter speed of 30 seconds. That results in 120 photos.
If your camera has a built-in interval timer, you can choose an interval of 0 to make your photos join up. Use a wide-angle lens and take advantage of nice 'by-catches' such as shooting stars or passing satellites.
A good basic setting to fine-tune from when photographing star trails is: F/2.8, ISO 2000 and a focal length of, for example, 17mm. You take a series of photos, each lasting 30 seconds.
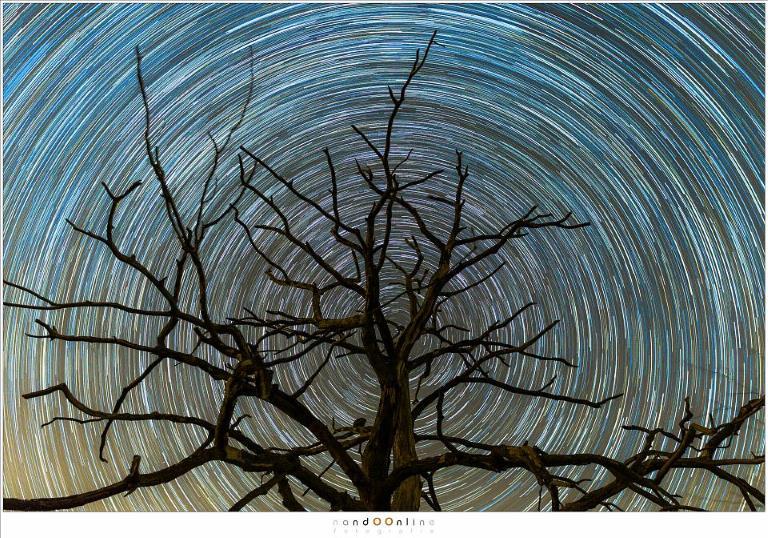
Would you like to know even more about star trail photography? Then be sure to check out Nando's Photographing Star Trails course at Photofacts Academy.
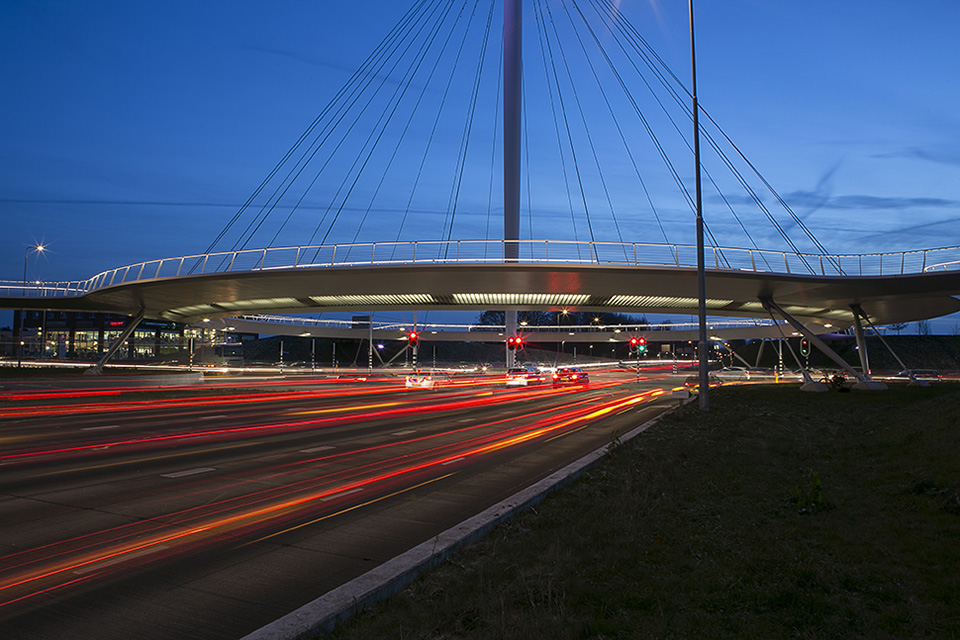
Passing cars are also a nice subject to photograph with a long shutter speed. Here, it is often possible to capture the movement in a single photo. It works particularly well on busy motorways, where you can photograph from a flyover.
The result is a photo with white/yellow and red streaks caused by the headlights and rear lights of passing cars. The cars themselves disappear from the image.
An eye for detail
If you want to photograph more thoughtfully, with better results and fewer unusable photos, it helps to have or develop an eye for detail. First take a good look at your subject without immediately taking your camera out of your bag. A small study of your subject and its characteristics beforehand can also help a lot. You look at where you can create the most original image and from which angle you can do that.
For example, if you want to photograph a flower, you can start with a 'full view' and then make some detail shots of the flower head.
Sometimes those detail shots require quite a bit of improvisation, for example if a flower, when it is open at all, hangs only ten centimetres above the ground. You then have to lie flat on the ground, use live view and focus manually. Very different from what you are used to! The result is always a different photo.
Patience and attention
To take the photos as you imagined them beforehand, you need to be able to show a lot of patience and attention to achieve the desired result. Your own approach, that is what it is really about.
And that does not depend on the equipment you use, it can also happen with a very old camera.
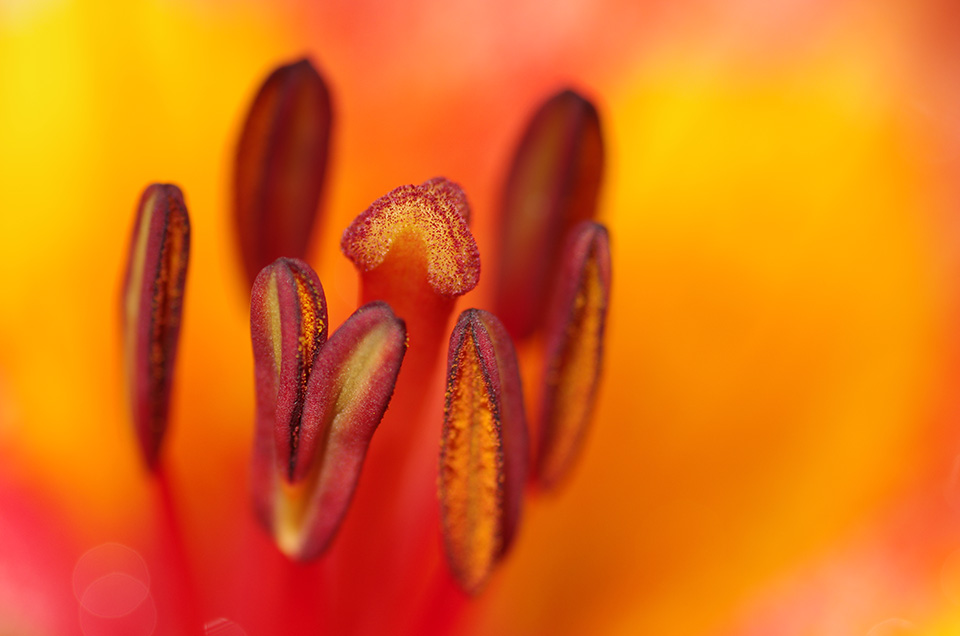
Choose more difficult subjects
By choosing more difficult subjects for your photography, you challenge yourself to bring this to a successful conclusion as well. Your improvisation skills are trained and your resourcefulness is stimulated. The result is that you come home with photos that photographers with less patience and dedication cannot produce so quickly. Unique photos, perhaps!
Your tips?
Do you have any more good tips for better and faster results, so that you do not have to take as many photos? Let us know in the comments!
About the author
Michelle Peeters is fotografe en oprichter van DeuxBleus Fotografie. Michelle herkent het bijzondere in het gewone en het gewone in het bijzondere. Ze heeft zich nooit willen specialiseren en is daardoor van alle markten thuis.
You might also like
-
 Very fast and, above all, large memory card for cameras
by Michelle Peeters
-
 The sense and nonsense of fast memory cards
by Nando Harmsen
-
 First memory card with 1 TB of storage now available
by Michelle Peeters
-
 Digital remake of analogue photos after 20 years
by Michelle Peeters
-
 Review: Sony Xperia 5 III smartphone for photography
by Nando Harmsen
-
 Review: Sony Xperia 1 IV smartphone for photography
by Nando Harmsen
15 comments
-
 An Vanden Abeele wrote on Tuesday 8 August 2017 at 13:13 | reply
wow, great article
Translated from Dutch. -
 Rens Timmermans wrote on Tuesday 8 August 2017 at 14:36 | reply
This article gives us food for thought again Michelle!!
Translated from Dutch. -
 Hans Zwiers wrote on Tuesday 8 August 2017 at 15:58 | reply
Great article, Michelle. With some nice tips. And, following on from Rens, with food for thought. Thanks.
Translated from Dutch. -
 Linda van Wingen wrote on Tuesday 8 August 2017 at 17:20 | reply
Lots of useful information, nice that there are people who know more than I do
Translated from Dutch.
-
 Gerard Lurvink wrote on Tuesday 8 August 2017 at 18:29 | reply
Nice to have everything laid out again and to be challenged to get back to work with enthusiasm. Great article
Translated from Dutch. -
 John m wrote on Tuesday 8 August 2017 at 18:33 | reply
Thanks for a clear and useful article!
Translated from Dutch. -
 John Melsen wrote on Tuesday 8 August 2017 at 18:35 | reply
Thank you for this clear, inspiring and useful article.
Translated from Dutch. -
 riny wrote on Tuesday 8 August 2017 at 18:42 | reply
Wonderful to take this in.
Translated from Dutch.
Beautiful explanation.....thank you -
 Pieter de Haan wrote on Tuesday 8 August 2017 at 20:10 | reply
Read with great pleasure, and very beautiful photos
Translated from Dutch. -
 R. Peterse wrote on Tuesday 8 August 2017 at 23:20 | reply
I really enjoy taking long exposures with a tripod, but especially indoors to get as much depth/sharpness as possible, in churches and such. But for water and waterfalls I actually want to use as short a shutter speed as possible. That way you get all the droplets in the image and the wildness of the roaring water. I think that looks better, but apparently it differs from the general opinion. I also photograph fireworks with a reasonably short shutter speed. That works fine, but only at a fireworks show. Then you know what's coming and what you can expect. If you also zoom in somewhat on the exploding rocket, it produces excellent results.
Translated from Dutch. -

 Michelle Peeters wrote on Wednesday 9 August 2017 at 07:18
| reply
@R. Peterse: deviating from the standard rules is perfectly fine! That often makes your photos stand out.
Translated from Dutch. -
 Ingrid wrote on Wednesday 9 August 2017 at 10:21 | reply
Very good tips, which I have read before. The execution is all the more difficult on your own. Remembering how to set everything up properly and especially a lack of creative ideas.
Translated from Dutch. -
Michelle Peeters wrote on Wednesday 9 August 2017 at 11:02
| reply
@Ingrid: I always learn the most from experimenting a lot and, above all, daring to do things differently. The ideas often arise by themselves then.
Translated from Dutch. -
 Joost wrote on Thursday 10 August 2017 at 20:02 | reply
Another great article that encourages you to think and choose more difficult subjects.
Translated from Dutch. -

Have your say
Please note: Articles older than a week can only be commented on by signed-in visitors.Would you still like to comment? sign in or create a free account.
Become a better photographer every week
A practical photography tip in your inbox every week.
38,768 photography enthusiasts already receive the tips! More about the weekly mail. Or keep up to date via  Facebook.

Elja Trum
Photofacts; everything to do with photography!
Would you like to take better photos and keep up with what is happening in photography? Photofacts publishes articles that teach you something about photography — from a product announcement to a practical shooting tip or a look at a website. Photofacts covers photography every day and is a hobby project of Elja Trum's that got out of hand. The articles are written by a team of volunteer authors. If you would enjoy writing one or more articles for Photofacts, do get in touch.More about PhotofactsPhotofacts is made possible in part by
