

10 Tips for a Handheld Panorama
Monday 7 September 2026, 20:02 by Nando Harmsen | 2,090 views | 7 commentsThis article was translated from Dutch with the help of AI. Read the original.
Ideally, you take the photos for a panorama from a tripod. Complete with a nodal slide and the optimal manual exposure setting. You also use a cable release or self-timer. Sometimes you simply have to shoot the panorama handheld.
A panorama is useful when you want a wider angle of view than you have available. Or when you want to achieve a much higher resolution than you would otherwise have.
Ideally, you work in a very systematic way. With a tripod, a panorama setup, filters, a nodal slide, remote control, and so on. That takes time, but that is not a problem. You are enjoying yourself.
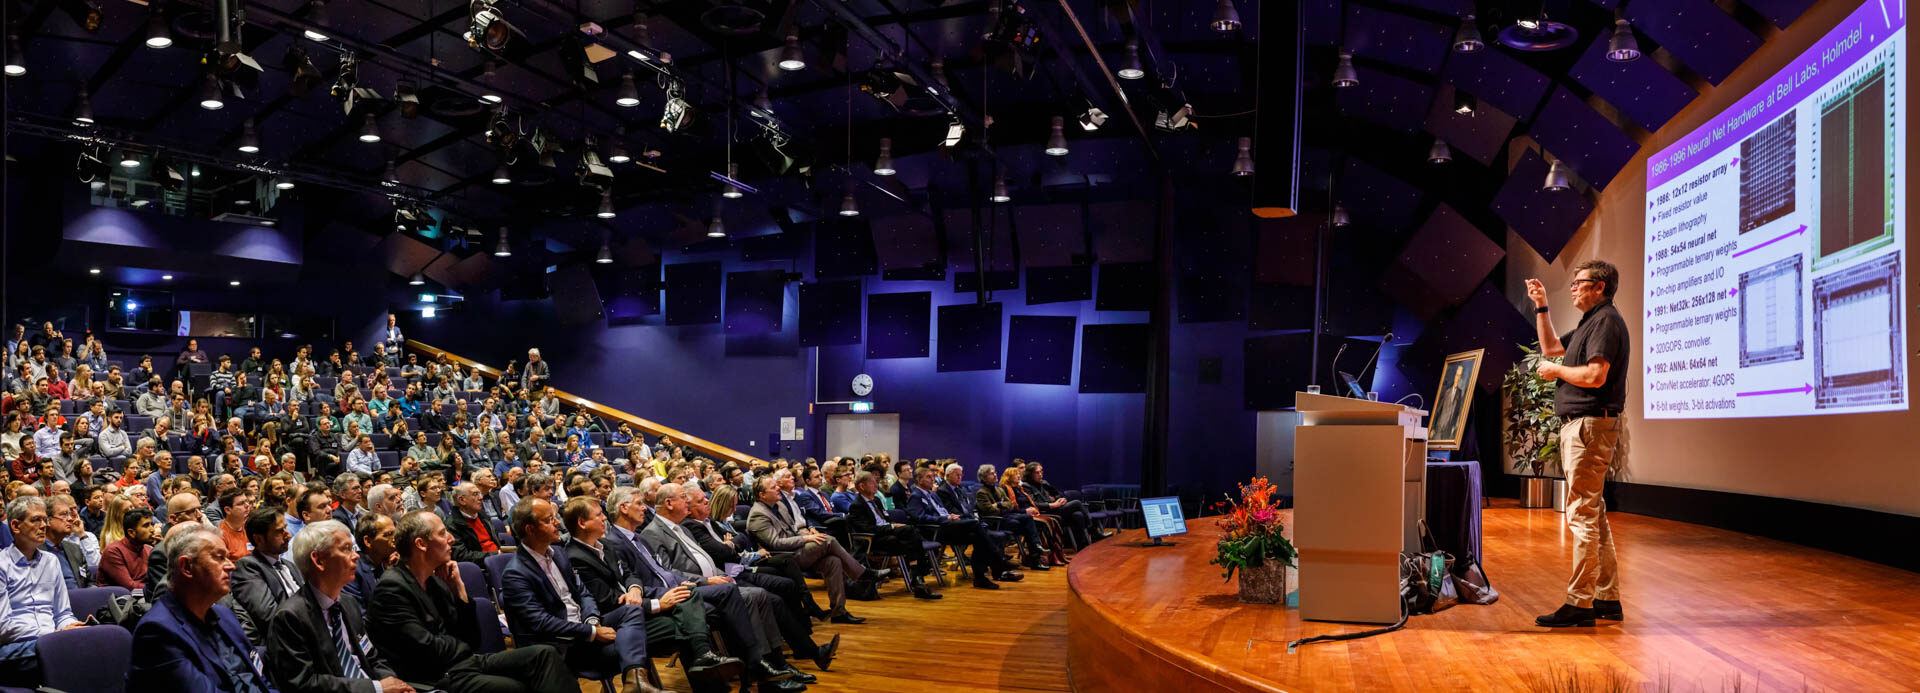
A presentation by Yann LeCun. Handheld panorama.
There are also situations where you do not have all that equipment available. Or you simply do not have the time. In that case, you can also shoot a panorama handheld.
The following 10 tips will show that this is easier than you might think. The results will not quickly be worse than with all the work you would normally put into it.
Tip 1: Make sure you are standing steadily
This may seem obvious, but it needs to be said. Make sure you are standing steadily. After all, you will rotate on the spot. If you lose your balance, making the images for your panorama will fail.
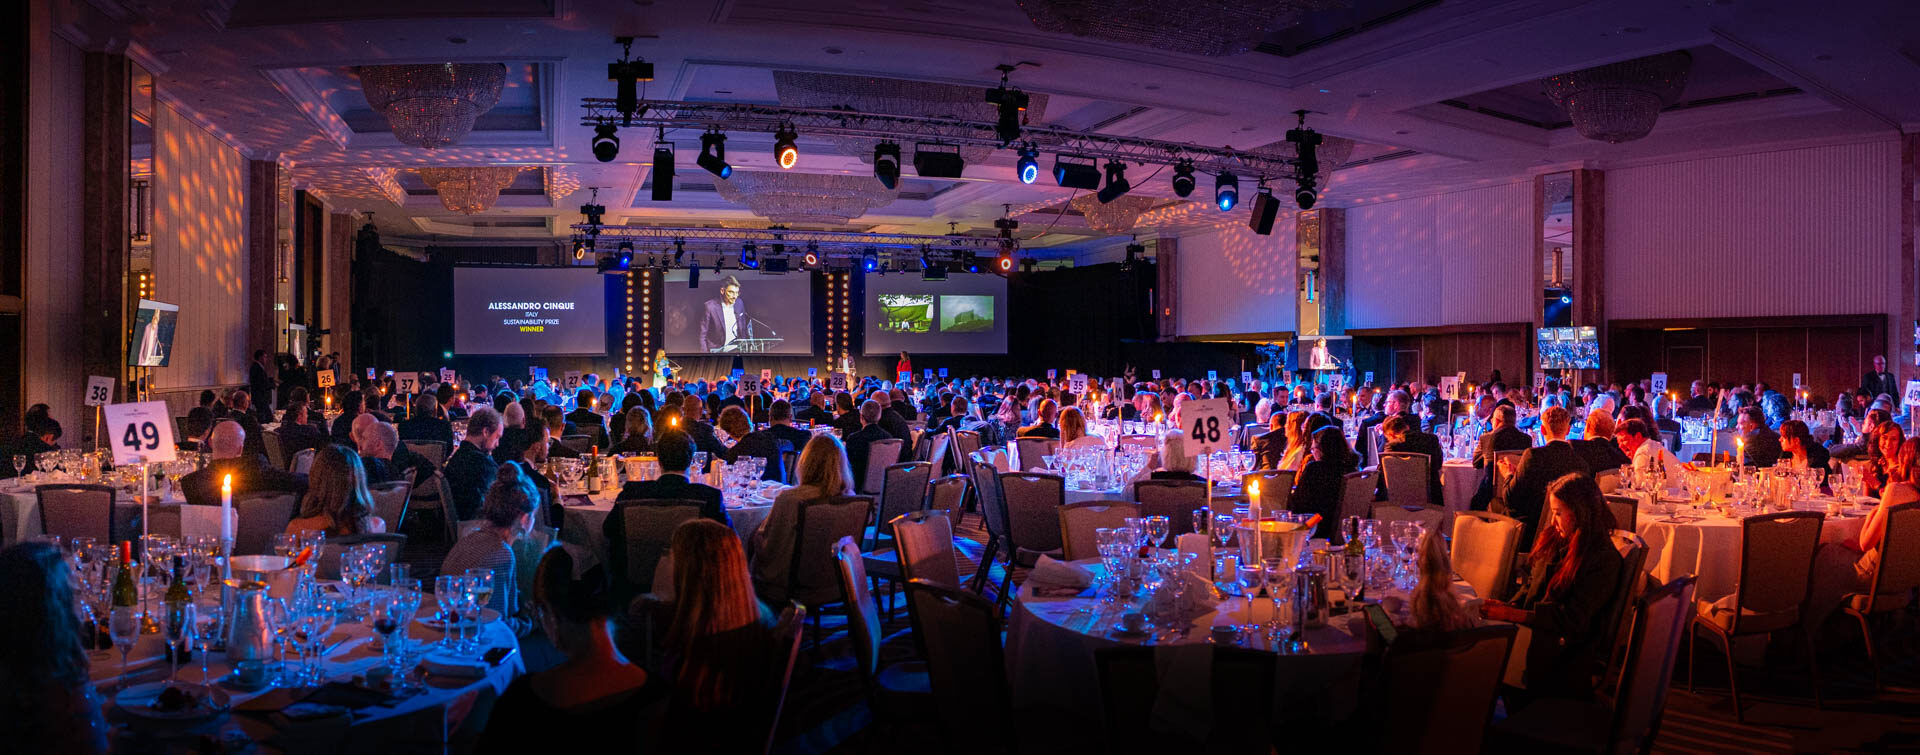
SWPA 2023 in London. Handheld panorama
Tip 2: Avoid the foreground
A foreground that is considerably closer creates parallax shift as you rotate the camera. Stitching the images will produce errors. Normally, you solve this with a nodal slide.
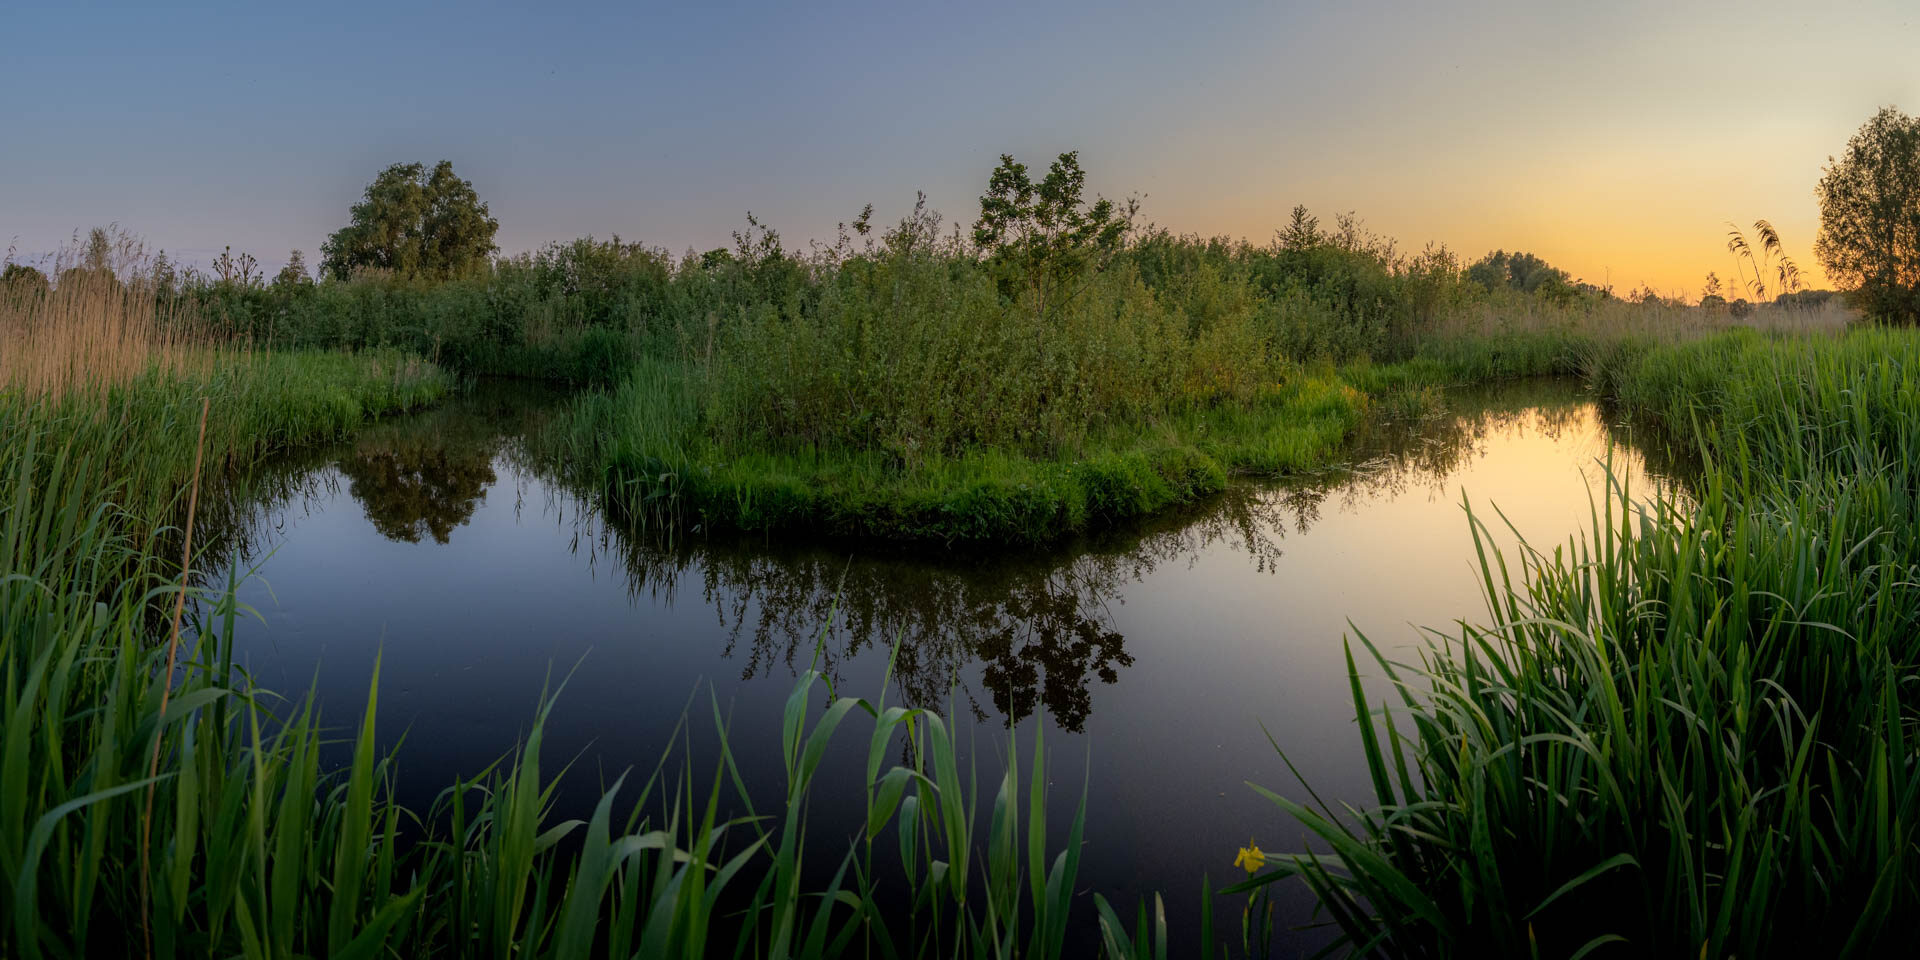
Be careful with this foreground. Parallax can make alignment impossible.
By avoiding a nearby foreground, you prevent this parallax. The individual photos can then be combined into a single image more easily. Without stitching errors.
Tip 3: Keep your camera level
With the horizon exactly in the middle, you get a neatly straight panorama. If you point the camera upwards or downwards, the panorama will no longer be straight. An arc will appear.
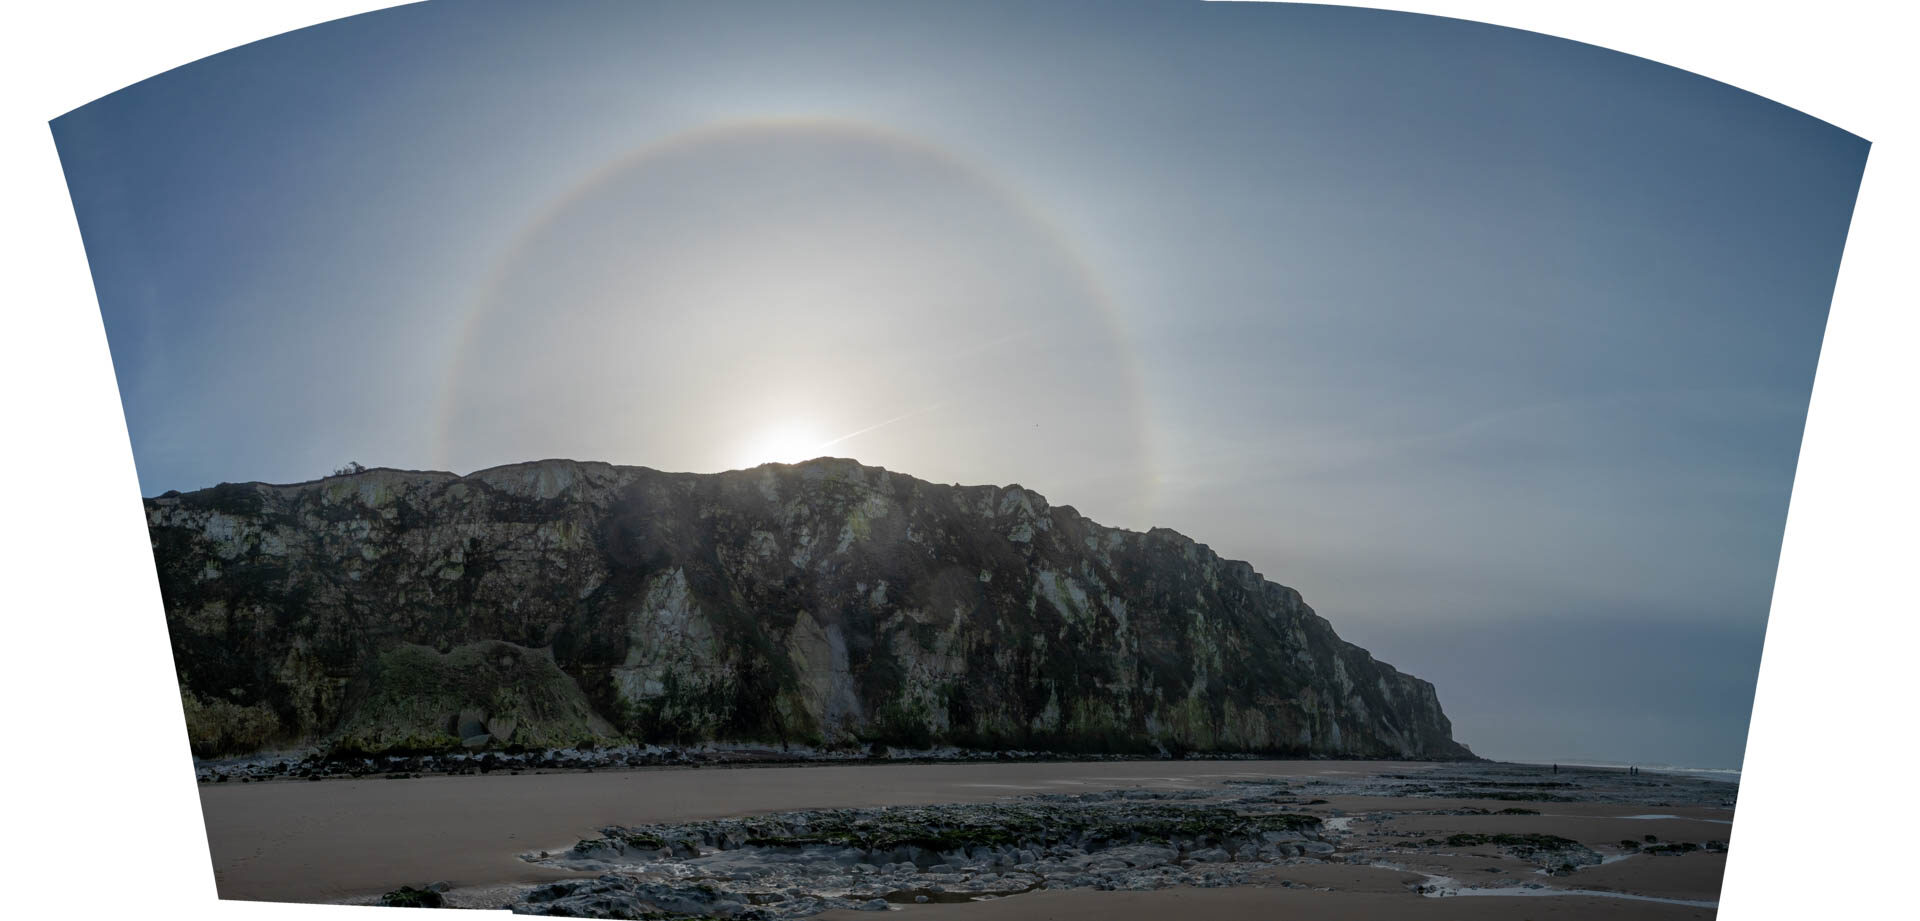
I had to point upwards to get the halo in the frame. See the effect. The wider the panorama, the more extreme this distortion becomes.
Use your camera's spirit level to keep the horizon as close to the middle as possible. A slight deviation is not a problem, but avoid pointing upwards or downwards.
Tip 4: Set the exposure to aperture priority
Aperture priority gives you the same depth of field for every photo. It also ensures that your exposure is correct for every photo. This may vary from photo to photo if there are differences in brightness.
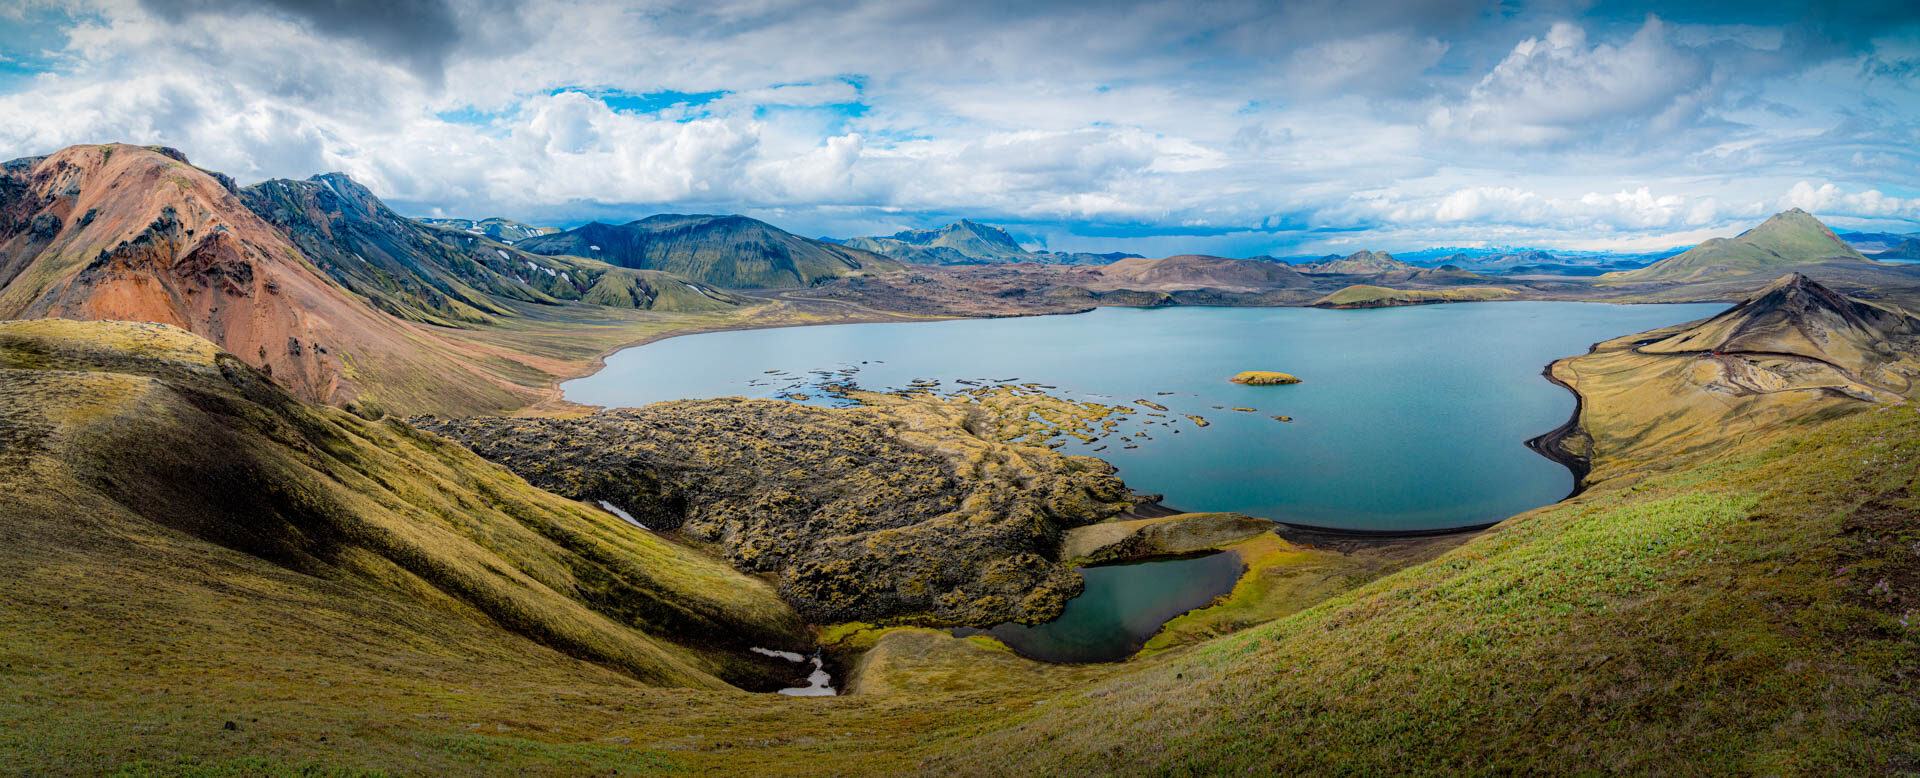
Aperture priority with matrix metering provides a nice average exposure. It handles any extremes of light and dark very well.
These differences in brightness are handled perfectly in almost all cases when creating the final panorama. Make sure you use an average reading across the entire image. Do not use spot metering or partial metering.
Tip 5: Decide where the panorama should start and end
Decide what you want to include in the frame. Make sure there is no distracting foreground. It also tells you whether you should take the photos vertically or horizontally. Keep the 30% overlap in mind.
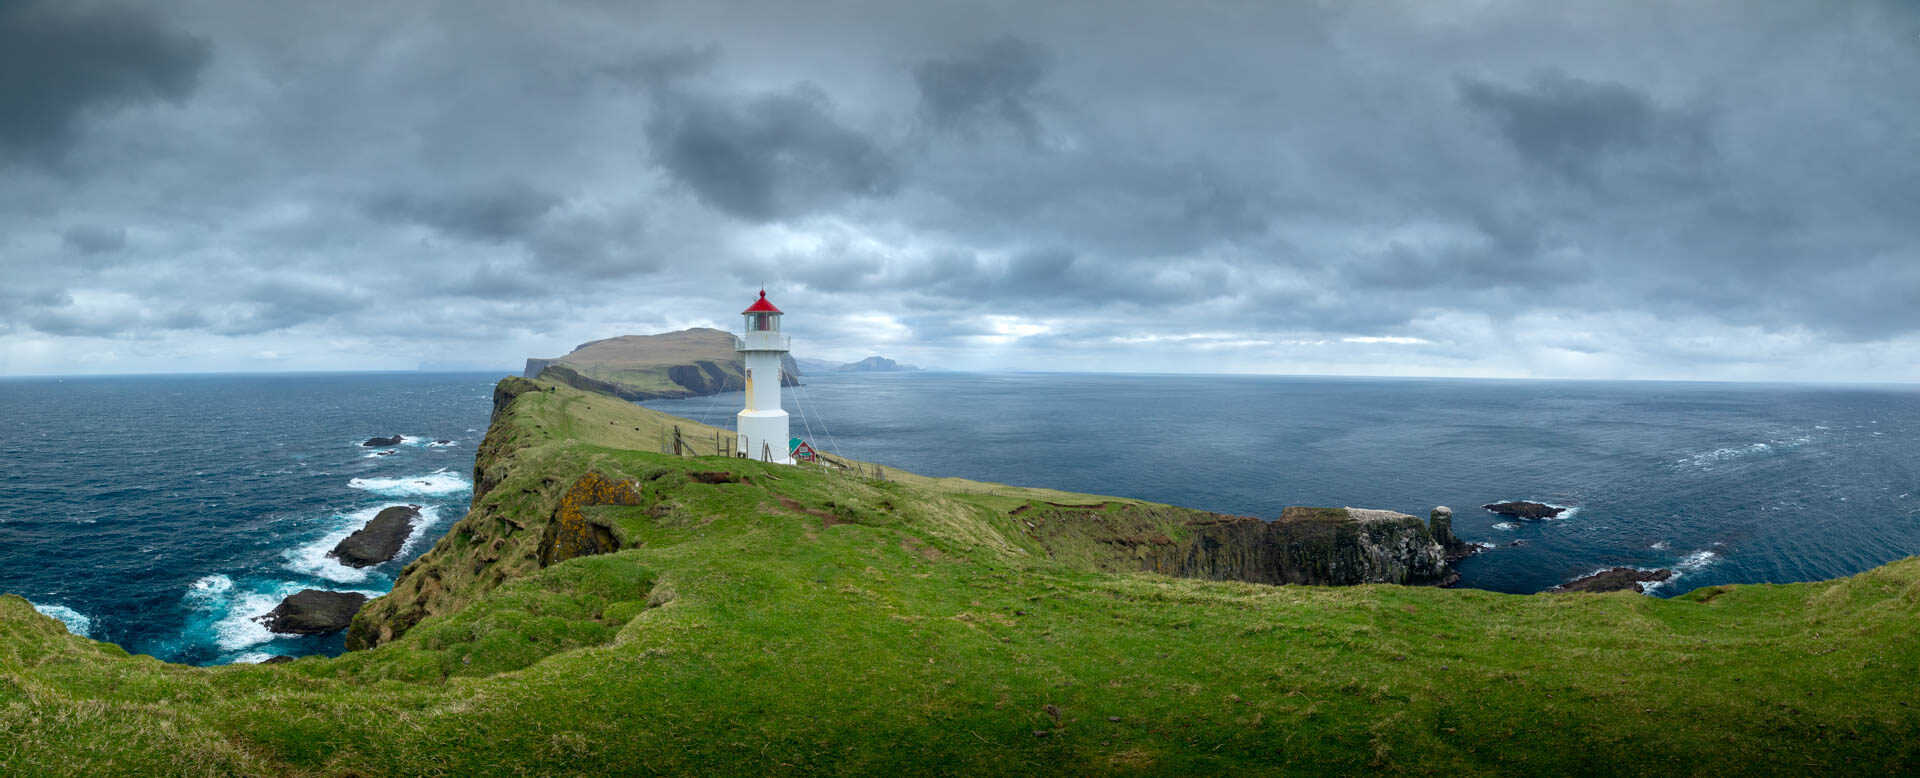
It does not have to be extremely wide. Decide where you want the panorama to start and end.
Can you make the panorama in two or three photos? Then you can shoot horizontally. Do you want more than two or three photos? Choose a vertical position. This prevents your panorama from becoming too narrow.
Tip 6: Do not use autofocus
Autofocus is useful, but it can be tricky when taking the individual images for a panorama. Make sure you focus first, and keep that focus. You can do this by setting the camera to manual focus after focusing.
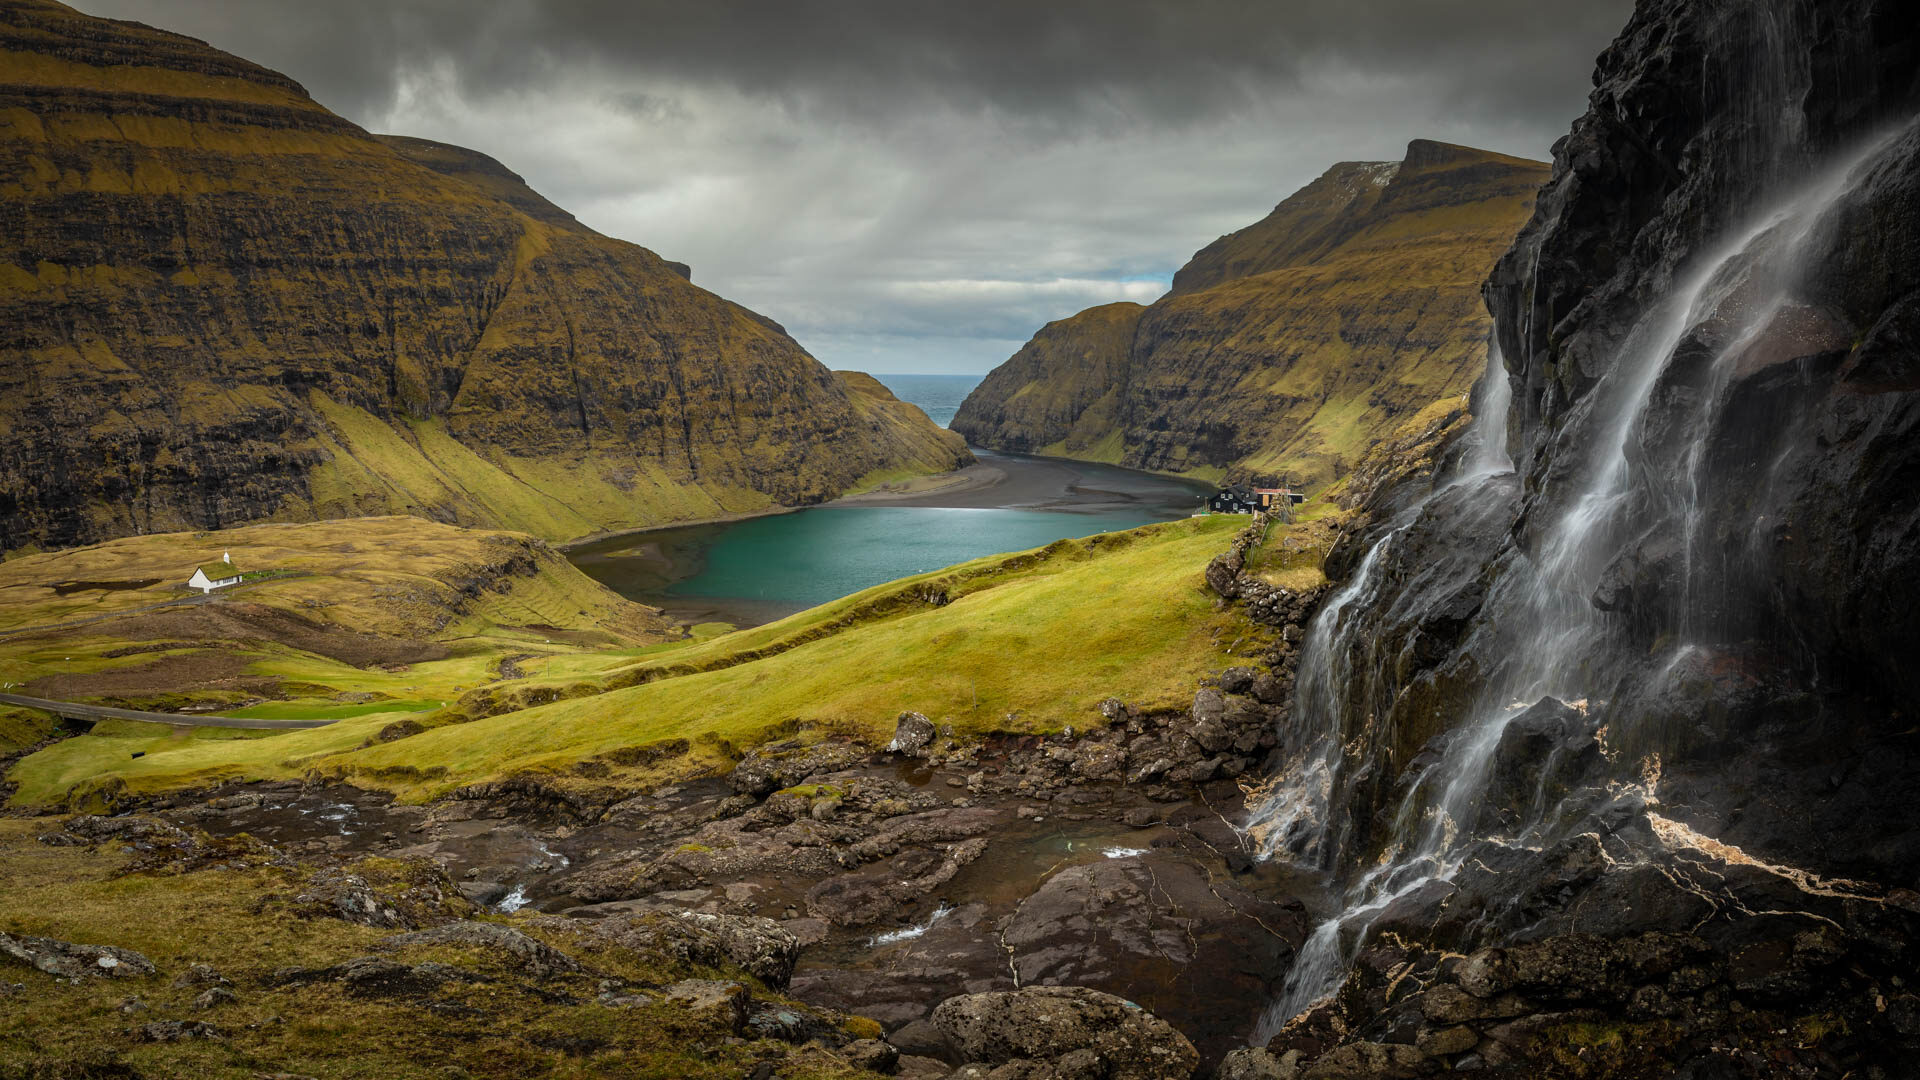
Focusing each photo separately risks having different sharpness from one photo to the next. Focus breathing can also make alignment difficult or impossible.
Do you use back-button focus? Then you can focus first with that button. You can then make the panorama. There is no need to set the camera to manual focus.
Tip 7: Hold your hand in front of the lens for a moment
Where does the panorama start? Where does it end? A useful trick is to first take a photo of your hand and then start the panorama. This makes it clear where your sequence begins.

A photo of my hand after taking the panorama images. This makes it clear that this is a panorama.
You can repeat this after making the panorama. This tells you which images belong together. Instead of your hand, you can also use something else. But your hands are always with you.
Tip 8: Use exposure bracketing
Sometimes the dynamic range is greater than the camera can handle. In that case, make an exposure bracket for each image in the panorama. Auto Exposure Bracketing (AEB) makes this easy.
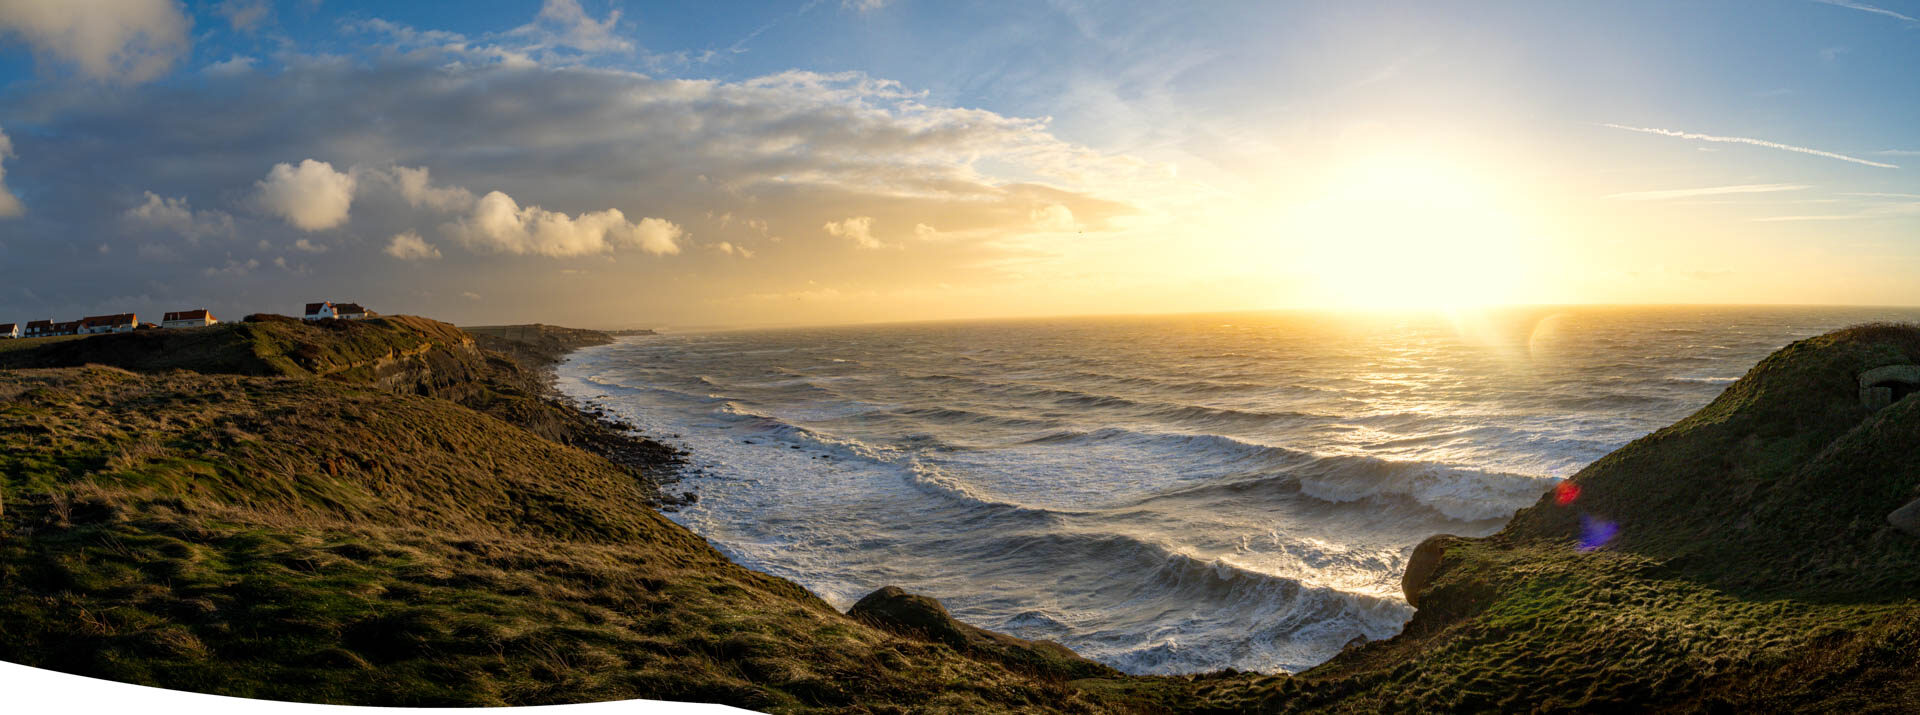
Extreme differences in brightness can be handled with an exposure bracket for each image in the panorama. Use your camera's Auto Exposure Bracketing.
Make sure the camera is set to continuous shooting. Set the AEB. Then make a series with bracketing for each panorama exposure. You can then combine them all later into an HDR panorama.
Tip 9: Choose wide-angle and crop
Do you not need extremely high resolutions? Then you can also take a photo using as much wide-angle as possible and crop it later. You will have more than enough resolution left.

Do you have enough wide-angle? Then you can crop a panorama. With 8160 pixels on the longest side, there is more than enough resolution available for this.
Tip 10: Your smartphone's panorama function
Do you think combining the photos later is too much work? Then grab your smartphone. It probably has a panorama function. Use that instead of your camera.
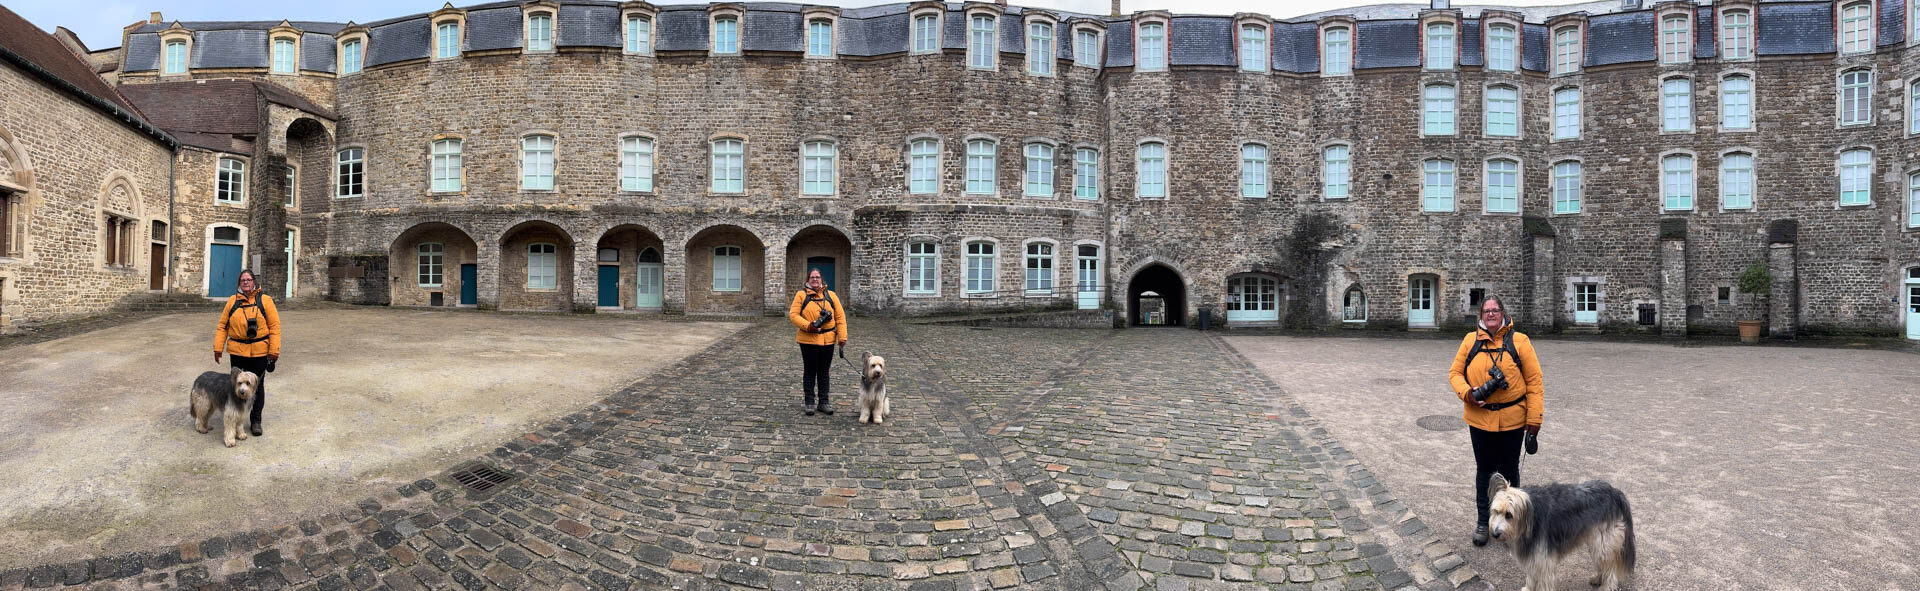
The smartphone's panorama function gives you the opportunity to create fun, playful images. It does not always have to be serious. Sometimes it can simply be funny.
In many cases, the quality of a smartphone panorama photo is good enough for a photobook or holiday album. Or for use on the internet. And you can often use it to create fun effects.
There are more tips
There are, of course, many more tips for panorama photography. You can find ten more by following this link. These mainly concern panoramas taken from a tripod. Or check out the course on PFA.
About the author
Nando Harmsen has been photographing for more than 40 years. He specialises in wedding photography and landscape photography. Nando also gives talks, workshops, masterclasses and photo trips, and regularly reviews new and interesting equipment.
You might also like
-
 Improve your panorama with a nodal slide
by Nando Harmsen
-
A panorama or a panorama crop?
by Nando Harmsen
-
 Ten tips for panorama photography
by Nando Harmsen
-
 Is my smartphone replacing my system camera?
by Laura van der Burgt
-
 A little short on wide angle? Make a panorama
by Nando Harmsen
-
 The L-bracket: the most useful photography tool ever
by Nando Harmsen
7 comments
-
 Fonteijne wrote on Tuesday 8 September 2026 at 10:47 | reply
Good morning Nando,I usually shoot vertically you have more space left with nature photos you do have to take a few more.
Translated from Dutch.
Regards Rudi -

-
 Toon Rekkers wrote on Tuesday 8 September 2026 at 15:01 | reply
Geez, what great tips. I can do something with that. Usually I just crop around randomly and usually I do manage to get a nice panorama out of it. But I’ll do my best to follow the tips.
Translated from Dutch. -
-
 Donald Willemsen wrote on Tuesday 8 September 2026 at 16:47 | reply
Just to be clear: the word 'focusbeathing' is mentioned below a photo, but of course this should be 'focusbreathing'.
Translated from Dutch. -
 Guido Bellens wrote on Wednesday 9 September 2026 at 10:56 | reply
Hello Nando,
Translated from Dutch.
Regarding your tip 3, I take panorama photos vertically so I can easily align them and crop out some at the top and bottom. You do need a few more photos then.
Regards,
Guido -

Have your say
Please note: Articles older than a week can only be commented on by signed-in visitors.Would you still like to comment? sign in or create a free account.
Become a better photographer every week
A practical photography tip in your inbox every week.
38,982 photography enthusiasts already receive the tips! More about the weekly mail. Or keep up to date via  Facebook.

Elja Trum
Photofacts; everything to do with photography!
Would you like to take better photos and keep up with what is happening in photography? Photofacts publishes articles that teach you something about photography — from a product announcement to a practical shooting tip or a look at a website. Photofacts covers photography every day and is a hobby project of Elja Trum's that got out of hand. The articles are written by a team of volunteer authors. If you would enjoy writing one or more articles for Photofacts, do get in touch.More about PhotofactsPhotofacts is made possible in part by
