

Tips for editing photos of shooting stars
Monday 9 August 2021, 14:28 by Nando Harmsen | 5,974 views | 0 commentsThis article was translated from Dutch with the help of AI. Read the original.
Did you photograph shooting stars one evening? Then you probably took a great many photos. What do you do with them, and how do you find all those shooting stars in your images? This article answers those questions.
I wrote an article about photographing the Perseids. It contains 21 tips you can use to photograph them successfully. I also wrote another article in which I went into a few points in more detail.
Finding shooting stars
Not everything you see is a shooting star. In fact, most of it isn't. So it is important to recognise them. You also need to know which things definitely aren't shooting stars. Below, I have listed the different things you may observe.
Aircraft
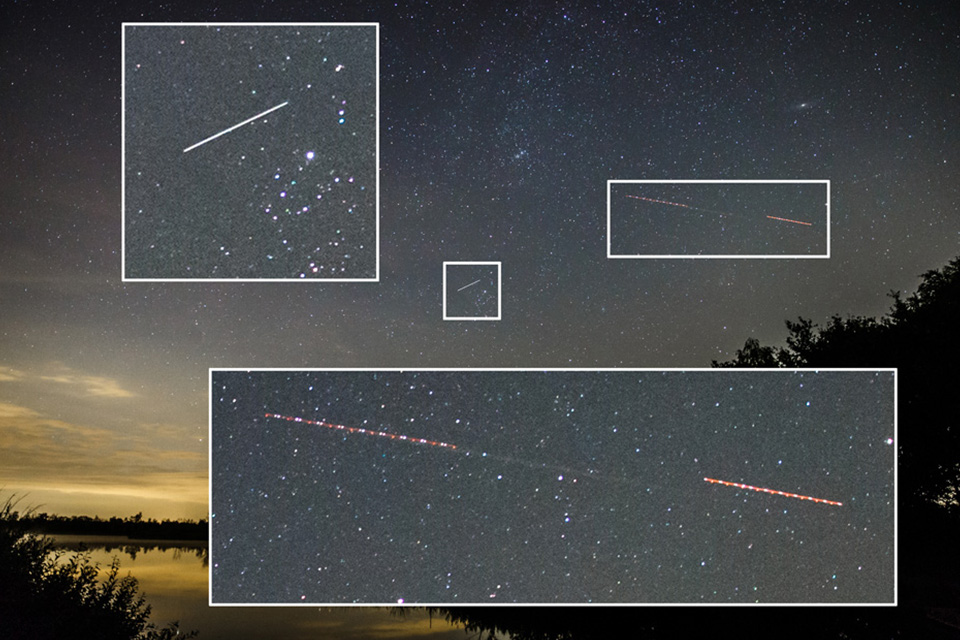
You probably saw quite a few aircraft passing overhead, and may even have heard them. The aircraft lights show up in the photo, as do the red and green flashing lights. Fortunately, aircraft are easy to recognise in your photo. Aircraft are, of course, not shooting stars.
Satellites
Satellites come in many different forms. Simple satellites are often inconspicuous. They look like faint streaks in your image with a constant brightness. Although you might initially mistake one for a shooting star, it quickly becomes clear that it isn't.
Also very obvious, but much more disruptive, are Elon Musk's so-called Star Link satellites. They pass overhead in groups, in overwhelming numbers and very quickly. You won't confuse these with shooting stars either, not even in the photos.
Iridium flares
These are difficult phenomena that look very much like shooting stars. They are reflections of sunlight in the solar panels of the so-called Iridium satellites. These reflections can be extremely bright. When you see one live, you notice that it isn't a shooting star. In a photo, it is harder to tell.
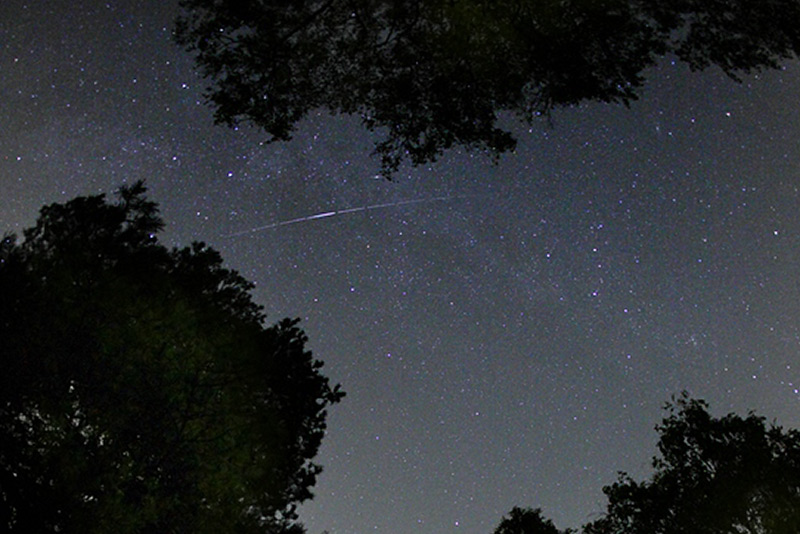
An Iridium flare starts faint, quickly becomes extremely bright, and then fades again until you can no longer see it. This can last between 10 and 30 seconds, or longer. This means you will always see an Iridium flare spread across several photos.
Recognising a shooting star
A shooting star is fast, extremely fast. It is gone in a flash. So a shooting star will appear in just one photo. More importantly, bright shooting stars are often greenish in colour. There are also cases where one end finishes in a small knot. That is another characteristic of a real shooting star.
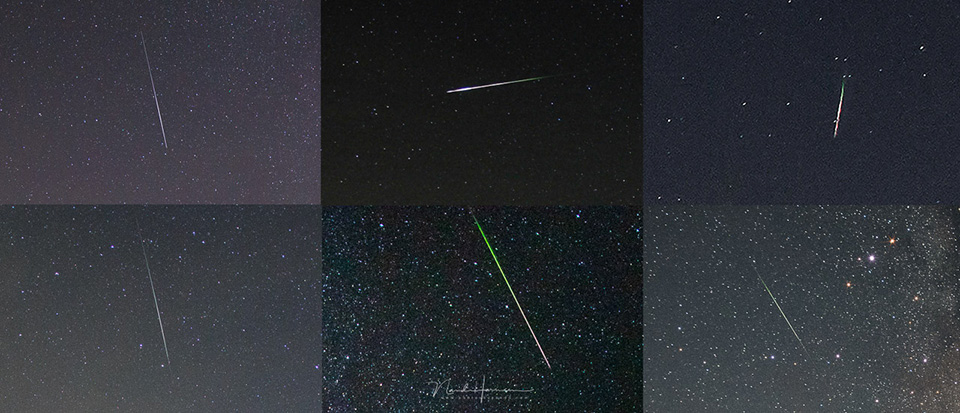
You might be lucky and capture a so-called bolide. These shooting stars are extremely bright and can even cast a shadow. They are larger rocks that come to an explosive end instead of simply evaporating.
Collect the photos with shooting stars
What do you do with all those photos? Most of them probably won't contain a shooting star. Or the star will be so faint that it isn't worth doing anything with. You have several options available.
First of all, make a collection of all the photos with a shooting star and take your time looking at and assessing them. You can then do several things with them.
Choose the best one and present it
If you have a really beautiful shooting star in the frame, you can edit and present that photo on its own. The best thing is if you managed to capture a bolide. They are always impressive. With this photo, also try to give the foreground some attention. Create a beautiful but balanced whole.
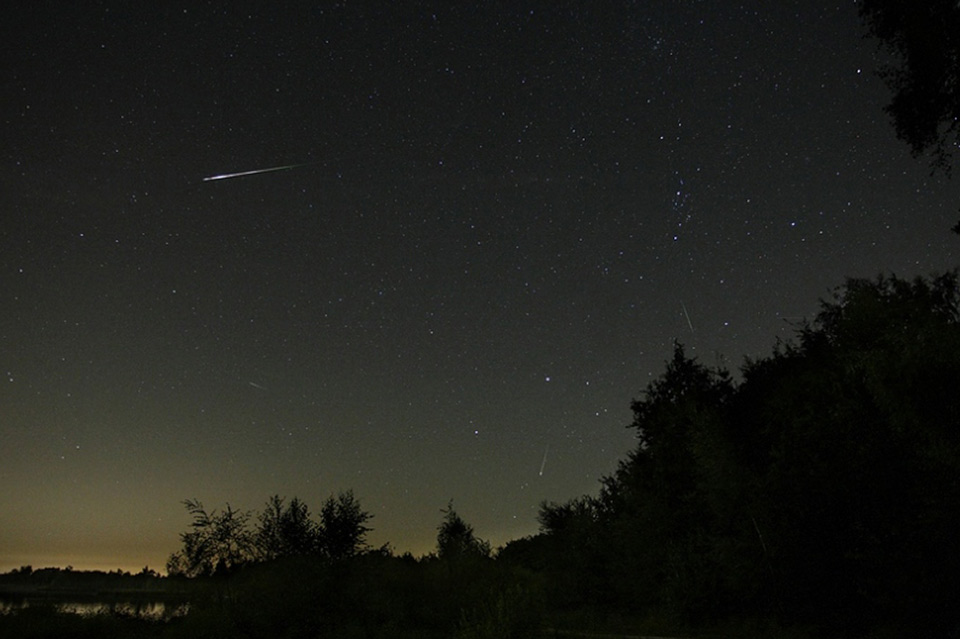
However, don't do this with every photo containing a shooting star. That gets boring. Let only the best ones speak and shine for themselves. Every other photo with a less impressive shooting star in the frame will pale in comparison.
Make a collage
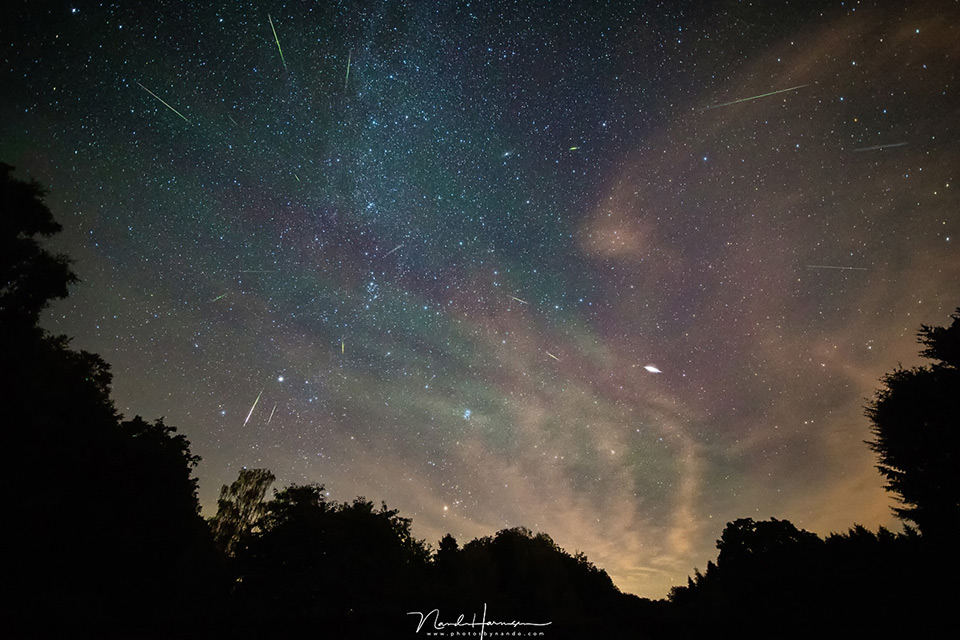
All the shooting stars in a meteor shower come from a single point. This is called the radiant, and for the Perseids it lies in the constellation Perseus. It is always nice to show all the shooting stars in a single image, clearly showing which part of the sky they come from.
You can place the photos on top of one another as layers in Photoshop and show the shooting stars in a single photo using masks. (on Photofacts Academy you can learn how to work with layers and masks) The problem is that the night sky rotates, which means the point from which they appear to fall also changes position.
This means you have to rotate each layer proportionally as well. It takes some work, but the result is always better than not correcting the rotation. Use reference points, known stars, in the night sky to align the images. The more accurately you work, the better the result.
No shooting stars?
Of course, there is a chance that you didn't capture any shooting stars in your image. Or they may be so faint that they aren't worth doing anything with. Was the evening or night then completely wasted? No, not at all. You can always make a star trails photo.
Star trails show the rotation of the stars as circles or lines in the sky. You photographed the same composition for an hour, perhaps even several hours in a row. The stars shifted slightly in each photo. That is perfect for star trails.
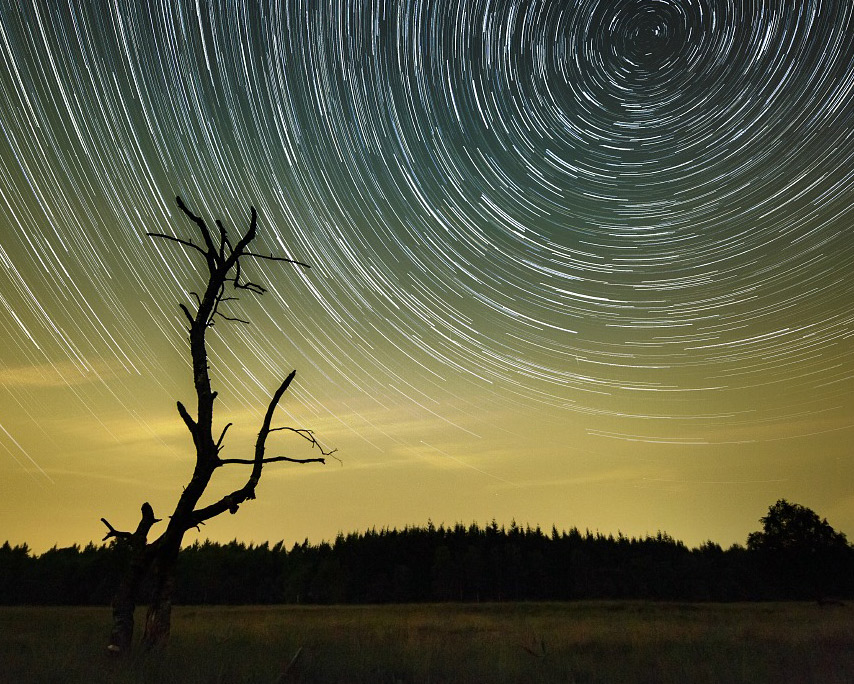
By combining all the photos, you may be able to create a fantastic star trails photo. In my star trails photography course on Photofacts Academy, you can learn how to do this.
Make sure you clone any aircraft or satellites out of the photos before creating the star trails. Or don't, the choice is yours.
The Milky Way as a bonus
Were you at an extremely dark location, as far as that is possible in the Netherlands? Then you probably saw the Milky Way too. I hope you also had a chance to photograph it. The Milky Way may even have been part of your series of photos of the shooting stars.
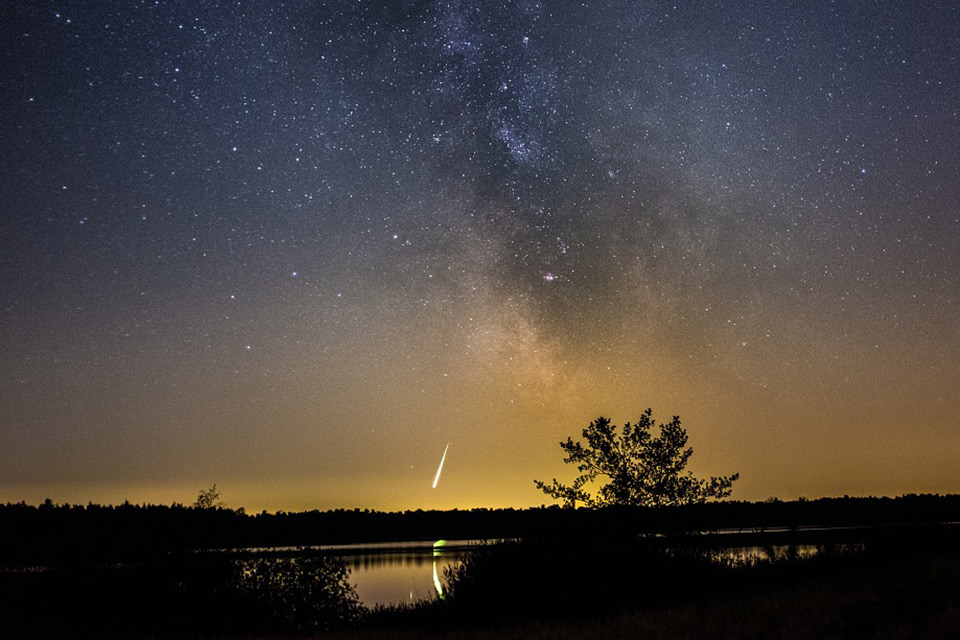
That means you can also present a photo of the Milky Way, perhaps alongside the photo with the best shooting star, and a collage showing all the shooting stars together. In the best-case scenario, you can present at least four unique photos from this night.
About the author
Nando Harmsen has been photographing for more than 40 years. He specialises in wedding photography and landscape photography. Nando also gives talks, workshops, masterclasses and photo trips, and regularly reviews new and interesting equipment.
You might also like
-
 21 tips for photographing the Perseid meteor shower
by Nando Harmsen
-
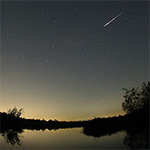 Are you ready to photograph the 2022 Perseid meteor shower?
by Nando Harmsen
-
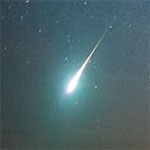 Go and photograph the Perseid meteor shower
by Nando Harmsen
-
Tips for Photographing the Perseids
by Nando Harmsen
-
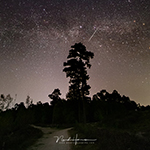 Falling stars (Lyrids), photographic contributions
by Michelle Peeters
0 comments
Be the first to share what you think!
Have your say
Please note: Articles older than a week can only be commented on by signed-in visitors.Would you still like to comment? sign in or create a free account.
Become a better photographer every week
A practical photography tip in your inbox every week.
38,981 photography enthusiasts already receive the tips! More about the weekly mail. Or keep up to date via  Facebook.

Elja Trum
Photofacts; everything to do with photography!
Would you like to take better photos and keep up with what is happening in photography? Photofacts publishes articles that teach you something about photography — from a product announcement to a practical shooting tip or a look at a website. Photofacts covers photography every day and is a hobby project of Elja Trum's that got out of hand. The articles are written by a team of volunteer authors. If you would enjoy writing one or more articles for Photofacts, do get in touch.More about PhotofactsPhotofacts is made possible in part by
