

Tips for Photographing the Perseids
Monday 2 August 2021, 20:02 by Nando Harmsen | 6,584 views | 0 commentsThis article was translated from Dutch with the help of AI. Read the original.
It's that time again. August has just started. That means it's time to start preparing to photograph the Perseids, one of the most active meteor showers of the year. In this article, I'll give you tips for taking the best photos.
This isn't the first time I've given tips for photographing the Perseid meteor shower. Last year, I already gave 21 tips for photographing the Perseid meteor shower. If you want to read through them again, you definitely should.
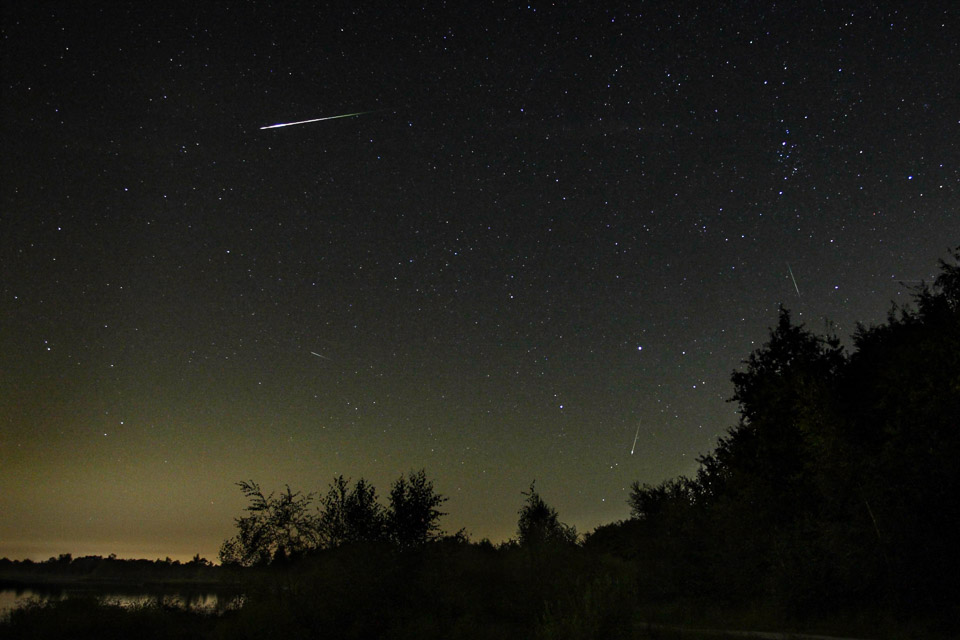
In this article, I want to skip the basics and go into a few important practical tips in more detail. There will be a second article covering recognising falling stars in your photos, and what else you can do with the images you've taken.
Oh yes, if you're wondering whether you should give it a try, bear in mind that this year the Moon isn't a disturbing source of light in the sky. This year is therefore ideal for photographing the Perseids.
Don't know exactly when it is? The night of 12 to 13 August is the peak of this meteor shower, with a chance of as many as 69 meteors per hour in our region.
A little background
The Perseid meteor shower is called that because these meteors, also known as shooting stars, all appear to come from the constellation Perseus. The point they come from is called the radiant. If you have a shooting star in your photo, it will be a Perseid if it appears to come from that constellation.
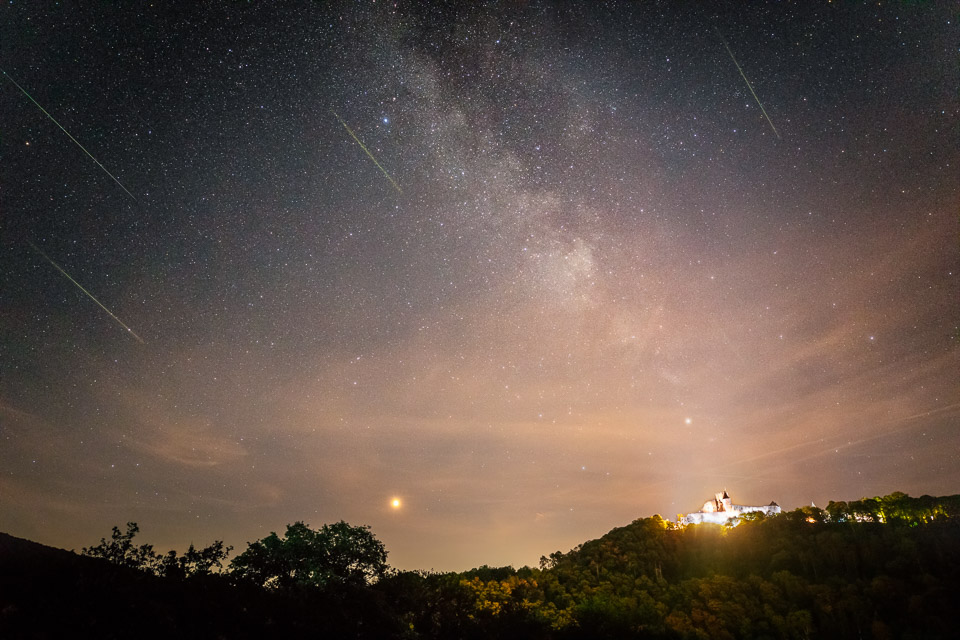
Meteors are dust particles and debris from the comet 109P/Swift-Tuttle, which travels around the Sun once every 133 years. This comet has been doing so for 1,000 years or more, because the Chinese already observed the Perseids in AD 34.
The debris evaporates when it enters the atmosphere. The air around it becomes so hot that it starts to glow. That is the flash of light you see, and that is the shooting star, the meteor. If the fragment is large enough, it can land on Earth and we call it a meteorite. The shooting star is often extremely bright in that case and is called a bolide.
The speed of the Perseids when they enter the atmosphere is approximately 213,840 kilometres per hour. Yes, you read that correctly, more than two hundred thousand kilometres per hour, or 59 kilometres per second. You can also understand that the flash of a meteor is no more than that: a flash. Remember that for a moment.
Setting the exposure
However strange it may sound, photographing meteors is much like photographing with a flash. The flash is so short that the shutter speed doesn't matter. Unlike a flash, a meteor's flash isn't very bright. It produces relatively little light.
That's why it's important to make sure the camera receives enough light. Preferably use an aperture of f/2.8. A wider aperture is even better if possible.
It's also sensible to set your ISO as high as possible, but not so high that the noise becomes distracting. Try using ISO 3,200 or ISO 6,400. In any case, don't go below ISO 1,600.
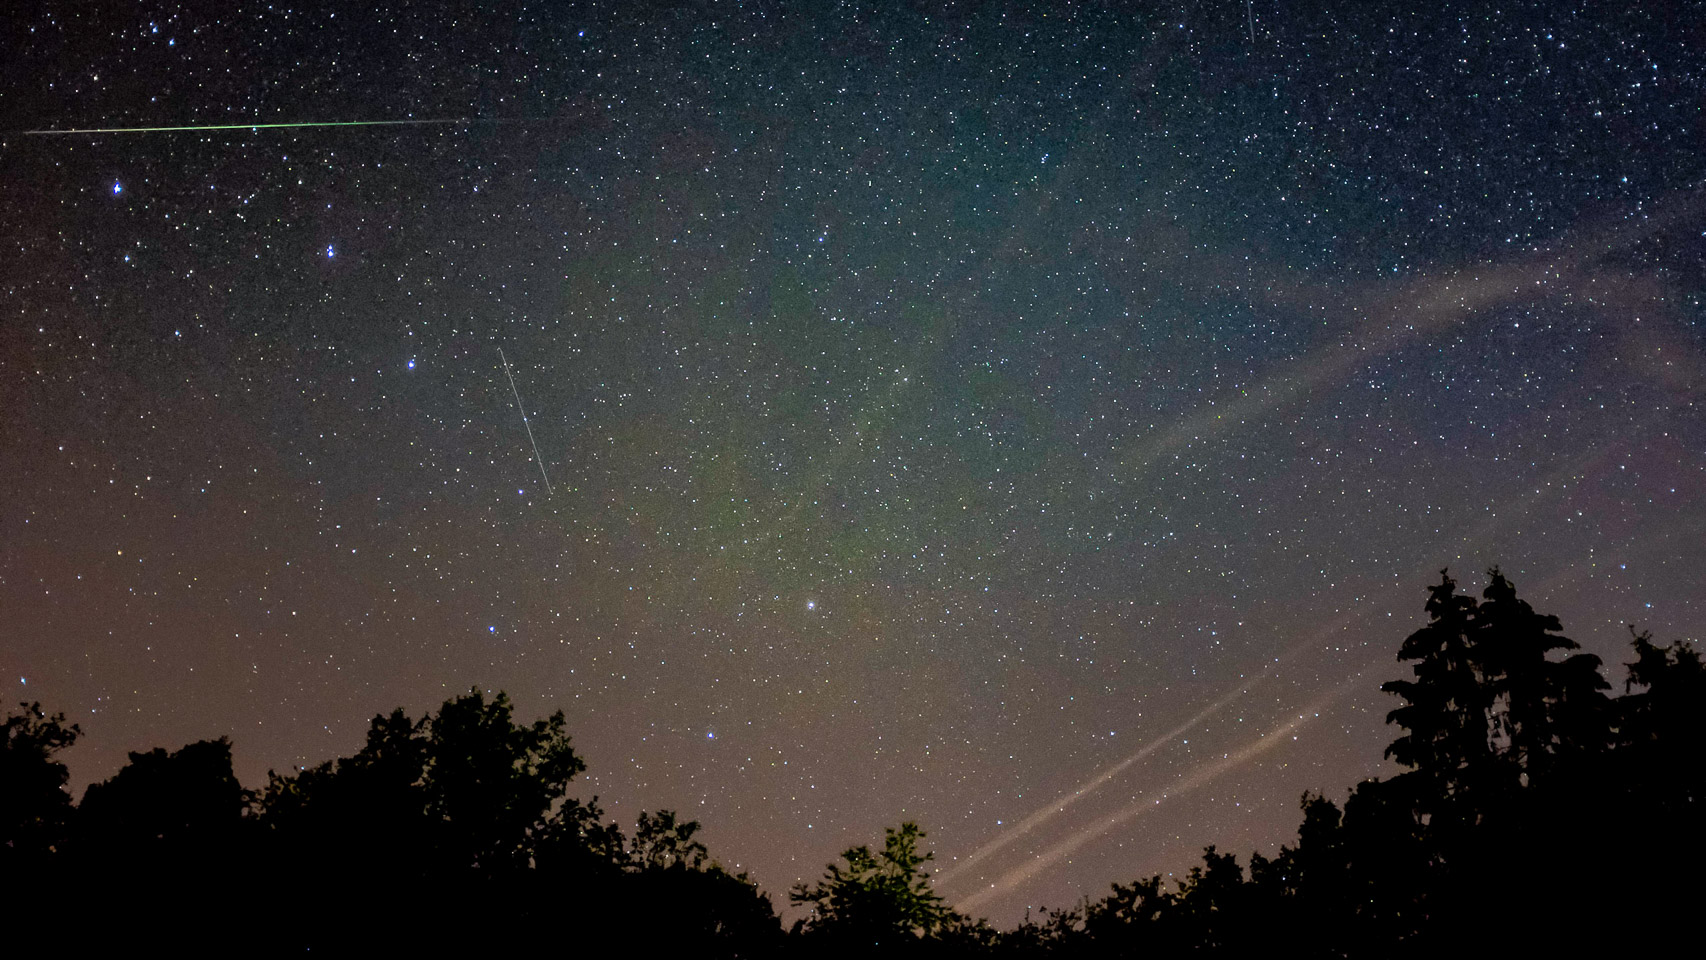
As mentioned, the shutter speed doesn't matter. You can use it to get the correct exposure with the widest aperture and the high ISO value you've set.
But be careful not to make the shutter speed too long either. After all, you want stars, not star trails. So bear in mind the rule of 500 or the NPF rule.
What should you point at?
This is one of the most difficult questions when it comes to photographing a meteor shower. Should you point at the radiant? Or preferably at another point in the sky? You can use two cameras so you don't have to choose, but not everyone has two cameras.
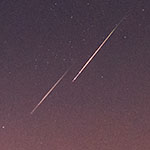
If you want to include the radiant in the frame, the meteor trails will be relatively short. The further they appear from the radiant in the sky, the longer they will seem.
If you point the camera at a point far from the radiant, the shooting stars will be at their longest. At the same time, the further you move from the radiant, the smaller the chance of getting one in your frame.
You could say that an extremely wide-angle lens is a solution, and in a sense it is. At the same time, you know that a wide angle makes the image smaller. The shooting-star trails will therefore also appear very small in your image.
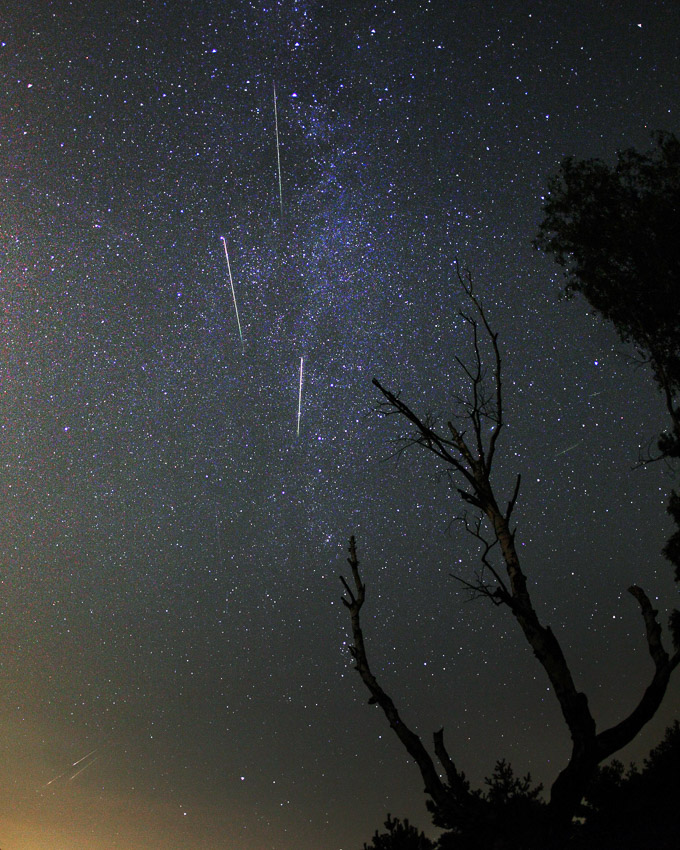
If you're photographing the Perseids for the first time, or if you haven't managed to get good results before, I recommend using a wide angle of approximately 16mm to 24mm (full frame). Users of a crop camera will need to work out what focal length this means for their camera.
Preferably point at a part of the sky that includes the radiant. Ideally, also include a bit of the horizon with a nice silhouette, or another attractive foreground.
Take lots of photos
Once you've chosen a patch of sky, a nice foreground and the right camera settings, you can start taking photos. Above all, take lots of photos. Continuously, one after another. That's the only way you'll have a chance of capturing shooting stars.
Just leave your camera where it is, even if you see shooting stars falling in another part of the sky. There's no way of saying where or when they'll appear. But if you keep moving the camera, you only reduce your chances. Be patient.
Do you still want to create different compositions during the night? Then wait an hour before moving the camera. Or two hours.
If, however, you ultimately want to create a photo showing all the captured meteors in the frame, which I'll explain in the next article, it's better to make one composition and stick with it. Unless you have two cameras, of course.
Condensation
Is it a damp, cool night? Then there's a chance you'll have problems with condensation. The front lens of your lens will fog up. Once that has happened, you won't be able to get rid of it. Your lens has simply become too cold. The only way to keep photographing is to use another lens that isn't cold.
There are solutions, such as a heated strip. This makes sure your lens doesn't cool down. Those gel packs for keeping your hands warm also work. You can attach one to your lens with an elastic band.
One final tip for preventing condensation: remove a UV or protection filter. This thin piece of glass cools down very quickly and will sometimes even fog up within ten minutes. You don't need it for your photography either, especially not at night.
Also read my basic tips
In the article 21 tips for photographing the Perseid meteor shower, you'll find more useful tips that are a perfect addition to the information in this article.
Be sure to read that one too, so you'll also be ready for that beautiful moment during the night of 12 to 13 August. I wish you success with your photography.
About the author
Nando Harmsen has been photographing for more than 40 years. He specialises in wedding photography and landscape photography. Nando also gives talks, workshops, masterclasses and photo trips, and regularly reviews new and interesting equipment.
You might also like
-
 21 tips for photographing the Perseid meteor shower
by Nando Harmsen
-
 Are you ready to photograph the 2022 Perseid meteor shower?
by Nando Harmsen
-
 Go and photograph the Perseid meteor shower
by Nando Harmsen
-
Tips for editing photos of shooting stars
by Nando Harmsen
-
 Photographing mushrooms in your own local rain shower
by Nando Harmsen
0 comments
Be the first to share what you think!
Have your say
Please note: Articles older than a week can only be commented on by signed-in visitors.Would you still like to comment? sign in or create a free account.
Become a better photographer every week
A practical photography tip in your inbox every week.
38,981 photography enthusiasts already receive the tips! More about the weekly mail. Or keep up to date via  Facebook.

Elja Trum
Photofacts; everything to do with photography!
Would you like to take better photos and keep up with what is happening in photography? Photofacts publishes articles that teach you something about photography — from a product announcement to a practical shooting tip or a look at a website. Photofacts covers photography every day and is a hobby project of Elja Trum's that got out of hand. The articles are written by a team of volunteer authors. If you would enjoy writing one or more articles for Photofacts, do get in touch.More about PhotofactsPhotofacts is made possible in part by
