

Go and photograph the Perseid meteor shower
Saturday 2 August 2025, 14:07 by Nando Harmsen | 2,786 views | 4 commentsThis article was translated from Dutch with the help of AI. Read the original.
The annual Perseid meteor shower takes place on the night of 12 to 13 August. This gives you a great chance to photograph shooting stars. You will need some luck and patience. Read how to set up your camera here.
The Perseid meteor shower is one of the most active meteor showers. Every year, its peak is on the night of 12 to 13 August. The nice thing is that this is also the perfect time of year to photograph the Milky Way.
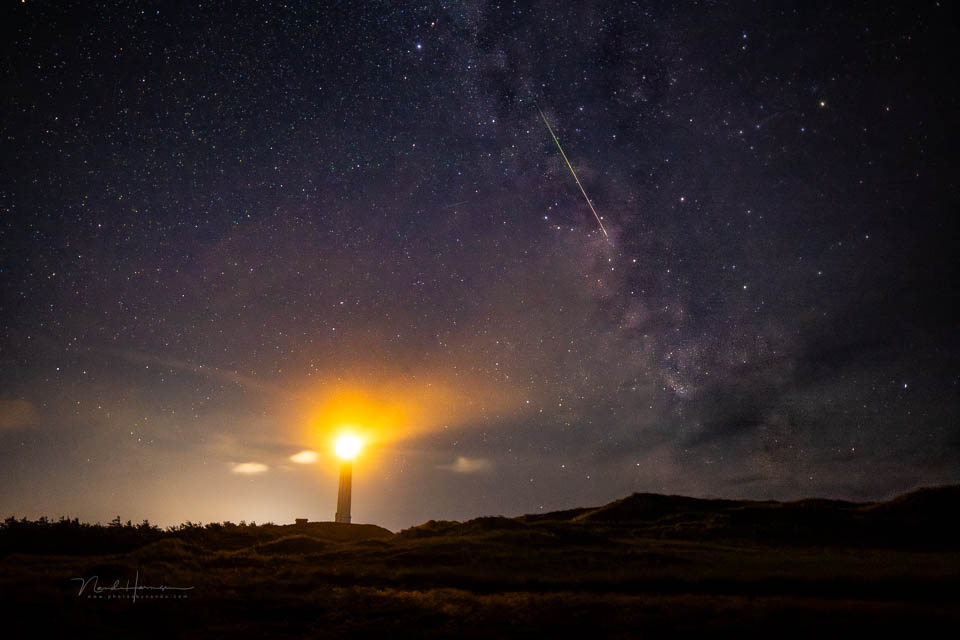
There are some conditions attached. You need to be in a dark location, and I mean 'really dark,' and the sky must be clear. Above all, the Moon must not be in the sky. That is a problem this year.
The Moon is 83% illuminated, making it look like a mini sun in the sky. The Moon rises at around 22:00, so from that moment onwards the conditions are not very favourable. But it is always worth trying.
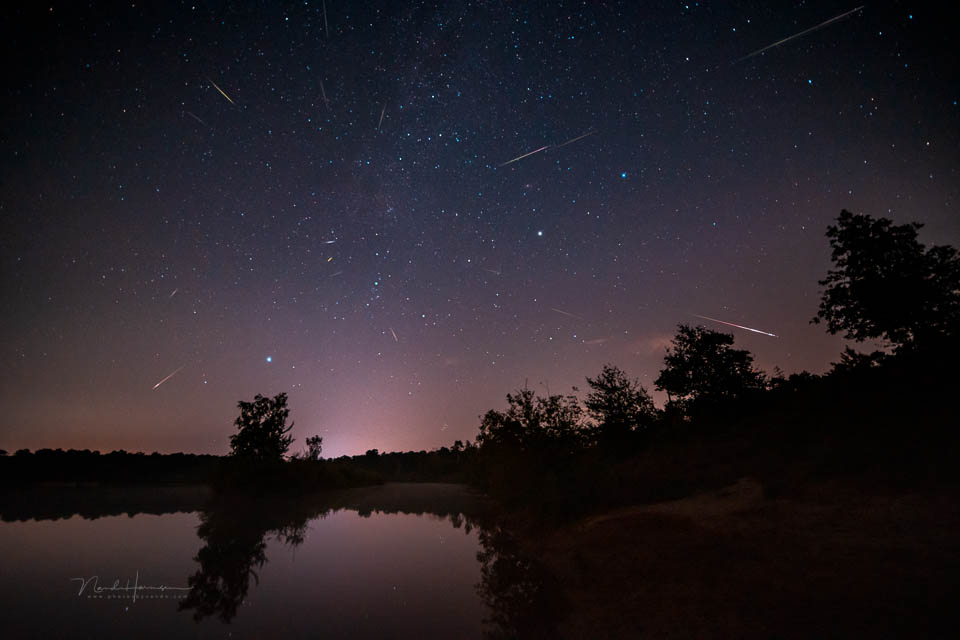
You can follow the list below to photograph shooting stars. It is important to try this well in advance. That gives you time to practise.
- Find a really dark location with an attractive foreground
- Use a sturdy tripod and switch off image stabilisation
- Use a wide-angle lens of 24mm or wider
- Use the widest aperture (f/2.8 if possible)
- Choose ISO 3200 or ISO 6400
- Choose the shutter speed that gives the correct exposure (check the histogram)
- Set the white balance to 4000K (shoot in raw and you can always correct it)
- Set the camera to continuous shooting
- Focus manually on the subject (using Live View if possible)
- Take a test photo to check everything
- Use a remote shutter release and lock the button so that the camera keeps shooting continuously
- Instead of a remote shutter release, you can also use the camera's interval timer with 1 second between photos
- Keep shooting for at least an hour. The longer you shoot, the greater your chance of capturing shooting stars
- Enjoy the peace and the stars twinkling endlessly above your head
You can find a more detailed description in this article on the Photofacts blog.
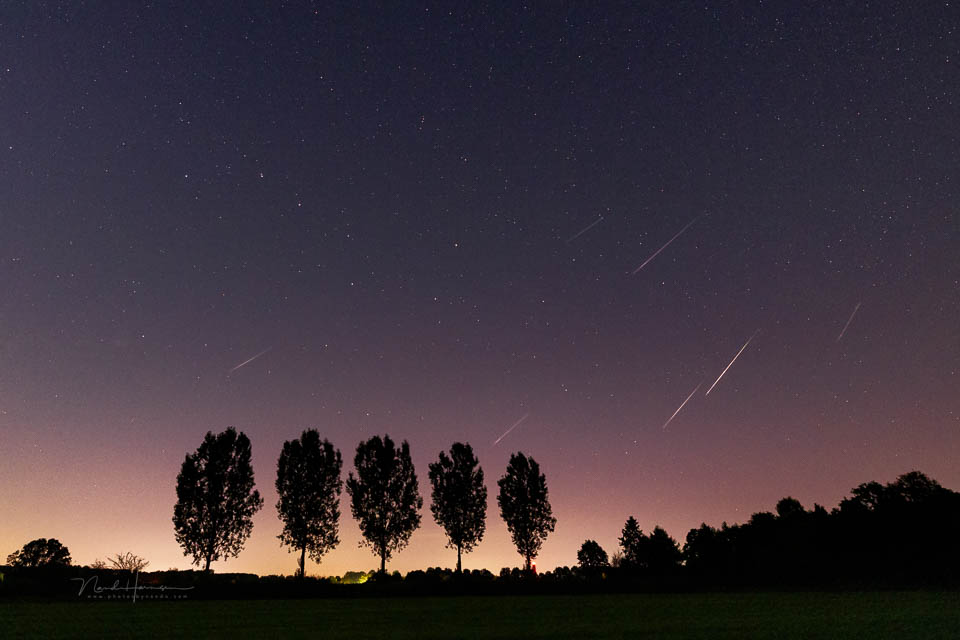
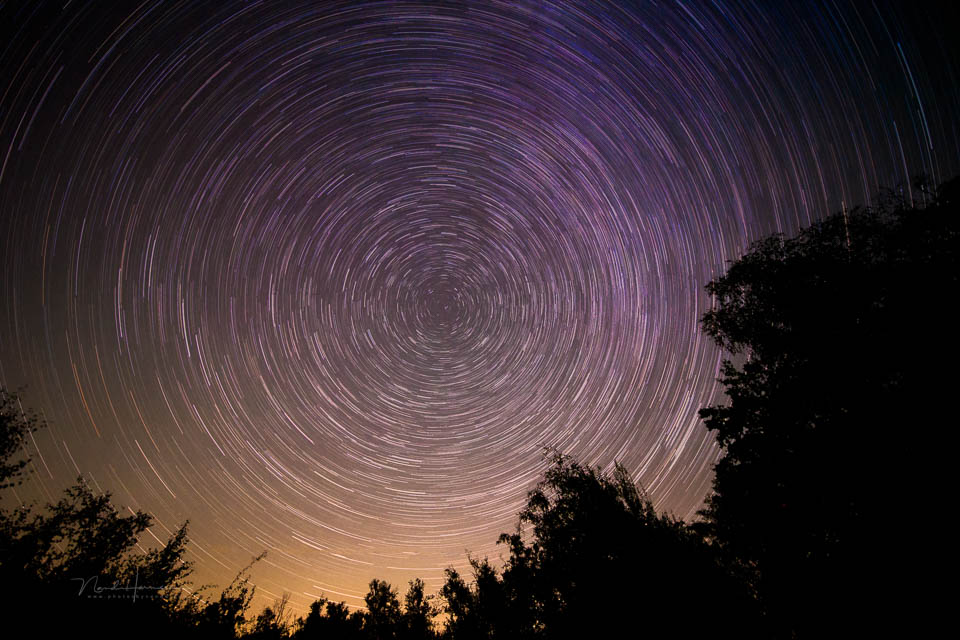
After shooting, you can look through the photos at home at your leisure. Look for the photos with a shooting star in the frame. If you have not captured any shooting stars, or none that stand out enough to be worth a photo, you can still combine the photos into a star trails photo.
Are you photographing in an area with a lot of light pollution? You can use a night filter if you have one. To prevent condensation, you can wrap the camera in a woollen scarf. Or you can use a heating band.
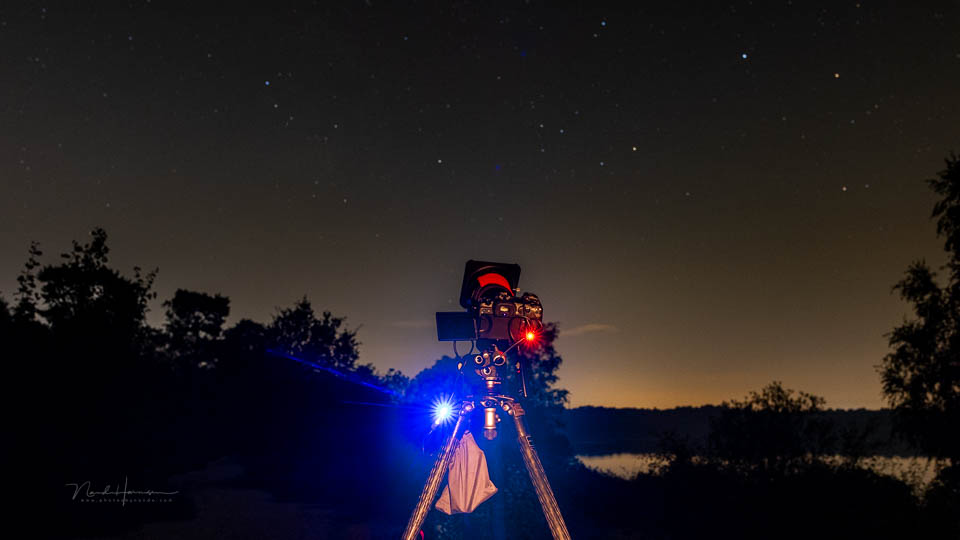
Head out for an evening, or a night, to photograph the shooting stars. Take a chair, a blanket, something to drink and a snack. Go out together with another photographer and enjoy the peace. See a shooting star? Then you can make a wish.
About the author
Nando Harmsen has been photographing for more than 40 years. He specialises in wedding photography and landscape photography. Nando also gives talks, workshops, masterclasses and photo trips, and regularly reviews new and interesting equipment.
You might also like
-
 21 tips for photographing the Perseid meteor shower
by Nando Harmsen
-
 Are you ready to photograph the 2022 Perseid meteor shower?
by Nando Harmsen
-
Tips for Photographing the Perseids
by Nando Harmsen
-
Tips for editing photos of shooting stars
by Nando Harmsen
-
.jpg "Night photography on Schiermonnikoog (part 2)") Night photography on Schiermonnikoog (part 2)
Night photography on Schiermonnikoog (part 2)by Erik Nevels
4 comments
-
 Ton Brosse wrote on Tuesday 5 August 2025 at 13:29 | reply
It is usually quite fun and educational to read articles about shooting stars. So in this case too. What is usually missing is: which direction in the sky should you point your camera to see the shooting stars. That is not only the case with this article but also with other articles about other shooting stars by other authors.
Translated from Dutch. -

 Nando
wrote on Tuesday 5 August 2025 at 21:45
| reply
Nando
wrote on Tuesday 5 August 2025 at 21:45
| reply
You can photograph in all directions. There is no special place where you can see them. They will fall randomly across the entire sky.
Translated from Dutch.
However, if you want to have the radiant in the frame, the place in the sky they come from, look for the constellation Perseus. That is also where the name comes from: the Perseids.
You can find Perseus roughly towards the South. Use a star map (or app) to find it. -
 Wilfried wrote on Tuesday 5 August 2025 at 17:48 | reply
I think the star trail photo provides the answer: towards the north. The center of the circle is the North Star.
Translated from Dutch. -
Nando
wrote on Tuesday 5 August 2025 at 21:46
| reply
See my comment above. You can expect them anywhere, but they 'fall' from the constellation Perseus. That isn't in the North.
Translated from Dutch.
By the way, star trails don't have to point north, you know. Just take my Star Trails Photography course (or buy my book).
Have your say
Please note: Articles older than a week can only be commented on by signed-in visitors.Would you still like to comment? sign in or create a free account.
Become a better photographer every week
A practical photography tip in your inbox every week.
39,024 photography enthusiasts already receive the tips! More about the weekly mail. Or keep up to date via  Facebook.

Elja Trum
Photofacts; everything to do with photography!
Would you like to take better photos and keep up with what is happening in photography? Photofacts publishes articles that teach you something about photography — from a product announcement to a practical shooting tip or a look at a website. Photofacts covers photography every day and is a hobby project of Elja Trum's that got out of hand. The articles are written by a team of volunteer authors. If you would enjoy writing one or more articles for Photofacts, do get in touch.More about PhotofactsPhotofacts is made possible in part by
