

21 tips for photographing the Perseid meteor shower
Tuesday 27 July 2021, 10:30 by Nando Harmsen | 12,098 views | 2 commentsThis article was translated from Dutch with the help of AI. Read the original.
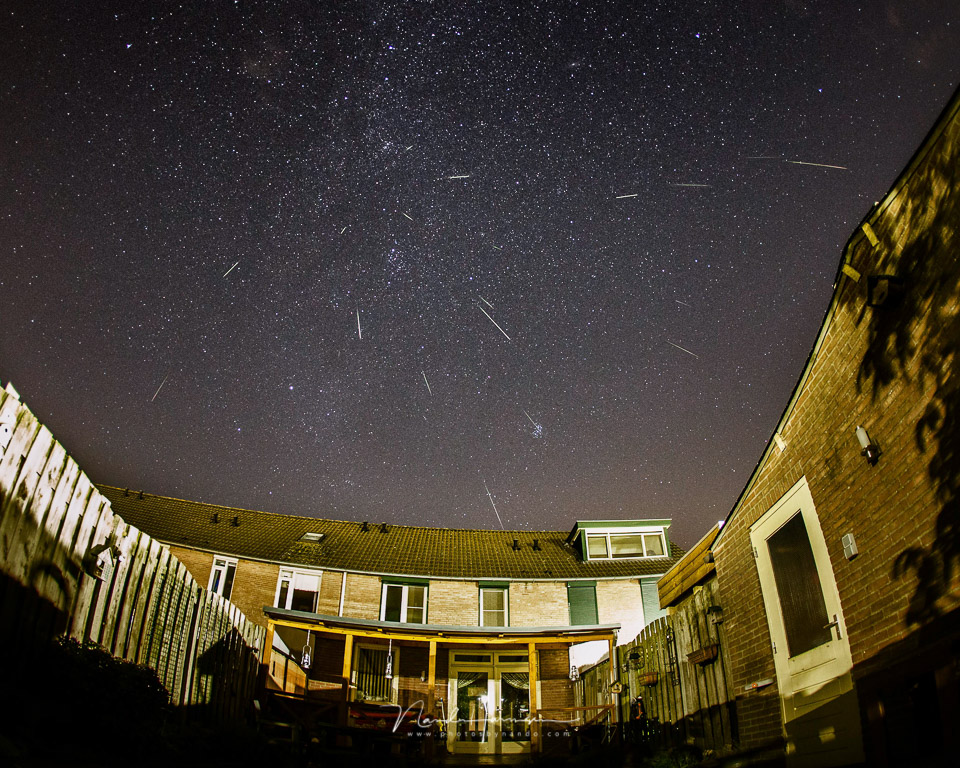
The Perseids are one of the most active meteor showers of the year. The shooting stars all seem to come from the constellation Perseus, hence the name. The point they appear to come from is called the radiant, and it is always nice to include it in the frame. Of course, you do not have to.
Although up to 80 shooting stars can fall per hour, in the Benelux we will generally never see more than about 50 per hour. Unfortunately, conditions are usually not ideal, because there is simply far too much light pollution.
Photographing shooting stars is not difficult. You only need the right settings, some post-processing, patience, and a bit of luck. We do not know exactly where they will appear in the sky, or when. To give luck a bit of a helping hand, I have 21 tips for you.
1. Find a dark location
A dark location is needed to see as many shooting stars as possible. The more light pollution there is, the fewer you will see. The darker the place, the greater your chance of success.
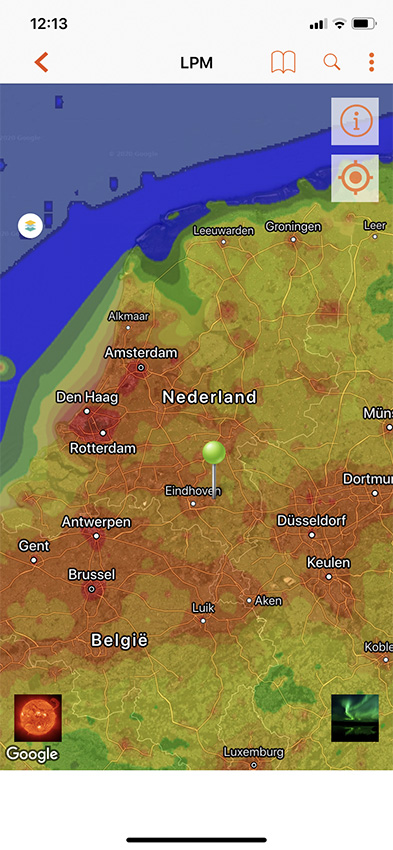
Use a light pollution map or app to get an idea of where you can go. One example is the LightPollutionMap app.
2. Use Photopills for your planning
Photopills is, of course, the app for photographers. It lets you find good locations for photography. You can also use the app to project the position of the Perseids in the sky. Use the planner and augmented reality to find the best place and time.
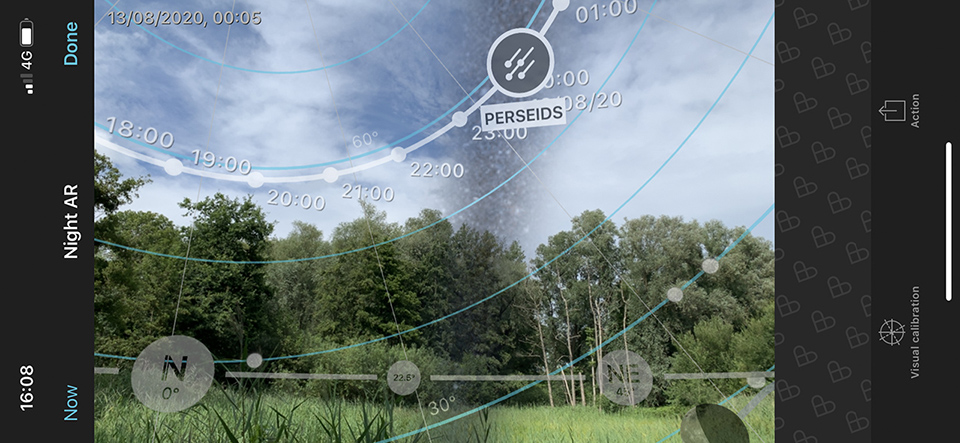
Also see this detailed explanation of planning the Perseids in Photopills.
3. Choose long or short shooting stars
The further you photograph from the radiant, the longer the trails of the shooting stars can be. Close to the constellation Perseus, they will be relatively short, while in the part of the sky opposite Perseus, the shooting stars will create longer streaks. Consider this when finding your composition.
4. Make sure you have an attractive foreground
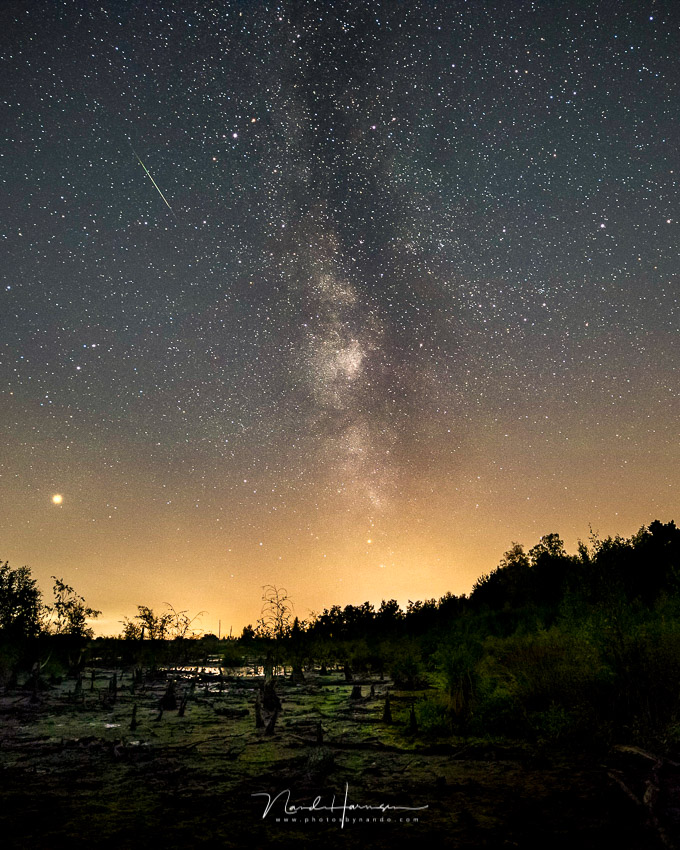
Photographing just the sky is boring. It gives you no perspective and is essentially meaningless. Include an interesting foreground or a beautiful horizon, and your photo will suddenly become much more interesting.
5. Focus manually
In the dark, autofocus probably will not work. You also do not want the camera to try focusing again every time. So focus manually and leave the focus there.
Use a distant light source, such as a bright star, to focus with live view. You can enlarge the image in live view so that you can get the focus perfectly right. Give this enough attention.
6. Choose a fast wide-angle lens
A wide-angle lens ensures that you have a lot of the night sky in the frame, increasing the chance that a shooting star will appear in your field of view. Choose a fast lens, preferably f/2.8 if you have one. A 24mm f/1.4 may be the most ideal option.
7. Make sure you have a full battery and an empty memory card
A full battery allows you to keep photographing for a long time. Take a spare with you, or even two. Naturally, an empty memory card is also essential, because you need to keep photographing for as long as you are at the location.
By turning off the LCD screen on your mirrorless camera, you can make your battery last longer. It also stops the screen from dazzling you in the darkness of the night.
8. Choose a high ISO setting
Shooting stars can be bright, but they pass in a fraction of a second. They therefore emit a lot of light, but for such a short time that very little light reaches your sensor. So choose a high ISO setting. If possible, use ISO3200, which is often considered the ideal setting for shooting stars.
Check whether your camera can handle such high ISO settings without suffering from too much noise.
9. Do not make your shutter speed too long
A shutter speed that is too long causes star trails. It will also do nothing to help capture shooting stars. You want to make sure that the stars in the night sky still look like stars, rather than star trails. Calculate the best shutter speed using the 500 rule.
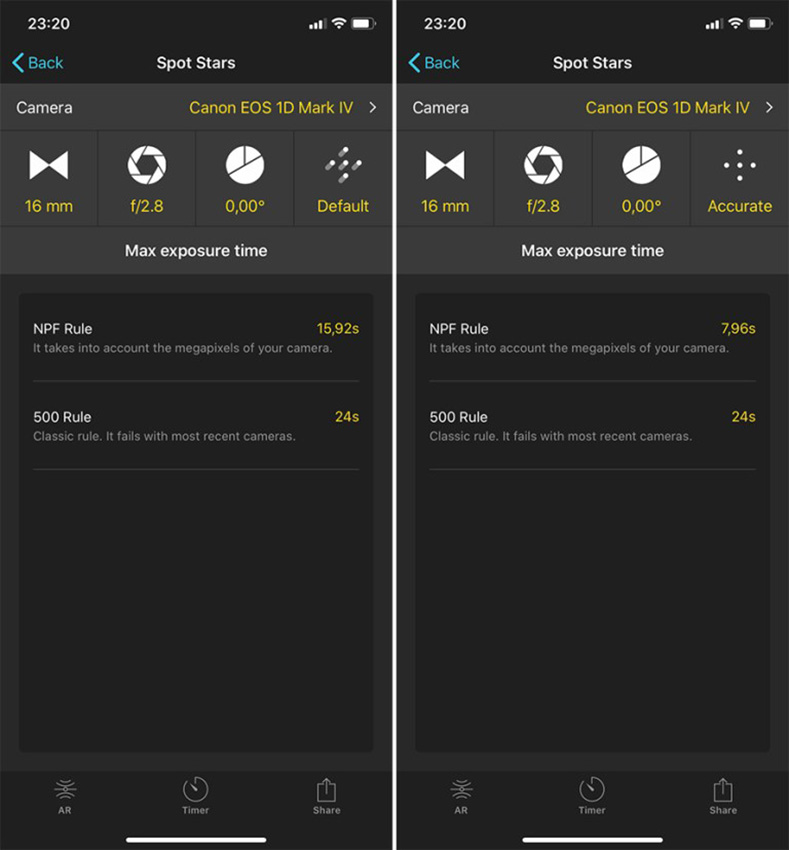
The 500 rule does not take your camera's resolution into account, however. If you want to be sure that you do not get star trails, use the NPF rule. Photopills has this option.
10. Shoot in RAW
Using RAW images ensures that you can make full use of your camera's dynamic range and take advantage of the maximum editing options. This is the only way to get the best photos of a night sky and shooting stars.
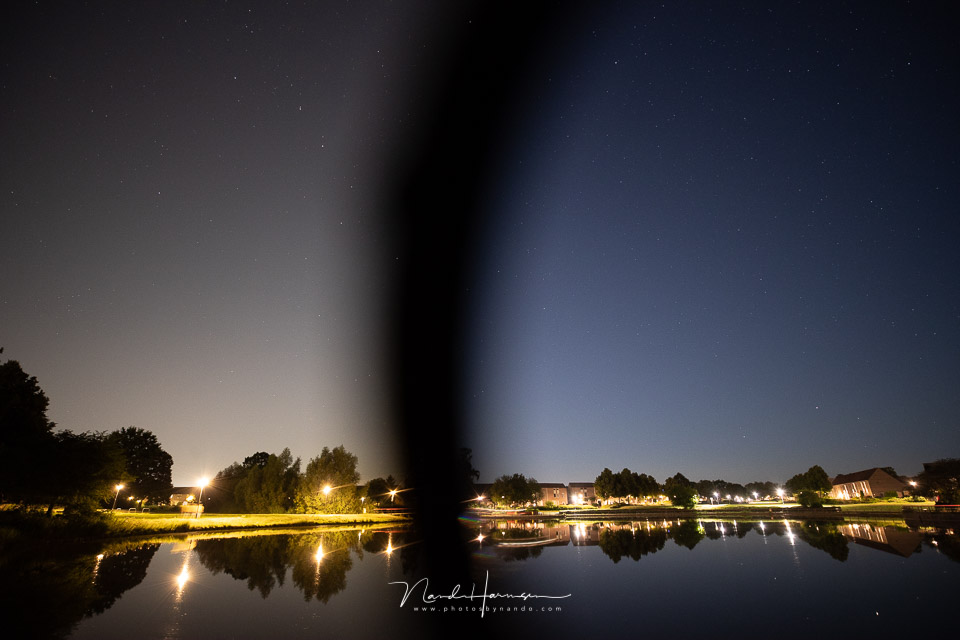
11. Use a night filter
Light pollution is the biggest enemy of photographers who want to photograph stars and shooting stars. Artificial light can be partly filtered out with a night filter. You do lose one stop of light, but the night sky is less affected by that ugly yellow-orange glow.
A filter such as the Haida Clear Night filter produces beautiful results.
12. Turn off long exposure noise reduction
To give yourself the best possible chance of capturing shooting stars, it is best to keep taking photos continuously. Make sure you turn off long exposure noise reduction. After every shot, it takes an additional exposure without any light reaching the sensor.
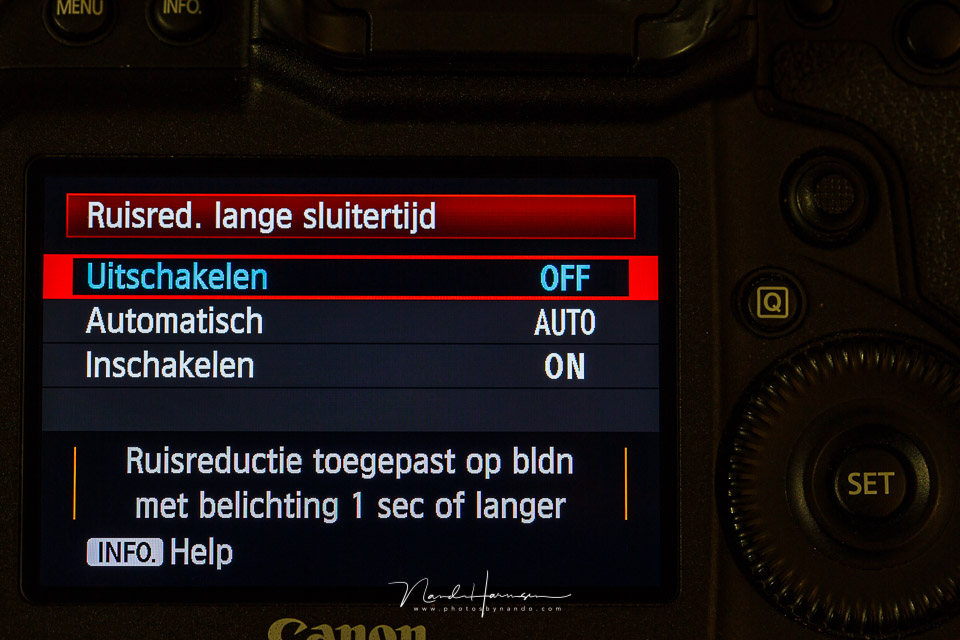
If your shutter speed is 5 seconds, long exposure noise reduction will always create an interval of 5 seconds between exposures. If your shutter speed is 10 seconds, the time between exposures will be 10 seconds. You will see that shooting stars always seem to appear during those long exposure noise reduction intervals.
13. Check your exposure with the histogram
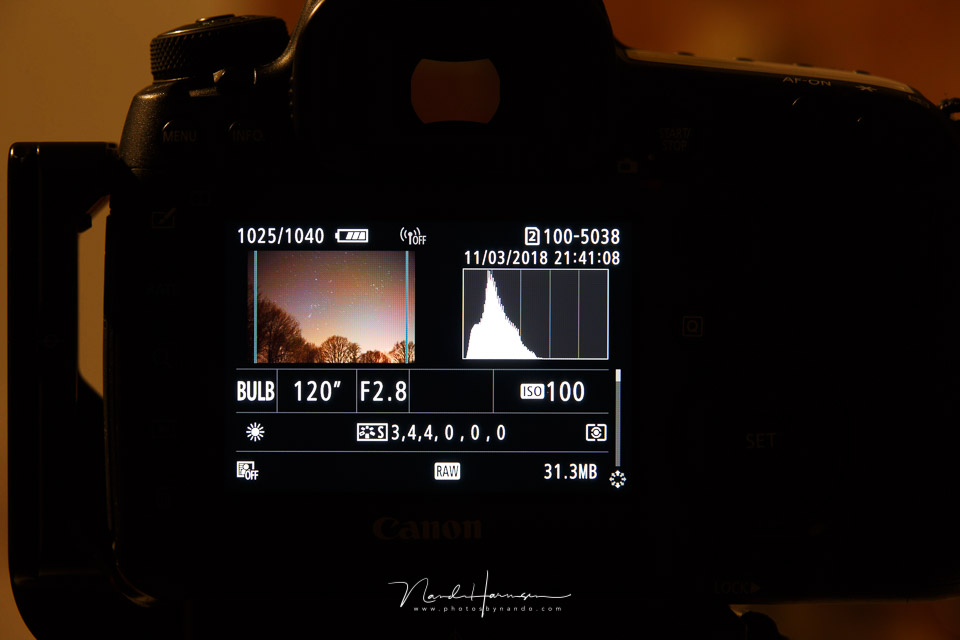
Set your exposure manually and take a test photo. Do not rely on the image on your LCD screen or in your electronic viewfinder. Always check the exposure with the histogram. Make sure it is not too far to the left, but certainly not too far to the right either. Let it run from the left to around the middle, or just past the middle. Avoid overexposure.
14. Turn off the light
You may need a torch to find your location and set up your equipment. Once your camera is taking photos, simply turn the light off. Even if you have a red light that prevents your night vision from being ruined, you do not want to see it in your photo.
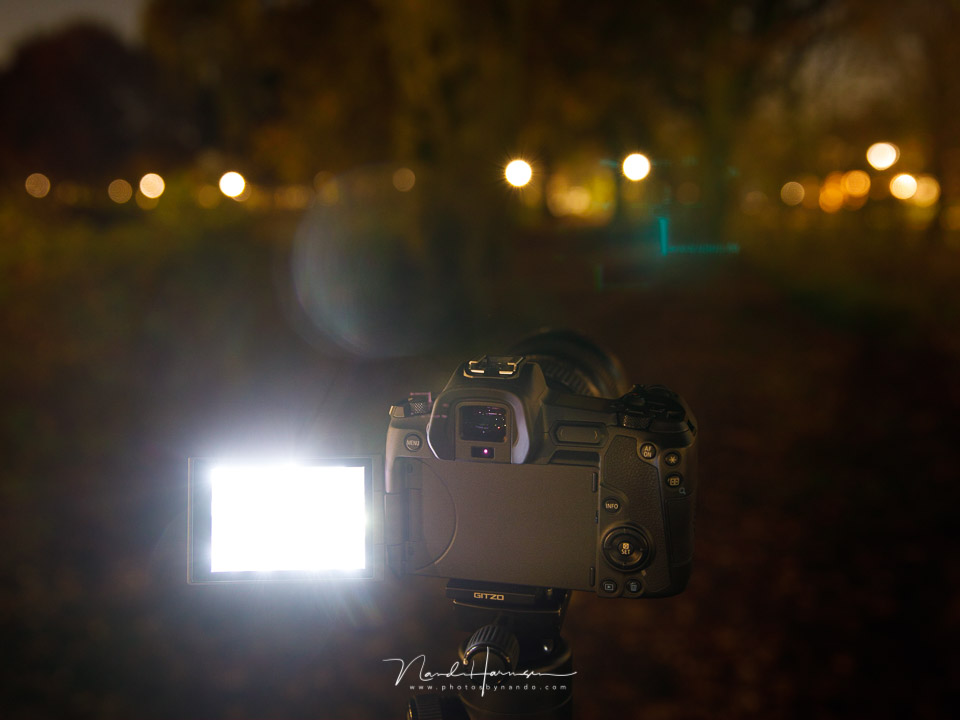
If you are going with several people, agree that no light will be used while photos are being taken. It would be a shame if this ruined your photo.
15. Take photos continuously
There is no way of knowing when and where shooting stars will appear. So keep taking photos continuously to maximise your chance of capturing one. Set your camera to continuous shooting and use a cable release or remote control to lock the shutter button.
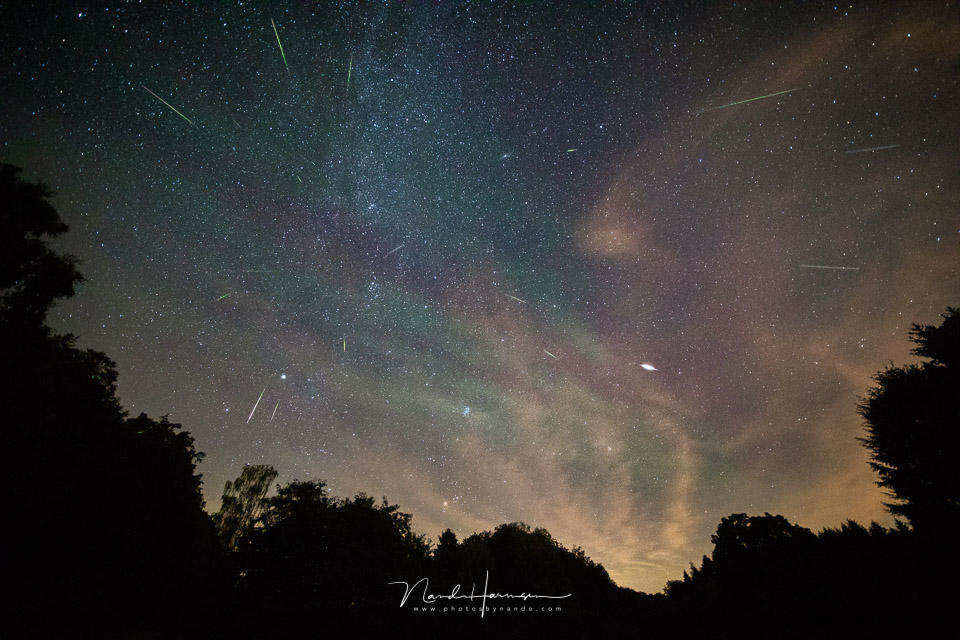
If your camera has an interval function, you can use that too. Choose the shortest interval possible and an unlimited number of exposures. This way, your camera will keep taking photo after photo.
16. Watch out for condensation
Condensation forms when your camera cools down so much that it becomes colder than its surroundings. Moisture then settles on it. If you use a UV filter, the chance of condensation forming on it is very high. Remove the filter. Also check from time to time whether there is any condensation. Unfortunately, you cannot wipe it off, because it will return just as quickly.
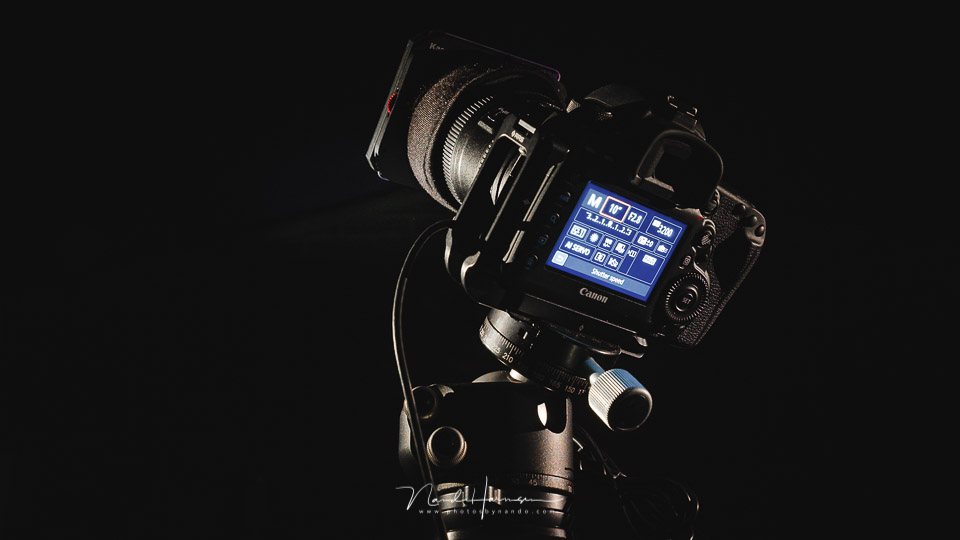
You can use a scarf to prevent your lens from cooling down, or better still, a special heat strap that can keep your lens warm.
17. Be patient and make yourself comfortable
Take a chair, something to drink and something to eat with you. Make sure your clothes are not too light. It can get cold, especially if you sit still for a long time. Also think about mosquitoes, especially if you are near water. Set off well prepared and make sure your stay at the location is comfortable.
18. Go early and stay late
The longer you keep photographing, the greater your chance of getting shooting stars in your photos. The longer you stay, the more shooting stars you can have in your photos. So go early and stay as long as possible.
19. Recognise shooting stars
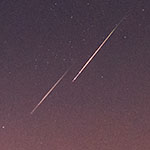
There is a lot to see in the night sky. It is not just shooting stars that will appear, but also aeroplanes, satellites, Iridium flares and, these days, Star Link satellites. None of these things are shooting stars.
A shooting star is fast and gone in the blink of an eye. All those other things can be seen for relatively long periods, up to several minutes. You can recognise them in the sky, but they can be more difficult to distinguish in a photo. Learn to tell them apart.
Here you can discover how to tell the difference between aeroplanes and satellites. You will probably then be able to tell them apart.
20. Make a photo of all the shooting stars
When you eventually have all those hundreds of photos, you can select the photos containing shooting stars. It takes some work, but there is no other way.
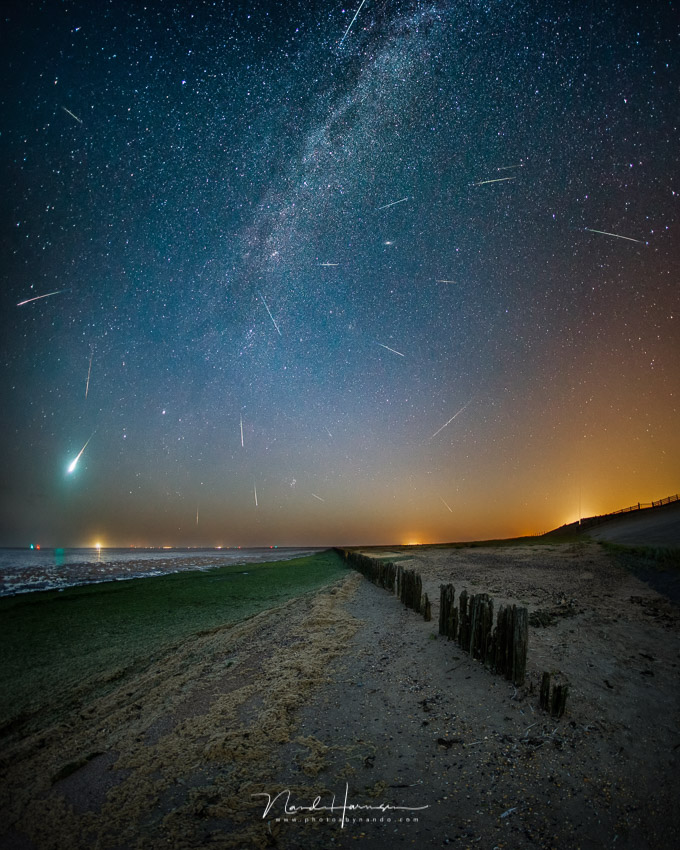
You can show all those photos separately or combine them into a single photo. You then get a photo containing all the shooting stars. You can also correct the rotation of the stars if you wish.
21. Enjoy yourself
Perhaps the most important tip of all is to enjoy yourself. Not just the preparations, but certainly the photography too. Do not play with your smartphone or go to sleep. Look up at the stars and enjoy the peace, seeing shooting stars and everything else.
Do not forget to make a wish for every shooting star you see. If you are lucky, you can make every wish you can think of.
Dit artikel is voor het laatst bijgewerkt op 27 juli 2021.
De eerste publicatiedatum is maandag 10 augustus 2020, 21:12.
About the author
Nando Harmsen has been photographing for more than 40 years. He specialises in wedding photography and landscape photography. Nando also gives talks, workshops, masterclasses and photo trips, and regularly reviews new and interesting equipment.
You might also like
-
 Are you ready to photograph the 2022 Perseid meteor shower?
by Nando Harmsen
-
 Tips for Photographing the Perseids
by Nando Harmsen
-
 Go and photograph the Perseid meteor shower
by Nando Harmsen
-
Tips for editing photos of shooting stars
by Nando Harmsen
-
 Falling stars (Lyrids), photographic contributions
by Michelle Peeters
2 comments
-
 Kurt wrote on Wednesday 12 August 2020 at 09:48 | reply
Thanks for these tips Nando. Now let's just hope the cloud cover doesn't throw a spanner in the works.
Translated from Dutch.
Maybe one more - additional - tip: cover your viewfinder. With longer exposures, stray light can sometimes reach your sensor through the viewfinder (speaking from experience....).
And that creates annoying spots that you absolutely don't want to see in your photo. -

 Nando
wrote on Wednesday 12 August 2020 at 13:09
| reply
Nando
wrote on Wednesday 12 August 2020 at 13:09
| reply
@Kurt;
Translated from Dutch.
Covering the viewfinder is indeed advisable with long shutter speeds, but it is often only when strong light sources are present, and that is not the case at night. But to be on the safe side, it is certainly advisable.
However, you won't use very long shutter speeds for shooting stars. If it is already 15 seconds, you already have a chance of getting streaks instead of stars. Those 15 seconds aren't long enough for light leakage (unless you shine a strong flashlight into your viewfinder and keep shining )
)
Have your say
Please note: Articles older than a week can only be commented on by signed-in visitors.Would you still like to comment? sign in or create a free account.
Become a better photographer every week
A practical photography tip in your inbox every week.
39,024 photography enthusiasts already receive the tips! More about the weekly mail. Or keep up to date via  Facebook.

Elja Trum
Photofacts; everything to do with photography!
Would you like to take better photos and keep up with what is happening in photography? Photofacts publishes articles that teach you something about photography — from a product announcement to a practical shooting tip or a look at a website. Photofacts covers photography every day and is a hobby project of Elja Trum's that got out of hand. The articles are written by a team of volunteer authors. If you would enjoy writing one or more articles for Photofacts, do get in touch.More about PhotofactsPhotofacts is made possible in part by
