

Learn How the Exposure Meter Behaves
Monday 1 September 2025, 16:32 by Nando Harmsen | 4,291 views | 2 commentsThis article was translated from Dutch with the help of AI. Read the original.
Every photo requires the amount of light to be measured. The aperture and ISO setting then determine a shutter speed. Learn how your camera measures light and where the pitfalls are.
Modern cameras often have three or four different metering modes. These roughly consist of an average reading across the whole image, an average reading across a small part of the image, or an average reading from a small spot.
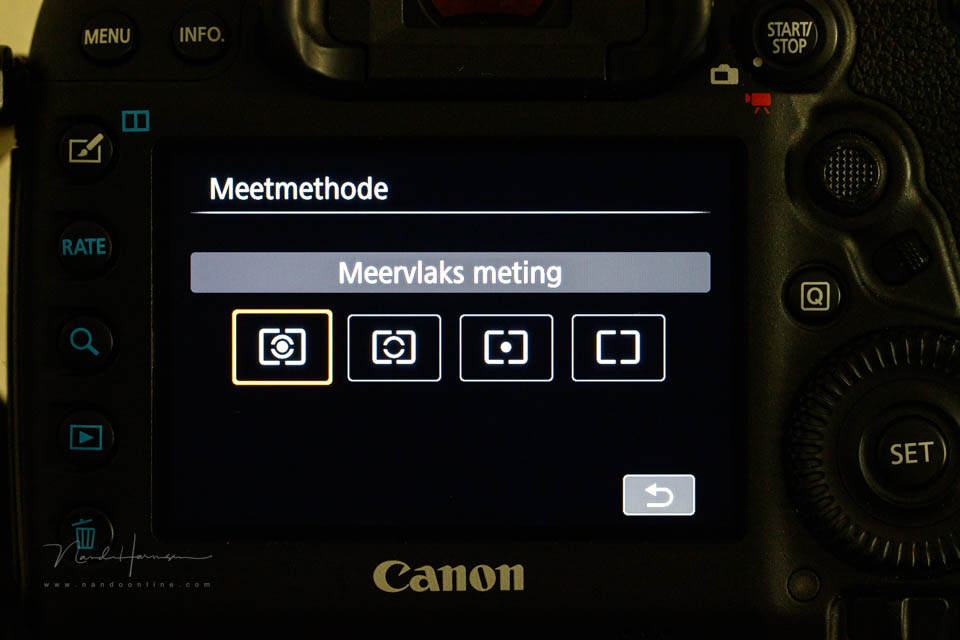
There are different names for these, and there are sometimes variations. For convenience, I distinguish three types. From large to small, these are average metering, partial metering and spot metering.
Partial metering and spot metering take a reading from a small part of the image. The rest around it is not measured and does not count. This allows you to take a reading from a very specific area.
The major disadvantage is that it is very important for the area or spot being measured to be in exactly the right place. If you move off by even a small amount, your reading may already be wrong. This can lead to unpredictable results.
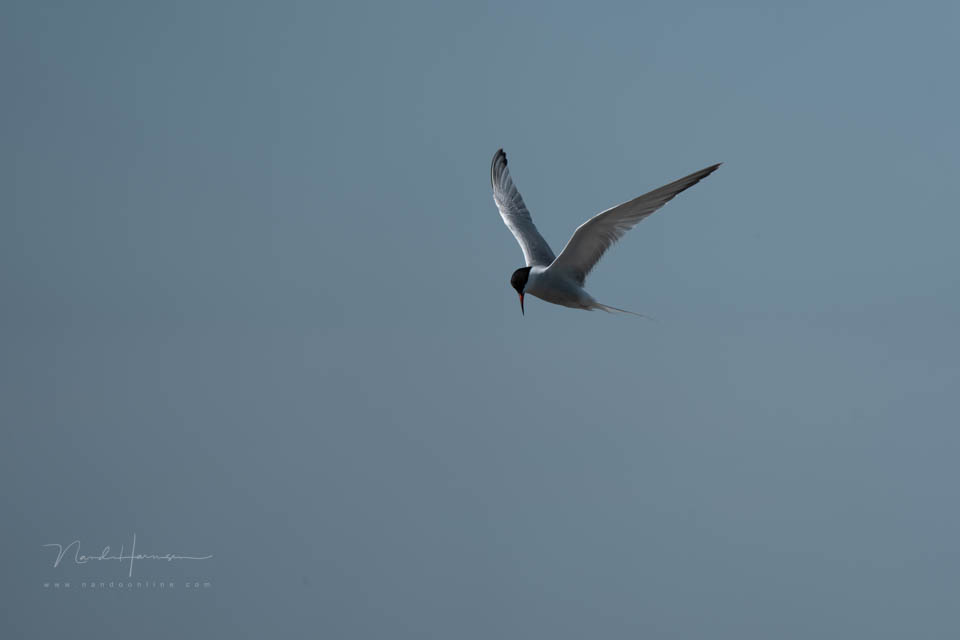
If you want to get to grips with measuring light and learn to anticipate certain lighting situations, my advice is to use average metering. I always use it and know when I need to compensate.
If you know that the light is measured across the whole image, you can assess at a glance whether the result is correct. The amount of light and dark areas in the image will then be roughly equal. A rough estimate is sufficient.
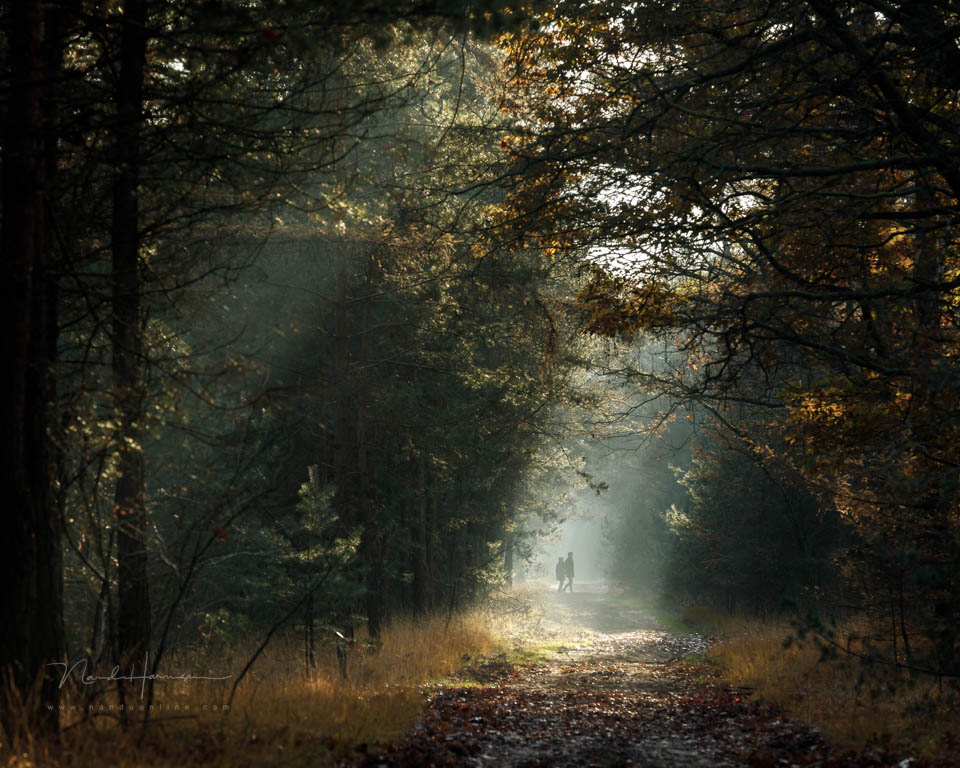
If there are more dark areas than light ones, you know that the light meter will make the exposure too long. The photo will be too light. The more dark areas there are, the lighter it will be. You compensate by using a shorter exposure.
If there are more light areas than dark ones, the light meter will make the exposure too short. The photo will be too dark. The more light areas there are, the darker the photo will be. You compensate by making the exposure longer.
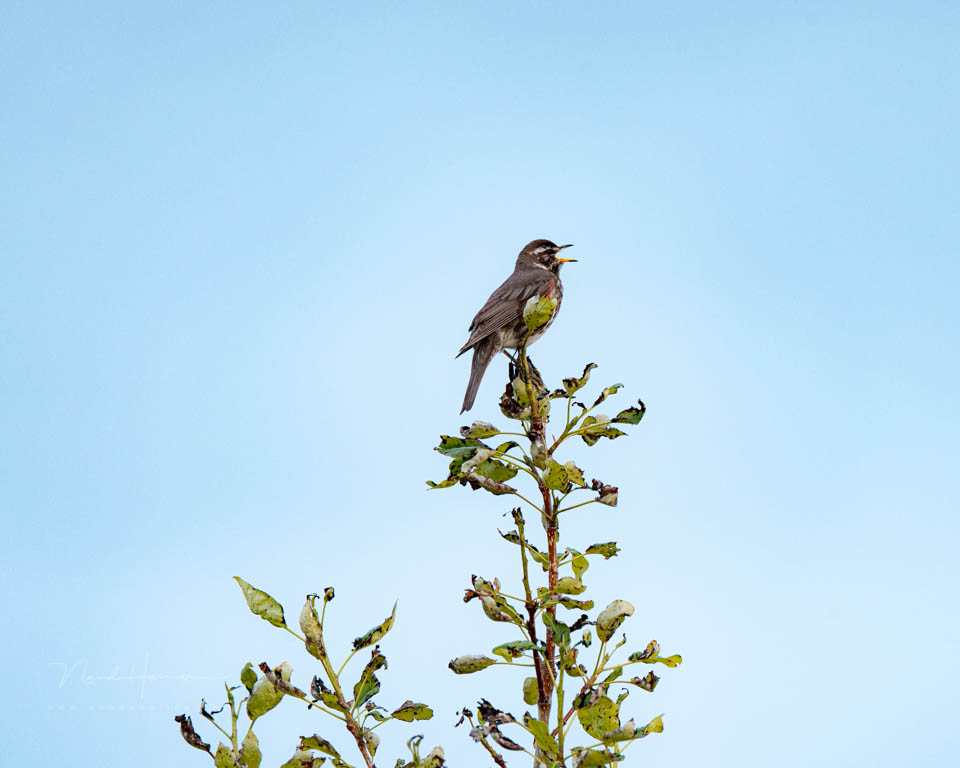
How much shorter or longer the exposure needs to be depends on the ratio of dark to light. If roughly 3/4 of the image is light, you can use an exposure that is one stop longer. If there is even more light, choose two stops. For dark areas, it works the other way round.
You need to practise this, and you need to learn to see it. Doing it often is the key to success, and you also have the LCD screen to assess the result immediately.
By sticking to average metering across the whole image, you learn to assess the lighting situation. You learn to anticipate and to use exposure compensation based on what you have in the frame.
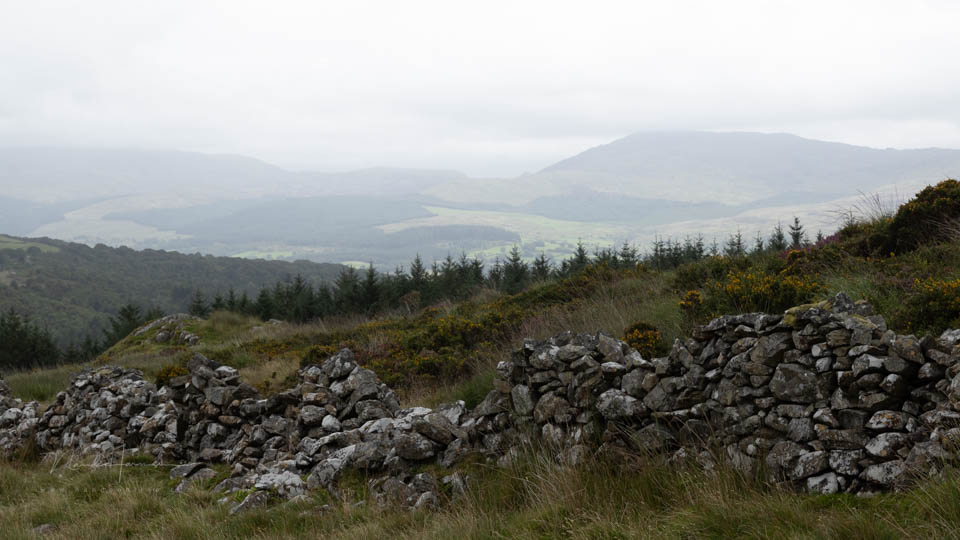
It does not matter at all whether you use manual exposure settings or leave some of the settings to the camera. In manual mode, you adjust the shutter speed by hand. In, for example, aperture priority mode, you use the exposure compensation button.
Whatever you use, you have the same amount of control over the exposure and the end result is exactly the same. but the most important thing is to learn how your exposure meter responds to the available light.
About the author
Nando Harmsen has been photographing for more than 40 years. He specialises in wedding photography and landscape photography. Nando also gives talks, workshops, masterclasses and photo trips, and regularly reviews new and interesting equipment.
You might also like
-
 Different Metering Methods Don't Make Better Photos
by Nando Harmsen
-
 Street photography tip: Create beautiful silhouettes with spot metering
by Michiel Heijmans
-
 The Light Meter, How Do You Read It?
by Frank Doorhof
-
 Flash photography tip: Consider a flash meter
by Elja Trum
-
 Street photography tip: Exposure compensation
by Michiel Heijmans
2 comments
-
 Donald Willemsen wrote on Tuesday 2 September 2025 at 15:01 | reply
Wow Nando, this is a good story and it also makes sense. I also think that it is important that the light metering with partial metering and spot metering always takes place in the middle of the image (sensor). However, you do not always want to have the subject in the middle of the image for the sake of the composition. So your way of metering seems better to me.
Translated from Dutch.
Then I have another question. Wouldn't it sometimes be better to take 2 measurements, one on the light parts and one on the dark parts, and then determine the average from that? -


Have your say
Please note: Articles older than a week can only be commented on by signed-in visitors.Would you still like to comment? sign in or create a free account.
Become a better photographer every week
A practical photography tip in your inbox every week.
39,079 photography enthusiasts already receive the tips! More about the weekly mail. Or keep up to date via  Facebook.

Elja Trum
Photofacts; everything to do with photography!
Would you like to take better photos and keep up with what is happening in photography? Photofacts publishes articles that teach you something about photography — from a product announcement to a practical shooting tip or a look at a website. Photofacts covers photography every day and is a hobby project of Elja Trum's that got out of hand. The articles are written by a team of volunteer authors. If you would enjoy writing one or more articles for Photofacts, do get in touch.More about PhotofactsPhotofacts is made possible in part by
