

Editing an EttR photo in Lightroom Classic
Friday 12 March 2021, 14:28 by Nando Harmsen | 6,013 views | 7 commentsThis article was translated from Dutch with the help of AI. Read the original.
With Exposure to the Right (EttR), you can make maximum use of your camera's dynamic range. It allows you to retain as much image information as possible in the dark areas of the photo. The only problem is that the photo looks unattractive and flat on your camera.
I recently wrote an article with the tip about Exposure to the Right in landscape photography. It is the way to capture as much usable image information as possible in your photo.
The result of this way of exposing means that the photo initially looks flat and unattractive when you view it on the back of your camera. That means you still have some work to do, the photo is not finished.
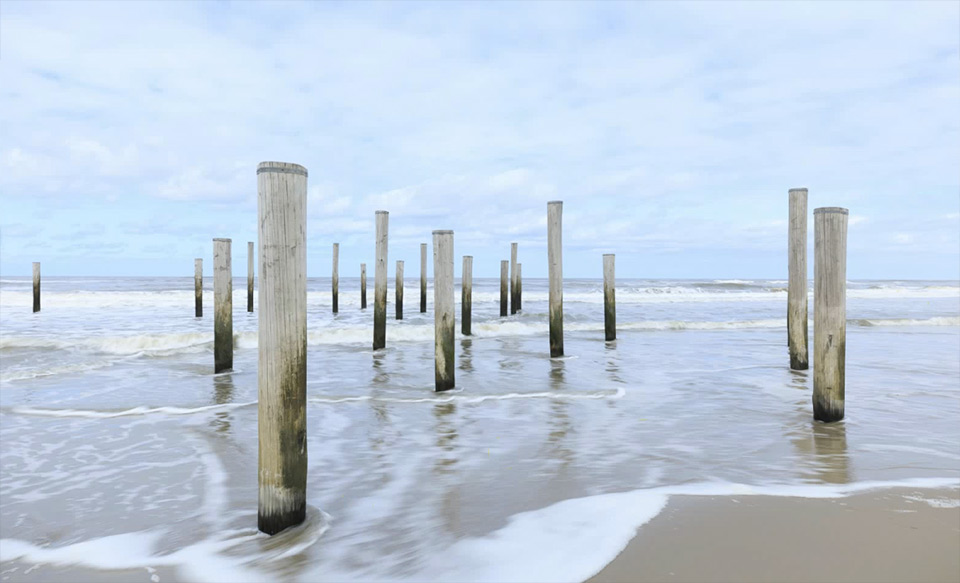
Because a photo exposed with EttR needs some editing, it is not a suitable way of exposing for photographers who shoot directly in jpeg. It is intended for those who shoot in raw and want to make maximum use of the camera's dynamic range.
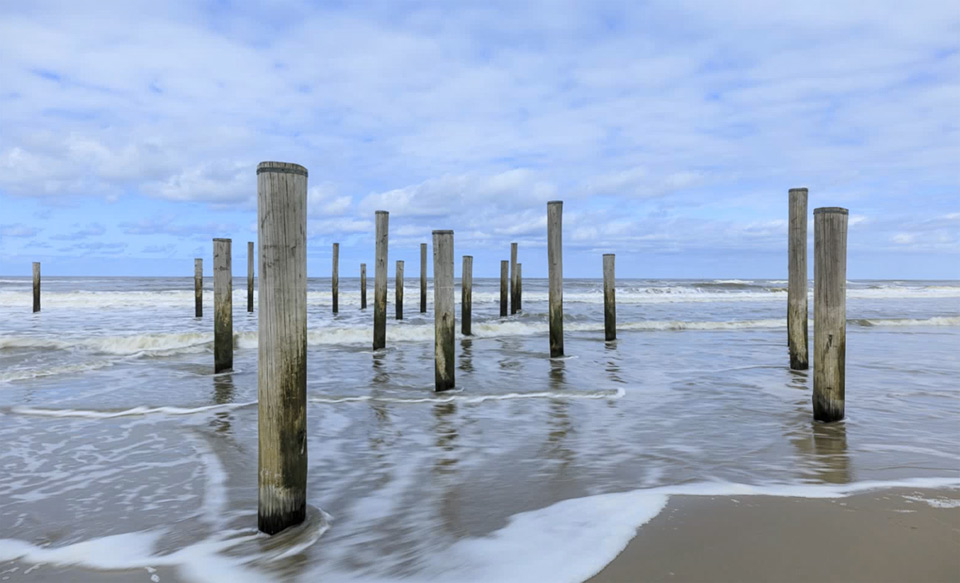
How do you edit an EttR-exposed photo?
I sometimes get questions about how a photo exposed with EttR should be edited. It looks like this
on the camera, after all, it does not look particularly good. In fact, the answer is quite sobering. You simply edit it like any other photo.
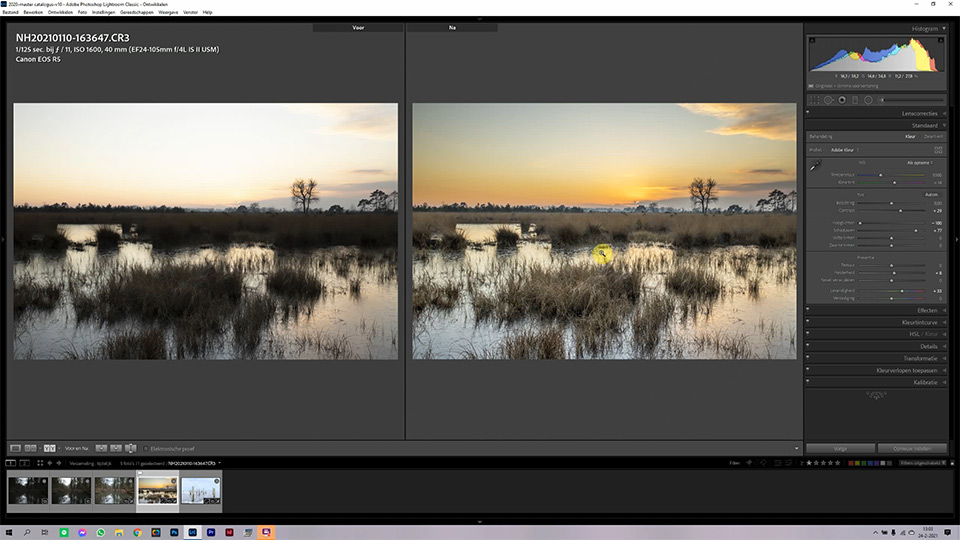
Do you think the photo is too light? Then you make it darker. Have the shadows become too dark? Then you lift the shadows. And that is where you gain the benefit of EttR.
Because the shadows were already as light as possible during exposure, you have maximum image information in those shadows. So the quality is retained.
In the following video, I show you how I edit photos exposed with EttR. I do this in Lightroom Classic, because it is my favourite editing programme. The principle is the same in all other editing programmes, though.
Watch out for overexposure
A small warning for anyone getting started with EttR. Make sure your photo does not become overexposed. So it must not contain any true 100% white, known as blown highlights.
You can never correct that afterwards. Making white darker only turns it grey, and that never looks good.
About the author
Nando Harmsen has been photographing for more than 40 years. He specialises in wedding photography and landscape photography. Nando also gives talks, workshops, masterclasses and photo trips, and regularly reviews new and interesting equipment.
You might also like
-
 What's new in the Lightroom Classic 13 update?
by Nando Harmsen
-
 Presets in Lightroom Classic
by Nando Harmsen
-
 What is the Comments tab in Lightroom Classic for?
by Nando Harmsen
-
 Automate your Lightroom Classic imports
by Nando Harmsen
-
 Speed up Lightroom Classic by reinstalling it
by Elja Trum

7 comments
-

 martinphili wrote on Saturday 13 March 2021 at 09:26
| reply
martinphili wrote on Saturday 13 March 2021 at 09:26
| reply
A good addition to your earlier article.
Translated from Dutch.
I do nothing else, I like it incredibly much. -
 André wrote on Tuesday 16 March 2021 at 15:18 | reply
Useful information and instructional video.....will definitely give it a try.
Translated from Dutch. -
 andré janssen wrote on Tuesday 16 March 2021 at 16:19 | reply
Nice tutorial. Clear and inviting
Translated from Dutch. -
 Jan Tinga wrote on Wednesday 17 March 2021 at 13:53 | reply
When photographing bright colors in the area on the right in the diagram, you can run into problems. The colors are then (slightly) overexposed and can never be restored to their original state. So consider yourself warned. And if anyone doesn't believe me: just try it out! (E.g. light pink flowers).
Translated from Dutch. -
 Nando
wrote on Wednesday 17 March 2021 at 14:11
| reply
Nando
wrote on Wednesday 17 March 2021 at 14:11
| reply
@Jan Tinga:
Translated from Dutch.
That's right. Especially the color red can quickly become oversaturated. You are absolutely right about that. That's why it's wise to use this technique very carefully.
If you have a lot of red tones in your photo, you can use the RGB histogram. You can then see from the individual color channels whether they are too far to the right. -
 Annet wrote on Wednesday 17 March 2021 at 14:15 | reply
What a wonderfully clear explanation. Calmly and step by step. Thank you
Translated from Dutch. -
Have your say
Please note: Articles older than a week can only be commented on by signed-in visitors.Would you still like to comment? sign in or create a free account.
Become a better photographer every week
A practical photography tip in your inbox every week.
39,077 photography enthusiasts already receive the tips! More about the weekly mail. Or keep up to date via  Facebook.

Elja Trum
Photofacts; everything to do with photography!
Would you like to take better photos and keep up with what is happening in photography? Photofacts publishes articles that teach you something about photography — from a product announcement to a practical shooting tip or a look at a website. Photofacts covers photography every day and is a hobby project of Elja Trum's that got out of hand. The articles are written by a team of volunteer authors. If you would enjoy writing one or more articles for Photofacts, do get in touch.More about PhotofactsPhotofacts is made possible in part by
