

5 things you need to know when you start filming
Monday 26 September 2022, 15:51 by Nando Harmsen | 9,243 views | 17 commentsThis article was translated from Dutch with the help of AI. Read the original.
Almost every modern camera can film. Although you initially buy a camera for photography, you may still want to give filming a try.
The option is already on your camera, after all. Here are 5 important things you need to know when you start filming.
Filming does not seem very difficult at first. You set the camera to video mode and press the button. And indeed, you can make a video in no time.
But you have probably not used the best settings or made the most of your camera's capabilities.
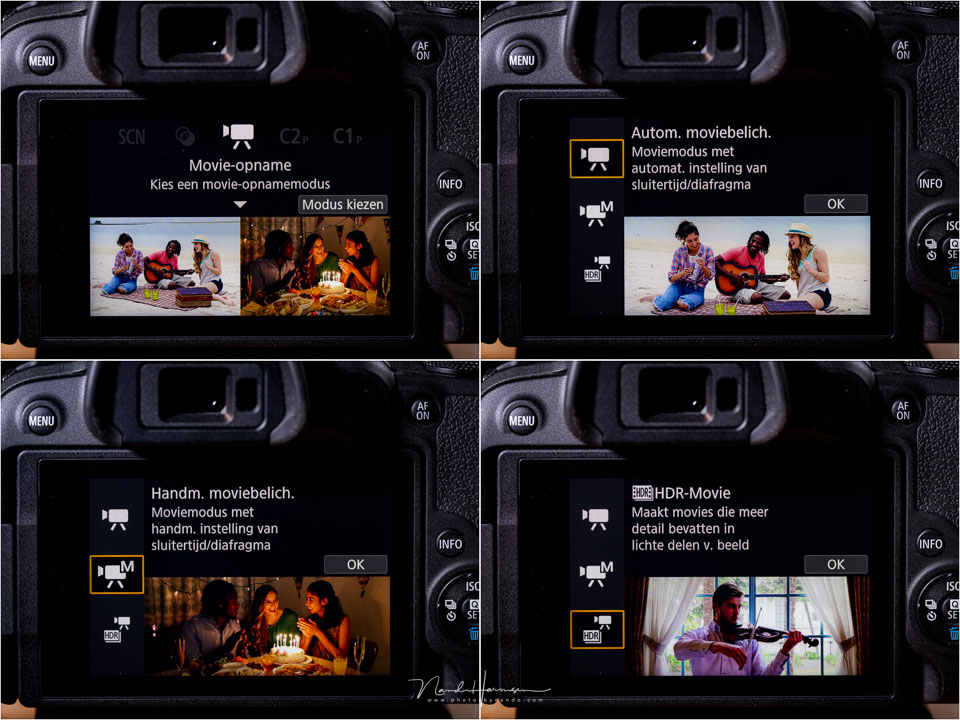
In this article, I want to give you 5 tips to keep in mind when you dive into the world of filming. Although photographers often view it with suspicion or reserve, it can be a fun addition to your photography.
Tip 1: Choose a framerate of 25 frames per second
You can often choose between different framerates. You usually have a choice between 25 fps (frames per second) and 50 frames per second (this can also be 30 or 60). Although it may be tempting to set the framerate as high as possible, 25 fps often produces the most natural-looking footage.
High framerates can make it seem as though you are watching a video game. Although they can reduce motion blur to some extent, the footage looks less smooth. Of course, personal taste and preference also play a part.
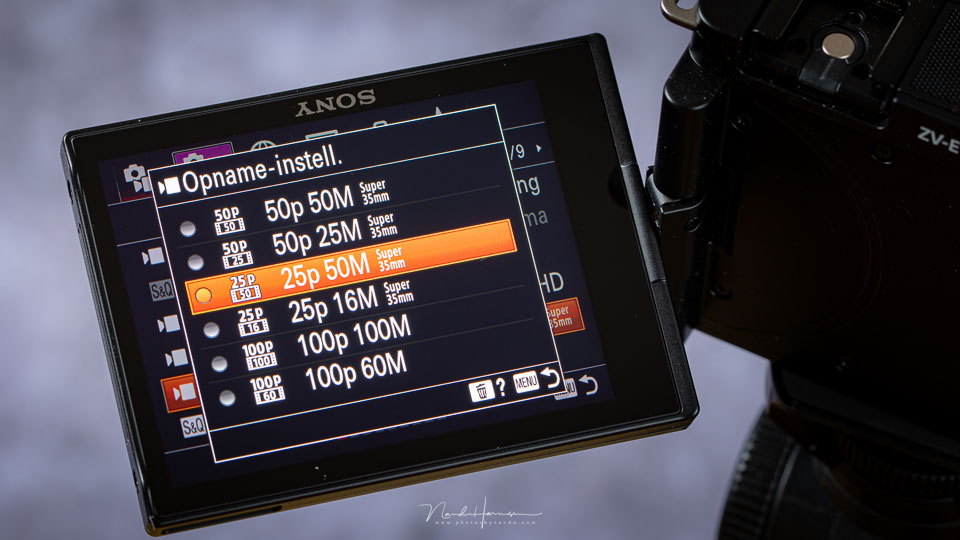
That does not mean you should never film at higher framerates. They give you the option of slowing down the footage and making movements smoother. Just remember that the sound will no longer be correct.
Tip 2: Set your shutter speed to twice the framerate
This is the most important rule when filming. Choose a shutter speed that is twice the framerate. At 25 fps, that is 1/50 sec. At 50 fps, that is 1/100 sec. If you are filming in slow motion, often at 100 fps, set your shutter speed to 1/200 sec.
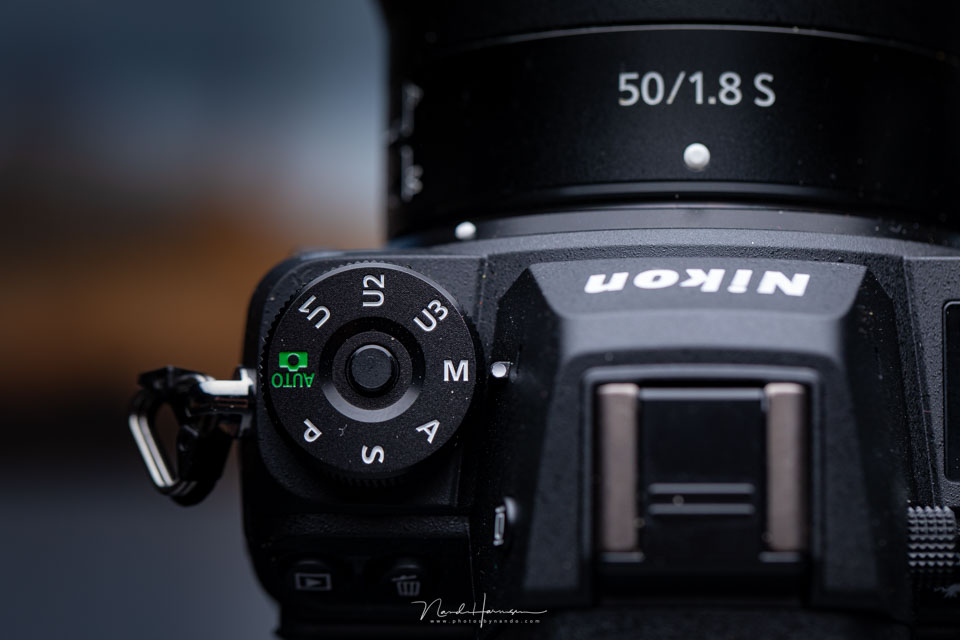
This means you can only use your aperture and ISO value to set the exposure. If you also want to choose a depth of field, ISO value is the only thing left to control the exposure. This brings us to tip 3.
Tip 3: Use an (variable) ND filter
If you can only use ISO for your exposure, you will run into problems in very bright conditions. You cannot go below the lowest ISO value.
If you still cannot get the exposure right, you are forced to stop the aperture down completely until it is correct.
To avoid losing control over your depth of field, an (variable) ND filter is recommended. These are built into proper film cameras for this purpose, but your DSLR or mirrorless camera does not have one.
With a variable ND filter (I use a variable ND from Haida), you have an extra way to control the amount of light entering through the lens. This allows you to get a good exposure with the correct shutter speed, twice the framerate, and the desired aperture. Even in full sun.
Tip 4: Buy a separate microphone
Making video footage is one thing. But what viewers really care about is the sound. If the sound is poor, viewers will soon switch off your video. You can use music for this, but you can also record sound.
The microphone in the camera produces downright poor sound. So choose a separate microphone. A simple shotgun microphone on your camera is already 100 times better. You could choose a lavalier, or deliberately look for the most suitable microphone.
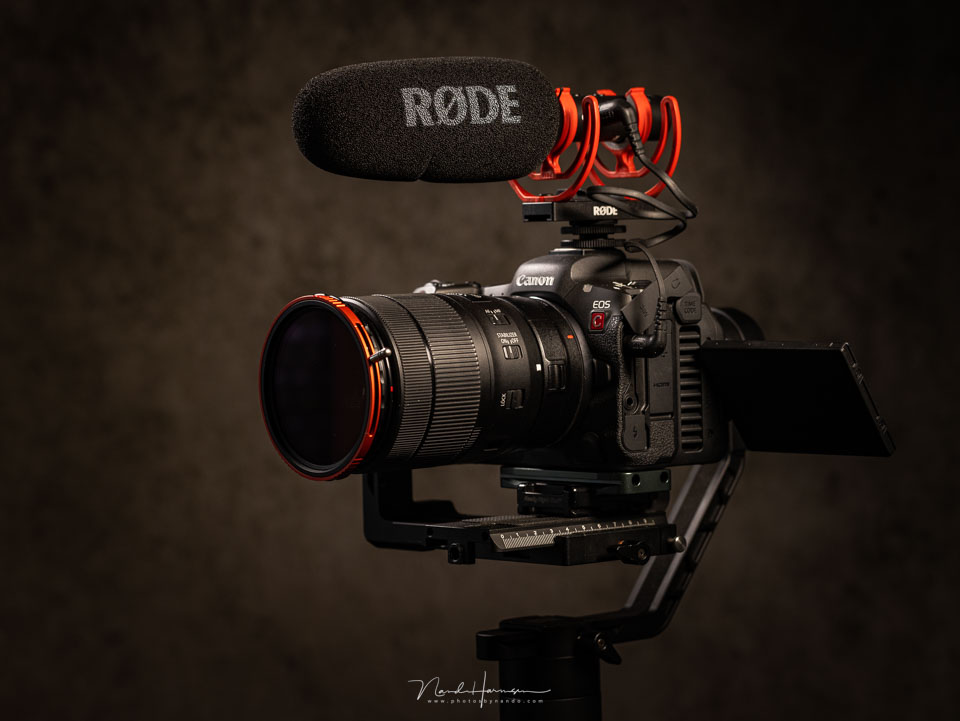
Remember, every separate microphone is already many times better than a built-in microphone. So whatever you choose to start with, the quality will always improve.
Tip 5: Use a gimbal
Filming is moving images. It looks best when you move in relation to your subject as well. Not always, sometimes a stationary camera is better, but a moving camera often creates nice dynamism.
Always move calmly and in a controlled way, although this can also depend on the type of film. The built-in image stabilisation in your camera and/or lens will help make that movement smooth.
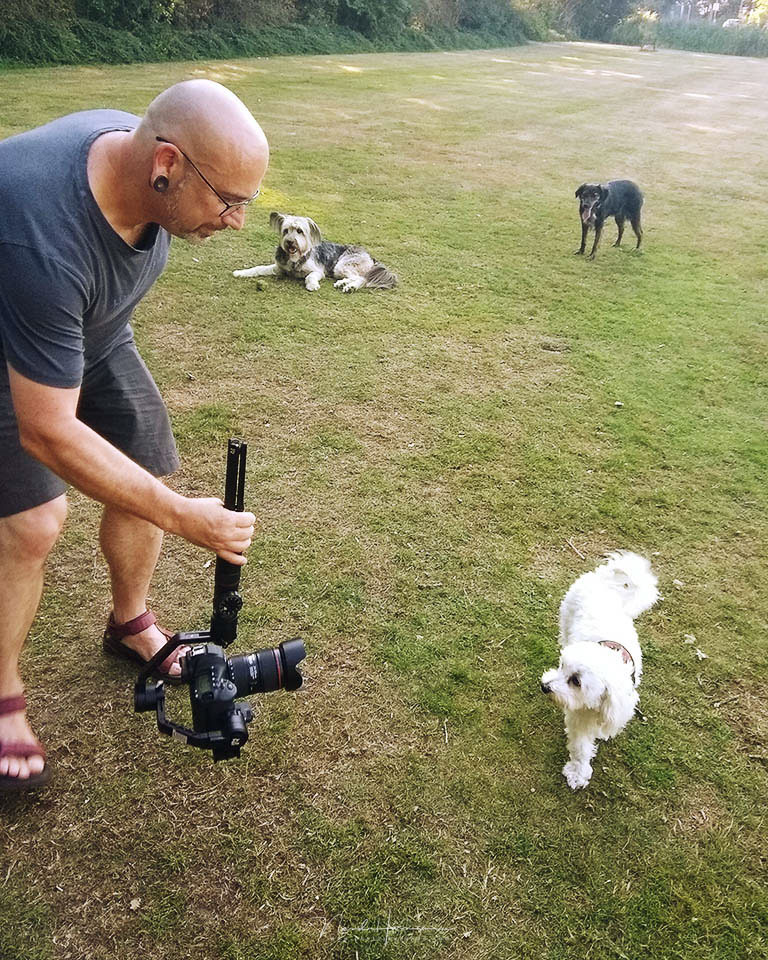
If you really want to be sure of smooth movements, choose a gimbal. It stabilises your camera perfectly in 3 directions.
Filming with a gimbal takes practice, both in making movements and in walking with a gimbal. But once you have mastered it, your moving images will move much more smoothly ...
What else you can do
There is of course much more to tell. Are you filming in 4K, Full HD or HD? Which codec are you going to use, and do you want to film in log or not?
Before you dive into this, first practise the tips I have given you. You can do this by filming in Full HD or in 4K, whichever you find most comfortable.
I think Full HD is the perfect place to start. Once you have your first footage, the real challenge begins. Editing it with sound and music into an enjoyable video.
Have you ever filmed with your camera? If so, how did you find it, and will you do it more often? Or would you rather avoid filming? Let us know in a comment below this post.
About the author
Nando Harmsen has been photographing for more than 40 years. He specialises in wedding photography and landscape photography. Nando also gives talks, workshops, masterclasses and photo trips, and regularly reviews new and interesting equipment.
You might also like
-
 DSLR lenses are still perfect
by Nando Harmsen
-
 6 Reasons to Stick with a DSLR and One Reason Not To
by Nando Harmsen
-
 The Forgotten Film Symbol on Your Camera
by Nando Harmsen
-
 Is a DSLR still a good choice in 2026?
by Nando Harmsen
-
 Choose DSLR lenses for your mirrorless camera
by Nando Harmsen
-
 Wildlife photography and switching to mirrorless
by Evert Doorn
17 comments
-
 PixelDude wrote on Tuesday 27 September 2022 at 11:58 | reply
I can certainly use this info. I'm thinking about 'filming' as well. That will probably have to wait a while because I'm currently delving into IR photography.
Translated from Dutch.
BUT ... I did find a little mistake.
There are 'indeed' cameras that have built-in ND filters. For example, my Olympus E-M1X offers the possibility of using electronic ND filters without having to use external ones. -

 Nando
wrote on Tuesday 27 September 2022 at 12:23
| reply
Nando
wrote on Tuesday 27 September 2022 at 12:23
| reply
@Pixeldude: I didn't know that, that Olympus has that built in. I know that some Fujifilm cameras have that too, but all in all, the number of cameras that have it can be counted on one hand.
Translated from Dutch.
By the way, if there is a built-in ND filter in Olympus, can it also be used when filming? -
 Hans wrote on Tuesday 27 September 2022 at 12:24 | reply
Hello Nando,
Translated from Dutch.
I don't understand why the manufacturer doesn't give you the choice between the cameras; either for photos, or for filming, or for both. This is probably better for the cameras and a lot cheaper? -
 Paul wrote on Tuesday 27 September 2022 at 12:25 | reply
I've been filming with the camera for over 2 years now, and so far I'm liking it.
Translated from Dutch.
I don't do it often, only when I think it's better than a photo, and/or when the situation calls for it.
The quality, the first time, was reasonable, especially since the settings were on automatic, I had no idea how to do it otherwise.
Later recordings were somewhat better because I was learning more and more about how to set things up.
And yet this article shows that they were still far from being set correctly.
So apparently it can still be better than what I have made so far.
nice to work on that next time, and to see what it yields.
When will that next time be? No idea yet, but it is definitely going to happen, and I will certainly get to work with these tips then, insofar as they apply to my purpose. -
 Ton van Kan wrote on Tuesday 27 September 2022 at 13:16 | reply
As a starting filmmaker, I wouldn't choose a gimbal. The price and adjusting it aren't easy. Besides, the entire setup is heavier.
Translated from Dutch.
In my opinion, you would be better off spending the money on lights / lamps. -
PixelDude wrote on Tuesday 27 September 2022 at 13:33 | reply
@ Nando,
Translated from Dutch.
You're right that you still need an external grey filter. My Olympus E-M1X is equipped with the necessary software to generate ND2, ND4, ND8, ND16 and ND32. But because it doesn't have an internal filter like real film cameras do, that LiveND can only be used for photography. So what does this ND software actually do? The software extends the shutter speed and can only be used in Shutter and Manual mode. -
Nando
wrote on Tuesday 27 September 2022 at 13:34
| reply
@Hans:
Translated from Dutch.
There are of course film cameras available specifically for that purpose. But yeah, these days everything has to be possible, and sometimes that's quite nice.
I have already dedicated an article to it. -
Nando
wrote on Tuesday 27 September 2022 at 13:37
| reply
@Ton van Kan:
Translated from Dutch.
Lamps are of course also a good investment. But not for a filmmaker who only films outdoors.
I think movement makes a film very dynamic, and smooth movement is very pleasant. That a gimbal is difficult to learn may be true, but filming is too. It's a matter of learning. Just like setting up good lighting, that's also not a matter of simply putting down a lamp. You have to learn that too.
But you are right, it's either a gimbal for smooth movements, or a lamp if you are filming reasonably stationary indoors.
At least, that's how I see it -
-
PixelDude wrote on Tuesday 27 September 2022 at 14:11 | reply
@ Nando:
Translated from Dutch.
And I too have learned something from this feature.
Just to clarify about the LiveND. I no longer need to take ND filters along to obtain e.g. milky water or to photograph moving trains/cars ... 'moving, blurry'. -
 Ria wrote on Tuesday 27 September 2022 at 15:40 | reply
Great info for filming with a camera. Thanks. A question: Which program is best for editing the video. I use Magix myself, but I regularly have problems with it freezing. Maybe try something else for once?
Translated from Dutch. -
 jos schiffelers wrote on Tuesday 27 September 2022 at 15:46
| reply
jos schiffelers wrote on Tuesday 27 September 2022 at 15:46
| reply
Hi Nando, I have been filming since 1975 (Super 8 with sound). But I have also filmed some with my EOS 80 D. I would like to immerse myself a bit more in filming, so the tips will come in handy. But I am also going to look into the course. What I have difficulty with is focusing, that probably also comes up in the course.
Translated from Dutch.
Editing films I do with Pinacle 25, very good results can be achieved with it.
I also do photo presentations with it, with some suitable music in the background. Watching many photos won't get boring this way.
Thanks for the tips.
Jos. -
-
 Hans wrote on Tuesday 27 September 2022 at 17:18 | reply
Why does the shutter speed have to be exactly twice the frame rate. You can hardly see the difference between 1/50 s and 1/60 s (a more standard value)or somewhat higher anyway? Or do you perhaps have an example video in which the differences are visible?
Translated from Dutch. -
 Paul eos wrote on Wednesday 28 September 2022 at 08:00 | reply
Finally something about filming, and judging by the reactions there is apparently more interest in it than first thought! I have seen all of Rob Dijkstra's videos and they are very good for the beginning filmmaker. Hopefully there will be a follow-up so that the more advanced filmmaker can also get something out of it.
Translated from Dutch.
As software, I preferably use Adobe premiere elements 2022 and only sometimes Corel VideoStudio 2021. -
Nando
wrote on Wednesday 28 September 2022 at 09:25
| reply
@Ria:
Translated from Dutch.
There are various programs available: Premiere Pro, DaVinci Resolve, Movavi, Final Cut Pro, Windows Moviemaker, and the Corel Videostudio, Premiere Elements mentioned in other comments.
Which one is suitable for you depends on what you want. You should try them out sometime (via a trail) -
Nando
wrote on Wednesday 28 September 2022 at 09:33
| reply
@Hans:
Translated from Dutch.
This has to do with filming with a 180-degree shutter angle. To avoid making it too complicated, it perfectly matches the shutter movement to the frame rate. If you deviate from that, the image will have less natural motion blur and every movement in your image will look more unnatural.
Have your say
Please note: Articles older than a week can only be commented on by signed-in visitors.Would you still like to comment? sign in or create a free account.
Become a better photographer every week
A practical photography tip in your inbox every week.
39,078 photography enthusiasts already receive the tips! More about the weekly mail. Or keep up to date via  Facebook.

Elja Trum
Photofacts; everything to do with photography!
Would you like to take better photos and keep up with what is happening in photography? Photofacts publishes articles that teach you something about photography — from a product announcement to a practical shooting tip or a look at a website. Photofacts covers photography every day and is a hobby project of Elja Trum's that got out of hand. The articles are written by a team of volunteer authors. If you would enjoy writing one or more articles for Photofacts, do get in touch.More about PhotofactsPhotofacts is made possible in part by
