

How do you get started with Lightroom Classic?
Tuesday 17 December 2024, 16:48 by Nando Harmsen | 4,653 views | 1 commentThis article was translated from Dutch with the help of AI. Read the original.
Have you never used Lightroom Classic before? Are you planning to manage your photos in Lightroom Classic? Make sure you get off to the best possible start. These tips should help.
Are you planning to start using Lightroom Classic? Make sure you prepare properly. This prevents you from later shouting that your Lightroom Catalogue is a mess.
It can never hurt to create a temporary Lightroom Classic Catalogue and practise with it. I would certainly advise doing this before you start with a final version. It does not matter if you make 'mistakes'. You learn from them. Call this step 0.
Are you ready to start with a final Lightroom Classic catalogue? Consider following these steps.
1. Put your photos together
Do you have photos in different locations on your hard drive? Make sure you put everything together. Choose a folder where you move all your photos to. Create a structure of subfolders.
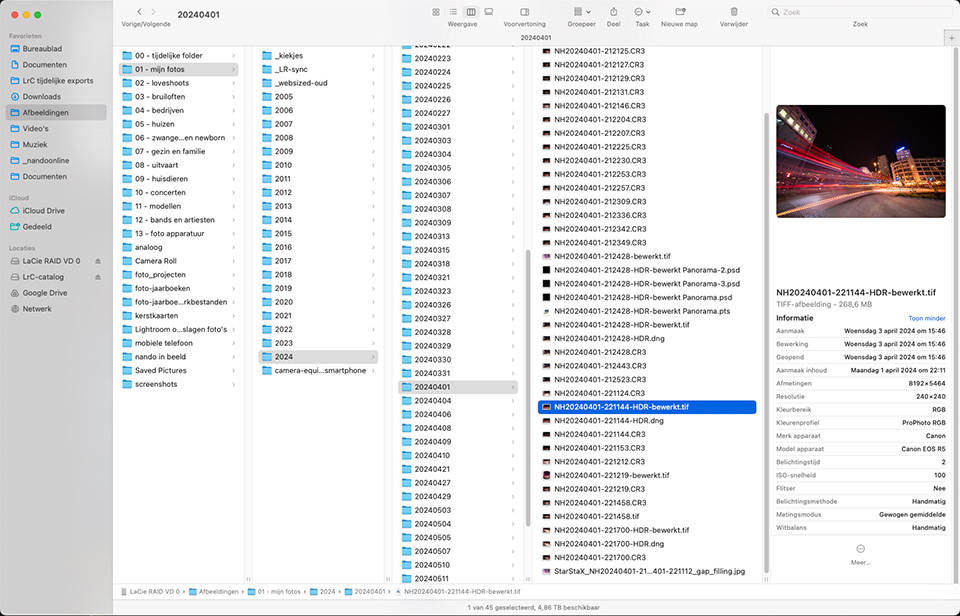
A structure by year, month and day is one example. You can also create folders for particular disciplines. For example, holidays, portraits or sport. Do not make it too complicated, because if photos would fit in different folders, it is already too complex.
The advantage of having all your photos together is that you have an overview. Keeping an overview is important, so you can also find photos outside Lightroom Classic. Or for backing them up.
2. Put your Lightroom Catalogue in a logical location
Create a folder for the Lightroom Classic catalogue. Put it in a logical location, possibly 'next to' the folder containing all your photos. This way, you know exactly where to find the catalogue, and backing it up becomes easier.
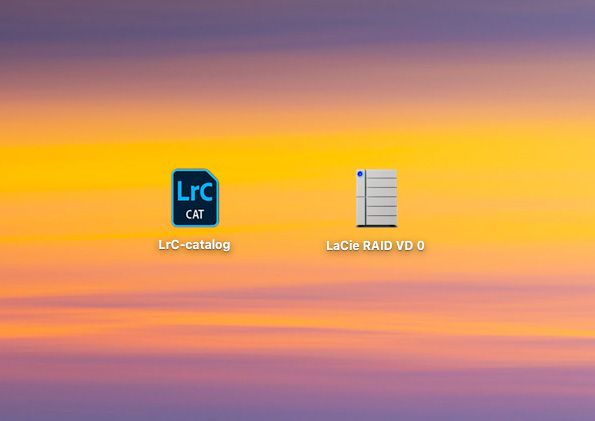
I keep all my photos on a separate external hard drive. The Lightroom Classic catalogue is on an external SSD drive. This means I do not burden my computer's internal hard drive with photos or the catalogue containing smart previews.
3. Import all photos at once
Now it is time to import. You can do this all at once, since you collected all your photos in one folder in step 1. Tick the option to include subfolders, so Lightroom Classic also sees the photos in the subfolders. Remember: choose Add, not Copy or Move.
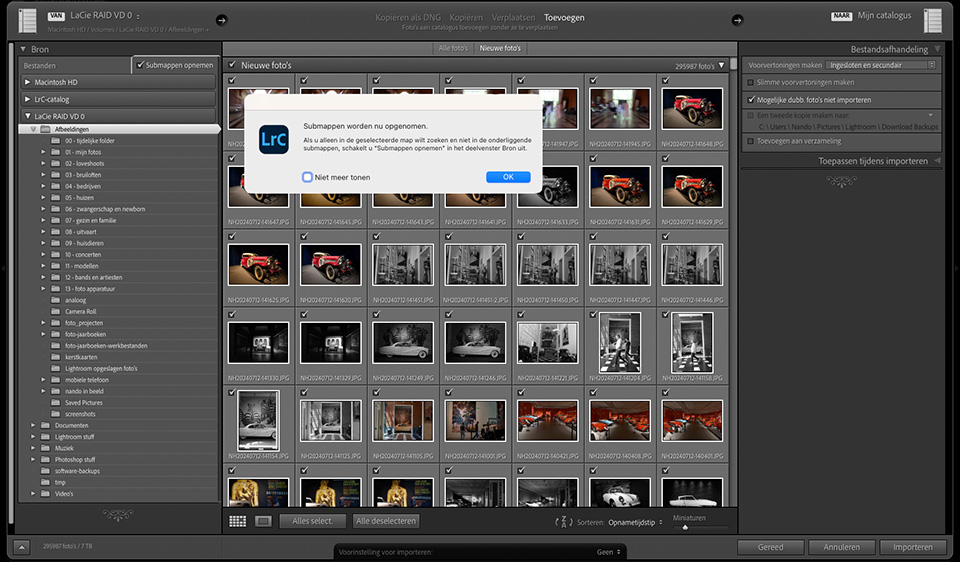
Importing can take a while, especially when you let it create smart previews. Give the programme time to do this. Importing this number of photos is a one-off task. In the meantime, you can prepare step four.
Would you rather add the photos in stages? That is no problem. Choose the folder you want to import and let the programme do its thing. Then choose the next folder. Since you have to do things yourself, it will ultimately take longer than importing everything at once.
4. Create a workflow for reviewing photos
A good workflow is important. Working consistently is the key to efficiency and a good overview. Write it down, so you have something to guide you. Eventually, it will become automatic.
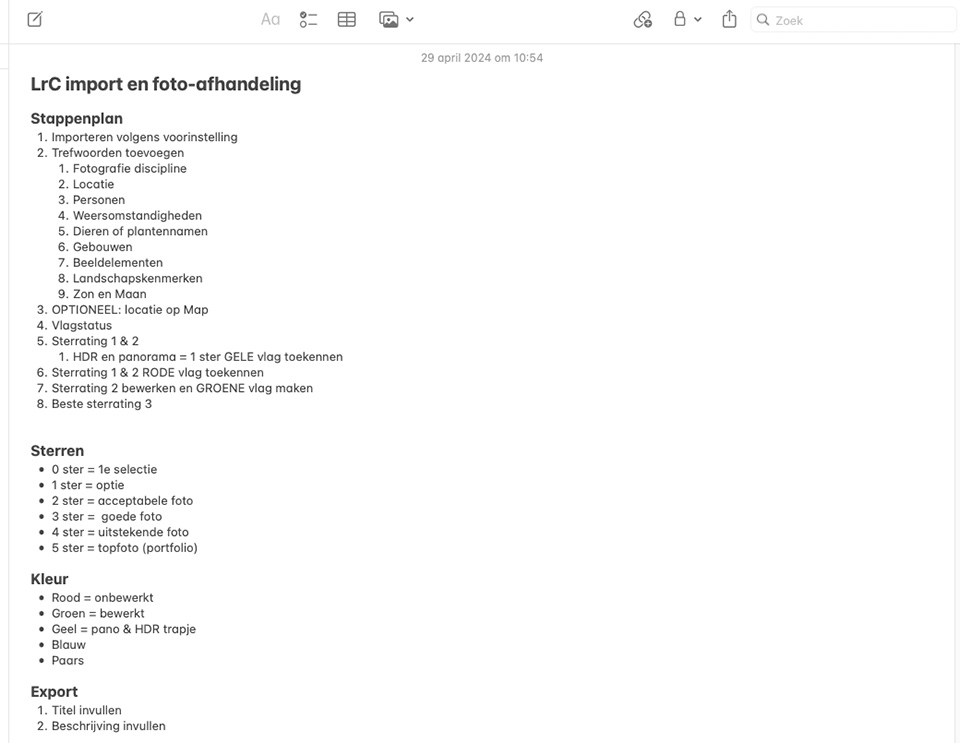
Determine how you are going to use the star rating. How you are going to assign colours. Create an outline of the collections you want to use. Choose a useful structure for keywords.
Do not worry, you can always adjust things later. Collections are not permanent, and you can still change everything if that works better.
5. Start using Lightroom Classic
Now it is time to really start using Lightroom Classic. Create your collections and add keywords. You do not have to have all your existing photos perfectly organised in the catalogue in one evening. Do this in stages, especially if there are a lot of them.
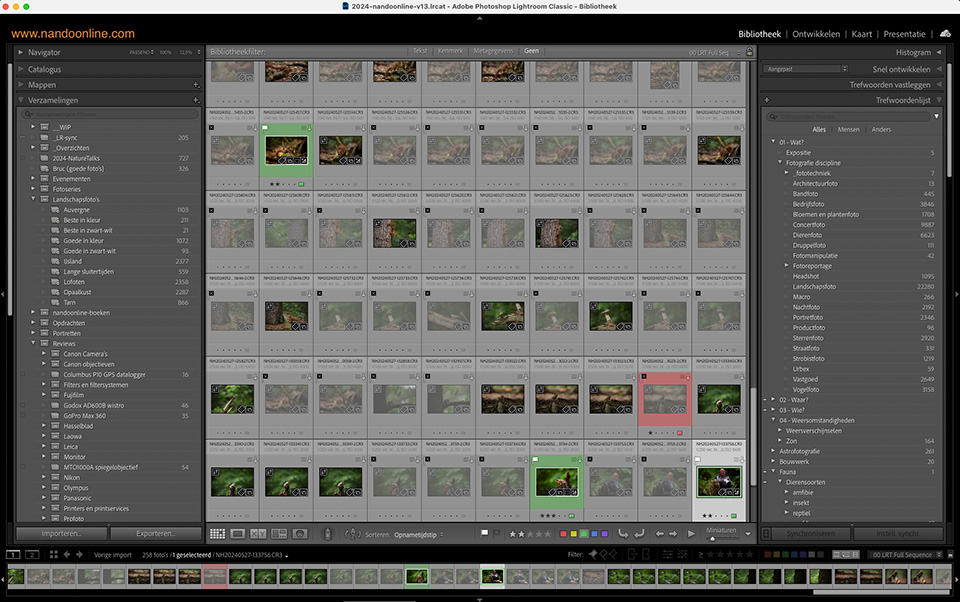
Always work backwards. Start with the most recent photos, then move on to the older ones. When new photos are added, deal with those first. If you have time left, take some older photos to organise, assign keywords to and review.
Have you already used a practice catalogue, which I called step 0? Then you already have an idea of what is possible. The nice thing is that you can always keep a practice catalogue alongside it, to try things out.
Dit artikel is voor het laatst bijgewerkt op 17 december 2024.
De eerste publicatiedatum is maandag 3 juni 2024, 20:02.
About the author
Nando Harmsen has been photographing for more than 40 years. He specialises in wedding photography and landscape photography. Nando also gives talks, workshops, masterclasses and photo trips, and regularly reviews new and interesting equipment.
You might also like
-
 My 10-step Lightroom Classic workflow
by Nando Harmsen
-
 Workflow tips for Lightroom Classic in 7 steps
by Nando Harmsen
-
 5 Tips for Managing Photos in Lightroom Classic (and Other Software)
by Nando Harmsen
-
Presets in Lightroom Classic
by Nando Harmsen
-
 Lightroom Classic tip: Create smart presets
by Elja Trum

1 comment
-
 Gertjan van Soest wrote on Tuesday 4 June 2024 at 14:58 | reply
Clear and easy-to-understand explanation and method, Nando.
Translated from Dutch.
Looks a lot like my way of working, which tells me I'm not doing too badly yet! I would encourage everyone to take your recommendations to heart.
Have your say
Please note: Articles older than a week can only be commented on by signed-in visitors.Would you still like to comment? sign in or create a free account.
Become a better photographer every week
A practical photography tip in your inbox every week.
39,024 photography enthusiasts already receive the tips! More about the weekly mail. Or keep up to date via  Facebook.

Elja Trum
Photofacts; everything to do with photography!
Would you like to take better photos and keep up with what is happening in photography? Photofacts publishes articles that teach you something about photography — from a product announcement to a practical shooting tip or a look at a website. Photofacts covers photography every day and is a hobby project of Elja Trum's that got out of hand. The articles are written by a team of volunteer authors. If you would enjoy writing one or more articles for Photofacts, do get in touch.More about PhotofactsPhotofacts is made possible in part by
