

Workflow tips for Lightroom Classic in 7 steps
Monday 17 July 2023, 14:41 by Nando Harmsen | 6,486 views | 9 commentsThis article was translated from Dutch with the help of AI. Read the original.
Editing a photo into a finished result is part of photography. What comes out of the camera is rarely perfect. How you edit a photo is very personal. I can give you a few tips for a pleasant workflow.
Editing a photo becomes less difficult when you have a good workflow. That workflow is different for everyone, in principle. After all, every photographer has a favourite way of working. But are you looking for your favourite way? Then these tips will help.
The tips are based on a workflow in Lightroom Classic. If you do not use that software, look at what is edited in each step. Your favourite software package will have that option too. It may look slightly different, but basically it is the same or comparable.
Step 1: Lens correction
Lens correction removes lens faults. Distortion, chromatic aberration and vignetting caused by the lens disappear.
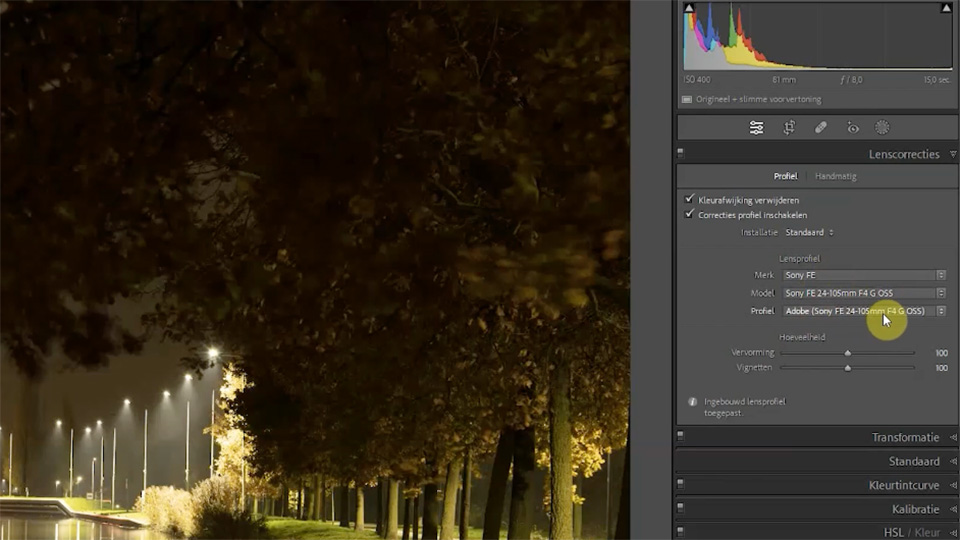
But be careful, sometimes lens correction creates unwanted effects. You may only notice this later in the workflow. In that case, you need to go back and turn off lens correction. So always pay close attention.
Apply any transformations in this step too, straighten the horizon, and crop the photo to your preferred aspect ratio.
Step 2: Dust spots and blemishes
This is a good time to remove dust spots and blemishes. They may be difficult to see. It can therefore help to temporarily set the contrast very high, or apply Dehaze extremely strongly.
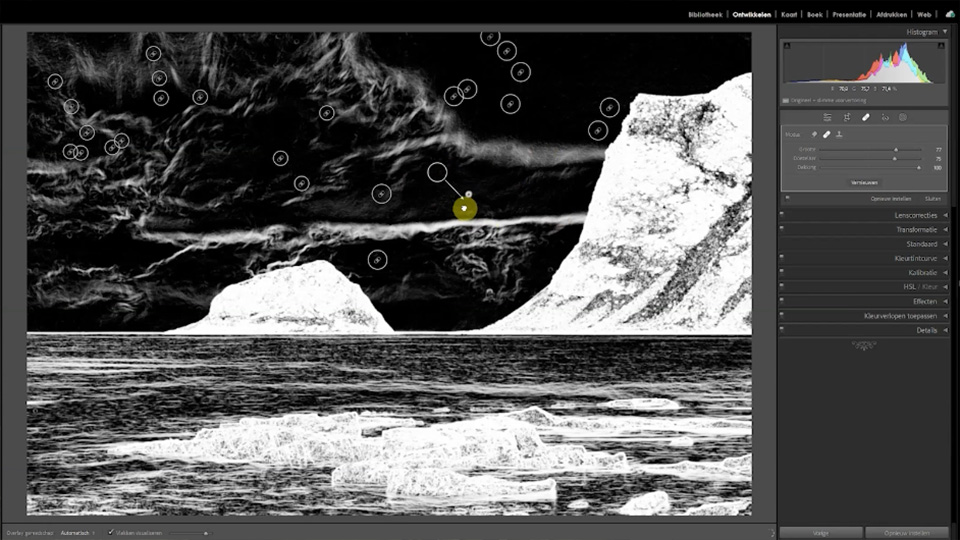
you can also make dust spots visible using Visualise Spots. See what works best for you. Do not forget to set the contrast or Dehaze back to 0 afterwards.
Step 3: Global exposure, colour and contrast
Optimise the exposure, highlights and shadows. Do not make this too extreme, but make sure the photo has the best possible appearance. Do not worry too much yet about areas that are far too light or dark. That comes in the next step.
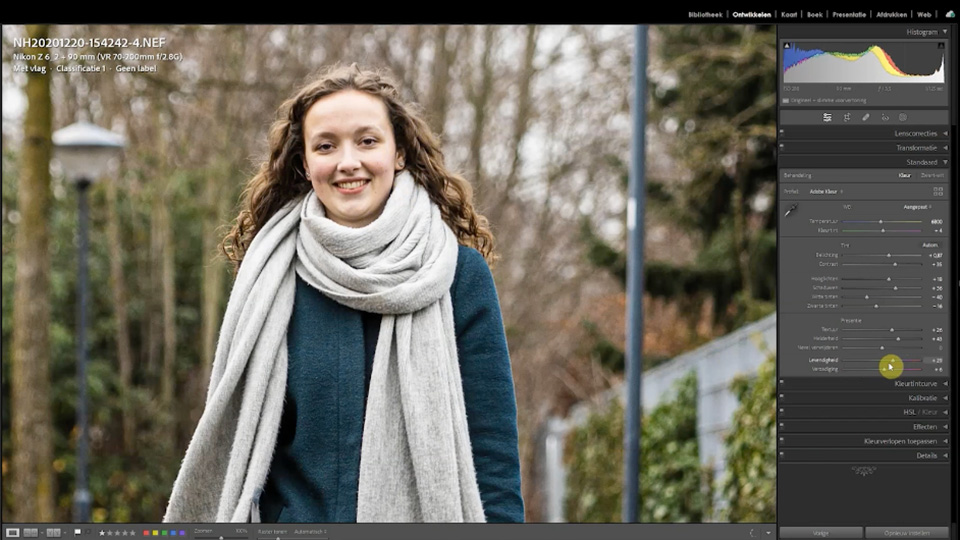
Also optimise the colour using white balance and tint. Be a little careful here too, but remember that you can always adjust everything later. Nothing you do is final or irreversible.
Step 4: Local exposure and contrast
Once you have finished the global adjustments, it is time to adjust the exposure and contrast locally. Sometimes this is hardly necessary, while at other times it is essential.
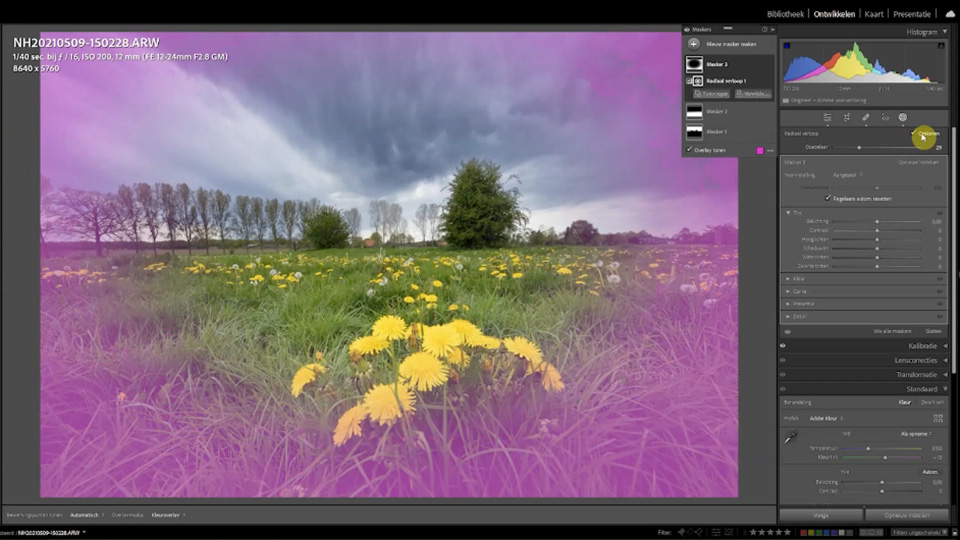
You make local adjustments using masks. Use radial masks, linear masks, or object recognition. Do not be afraid to use more than one. Applying vignetting is also a form of local adjustment.
You can always go back a step from here and adjust the global edit. It is an interplay between global and local adjustments. Take your time.
Step 5: Mood and colour
This is not always necessary, and it is also very personal. When thinking about mood, consider effects such as the Orton effect, which gives the photo a dreamy appearance.
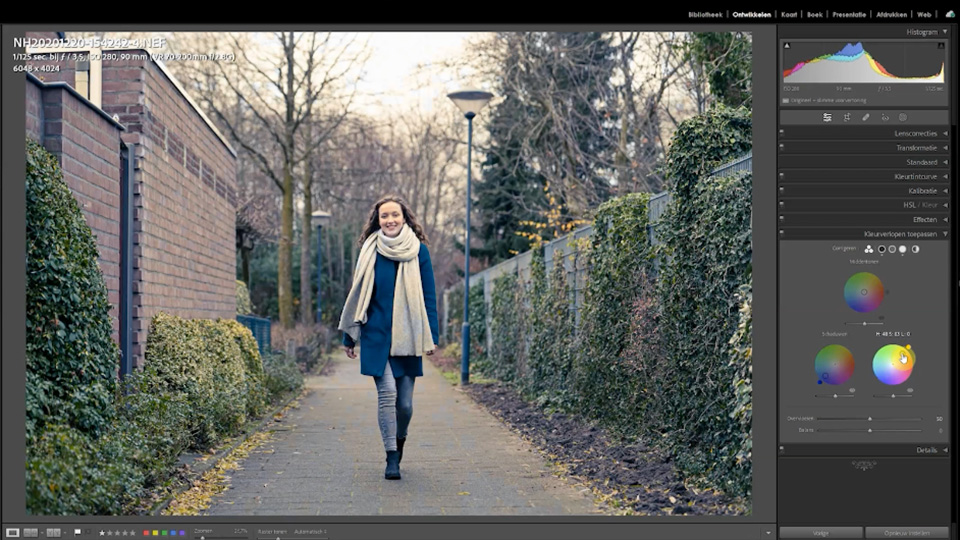
You can also create mood by adding a colour using colour gradients. It gives your photo a distinctive, unique appearance. Here too, you can go back a few steps to adjust the white balance.
If you have your own style, consider creating a preset from your colour gradient. This gives you a quick starting point with nothing more than the press of a button. You can then optimise the result further.
Step 6: Check the exposure and contrast again a day later>Although you can make further adjustments to the exposure and contrast during every step of your editing, it is a good idea to do this again after a day.
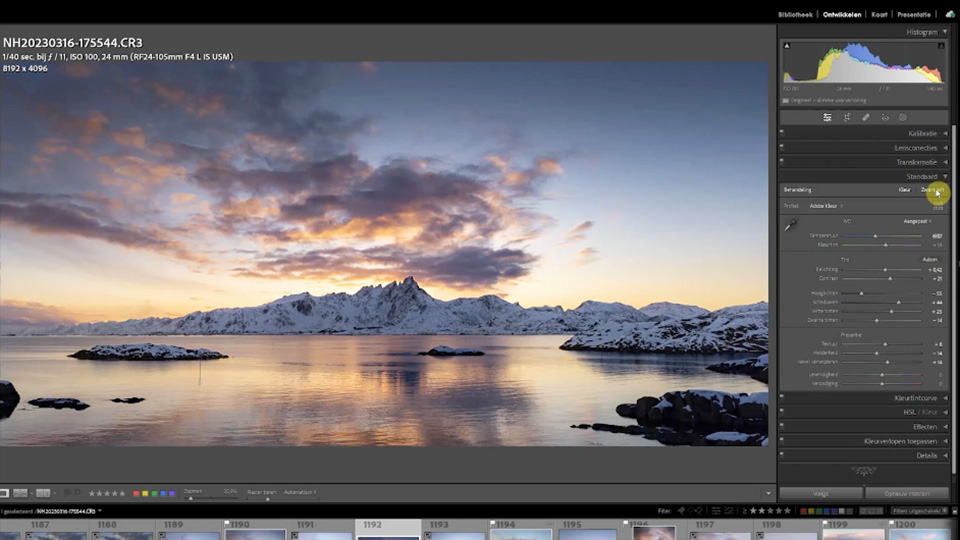
Although the editing of your photo was basically finished, further adjustments may still be needed. Your photo may have too little contrast or colour, or the editing may have gone too far. You only notice this once you have gained some distance. So look at the photo again a day later, and adjust what is needed.
Step 7: Sharpening and noise
In principle, this step is only needed when you are going to export the photo. You can of course deal with noise here too, but sharpening depends on how the photo will be used.
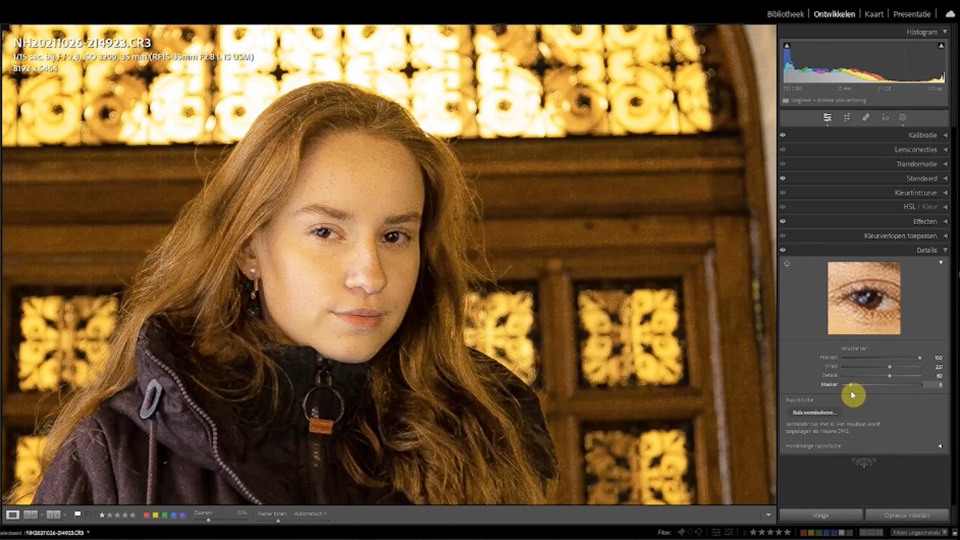
Sharpening for use on the internet is different from sharpening for print. Sharpening for a poster is also different from sharpening for a small postcard-sized print. You can only sharpen with a specific purpose once you are exporting for a particular use.
Adapt it to your own preferences
These 7 steps are of course not compulsory. They are not a holy grail that guarantees a good photo. But they can be used as a starting point for your personal workflow.
What are your steps when editing? Do you consistently follow a particular order, or do you let what you see guide you and work in a less structured way? Let us know in a comment below this post.
About the author
Nando Harmsen has been photographing for more than 40 years. He specialises in wedding photography and landscape photography. Nando also gives talks, workshops, masterclasses and photo trips, and regularly reviews new and interesting equipment.
You might also like
-
 My 10-step Lightroom Classic workflow
by Nando Harmsen
-
 How do you get started with Lightroom Classic?
by Nando Harmsen
-
 5 Lightroom tips to improve your photos even faster
by Michelle Peeters
-
 Review: Blurb photo books via Lightroom Classic
by Nando Harmsen
-
6 Tips for Importing Photos into Lightroom
by Nando Harmsen
-
 Lightroom Classic tip: Create smart presets
by Elja Trum
9 comments
-
 guest wrote on Tuesday 18 July 2023 at 10:57 | reply
Nando, I really like this workflow guide. The explanation that goes with it is also easy to follow. Still, I have another question.
Translated from Dutch.
You mention, among other things, applying an Orton effect. I know what an Orton effect does, but the question is when do you apply it and when not. Now you might say that it depends on personal taste. That is correct in itself. But can you try to describe what type of photos you could use it for and what type of photos you wouldn't? -

 Nando
wrote on Tuesday 18 July 2023 at 11:30
| reply
Nando
wrote on Tuesday 18 July 2023 at 11:30
| reply
There isn't really an answer to your question. You know what the effect does, and your own preference determines whether you want to apply the effect. The type of photo doesn't matter for that.
Translated from Dutch.
But to steer the choice a bit. An Orton effect creates a dreamy atmosphere. If your photo is supposed to convey a dreamy atmosphere, or you think it suits it, then that might be the suitable photo for it. -
 Donald Willemsen wrote on Tuesday 18 July 2023 at 16:20 | reply
Thank you for the answer to my question.
Translated from Dutch.
That gives me something to work with. I am also a fan of the soft-focus effect as used by David Hamilton. What is striking then is that it only gives a nice effect in backlight. I think that may also be the case with the Orton effect.
Apparently something is going wrong on this site, because that guy must be Donald Willemsen. It could also be that it is better to log in first and only then write a comment. Then at least you know who you are aken with and that is more pleasant, I think. -
 Jan Willem Hartmann wrote on Thursday 20 July 2023 at 15:37 | reply
Dear Nando, I see that in this workflow you only apply noise reduction at the end. Various Lightroom ambassadors actually recommend applying noise reduction in the latest version, immediately after the first global adjustment in ‘tone’, if necessary, and then doing the ‘presence’ adjustment and the rest. Definitely noise reduction before spot removal. Why your choice to tackle noise later
Translated from Dutch. -
-
 Hanneke wrote on Thursday 20 July 2023 at 21:00 | reply
I wanted to apply these tips when editing my photos taken with Olympus Om1 mk 2. But Olympus isn't included in the list of brands. Why not? Kind regards Hanneke
Translated from Dutch. -
 MacBigfoot wrote on Thursday 18 April 2024 at 20:50
| reply
MacBigfoot wrote on Thursday 18 April 2024 at 20:50
| reply
With a probability bordering on certainty:
Translated from Dutch.
RAW files from an Olympus (with the ORF extension) have already received these corrections in software from the camera.
There is software to undo those corrections when importing, and then get to work on corrections yourself, or to allow that other software to apply the corrections.
I think: if a reputable brand with good equipment, which you may expect to know their products well, applies the corrections themselves: could third-party software developers then do it better? -
Jan Willem Hartmann wrote on Thursday 20 July 2023 at 21:14 | reply
Beste Nando, in for example this video by Anthoney Morganti I found a clear explanation of why to apply 'healing' before 'masking'.
Translated from Dutch.
https://youtu.be/J3pnrY1iYJw -
Have your say
Please note: Articles older than a week can only be commented on by signed-in visitors.Would you still like to comment? sign in or create a free account.
Become a better photographer every week
A practical photography tip in your inbox every week.
38,982 photography enthusiasts already receive the tips! More about the weekly mail. Or keep up to date via  Facebook.

Elja Trum
Photofacts; everything to do with photography!
Would you like to take better photos and keep up with what is happening in photography? Photofacts publishes articles that teach you something about photography — from a product announcement to a practical shooting tip or a look at a website. Photofacts covers photography every day and is a hobby project of Elja Trum's that got out of hand. The articles are written by a team of volunteer authors. If you would enjoy writing one or more articles for Photofacts, do get in touch.More about PhotofactsPhotofacts is made possible in part by
