

Remove the light stand and flash from the photo
Saturday 29 May 2021, 14:07 by Nando Harmsen | 5,831 views | 4 commentsThis article was translated from Dutch with the help of AI. Read the original.
Do you enjoy strobist photography, or do you sometimes photograph on location with an off-camera flash? A light stand can get in the way. There is a very simple solution to keep it out of the final result, but it does require some preparation.
For the best flash light, you want to keep the flash as close as possible. Placing the flash close also prevents you from lighting too much of your surroundings, which can be unwanted. The downside is that your flash and light stand will often appear in the frame.
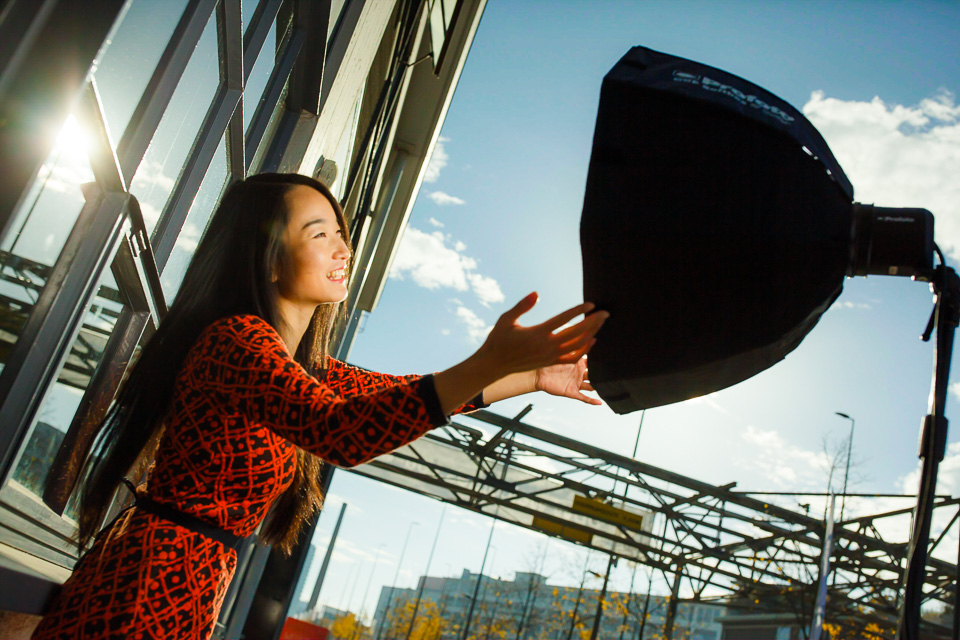
Although having a flash in your composition can sometimes create nice effects and tell a story, you will usually want to avoid it. This quickly means that you have to place your flash too far away from your model.
Placing the flash too far away produces harsher light, requires more power, and also lights the surroundings, with the risk of unwanted shadows. Sometimes there is no other option and you have to work this way.
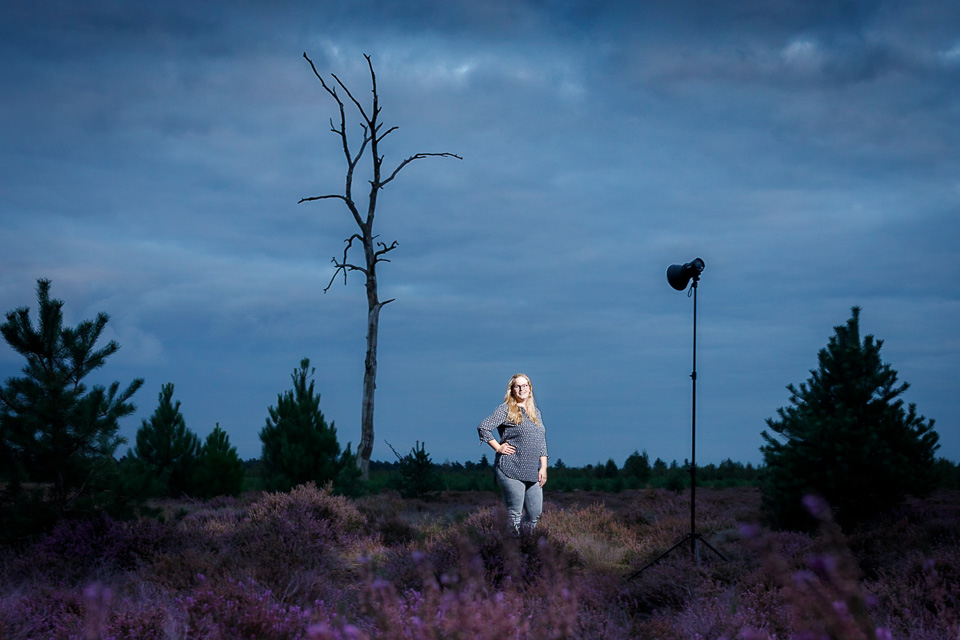
However, there is a simple way to keep your flash close for the best light, while still keeping the flash out of the final result.
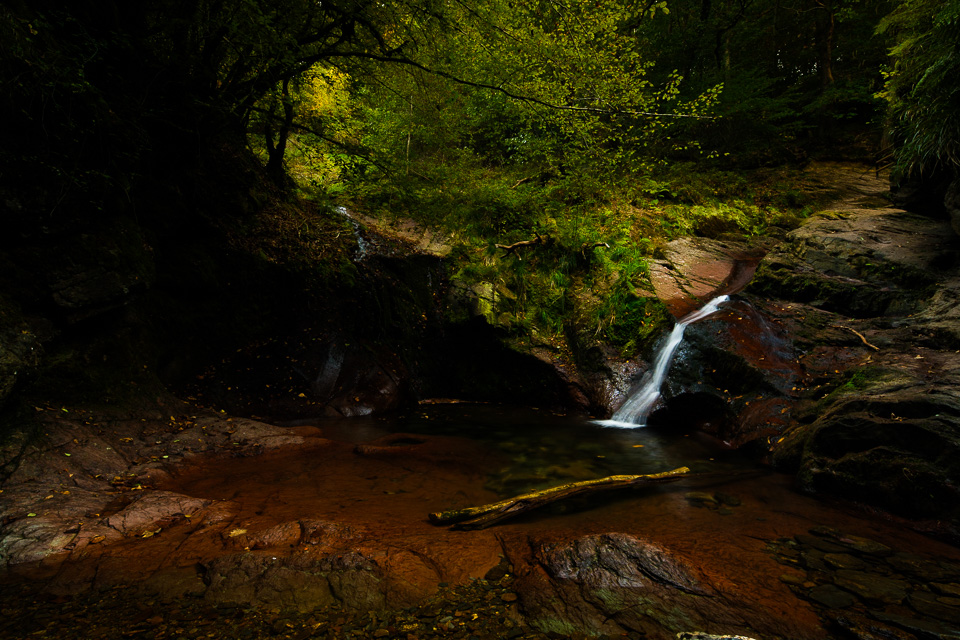
All you need is a tripod and some preparation. Set up your composition, and make sure the exposure for the surroundings is set the way you want it in the final result. Then take a photo without the model, flashes or light stands.
Leave your camera on the tripod without changing your composition. Position your model, your flashes and everything else you need for the photo. All you have to do is make sure the flash light is right, then take the photo with everything still in the frame.
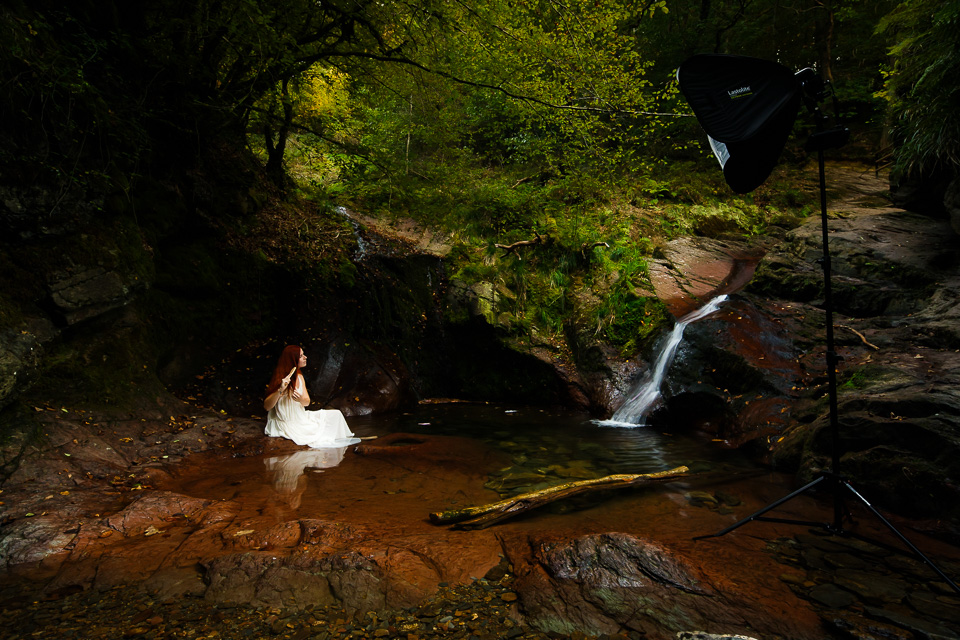
The next step takes place in Photoshop. Open both photos as layers on top of each other. Since you worked on a tripod, the alignment is perfect. The photos line up perfectly.
All you have to do then is add a mask to the top layer and mask out the stand with the flash, as well as all the other objects you used.
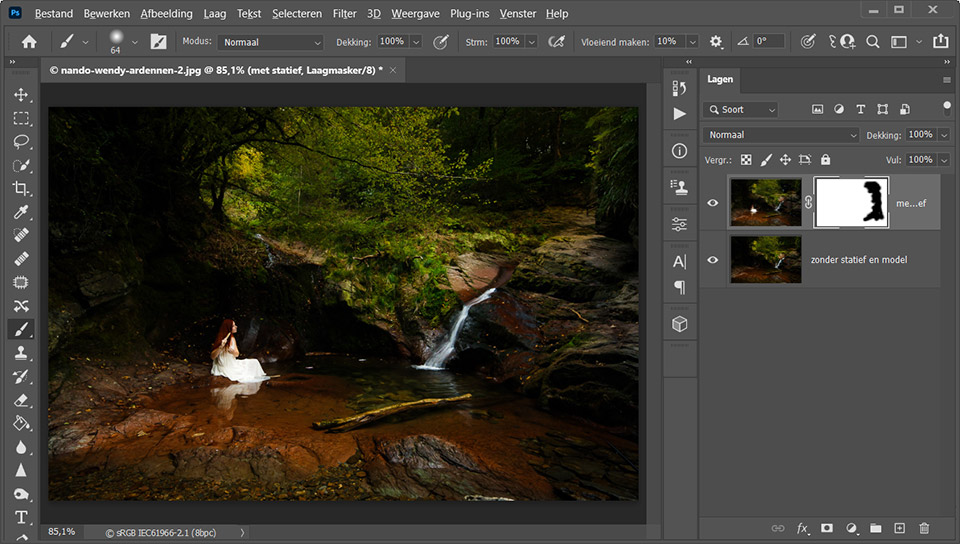
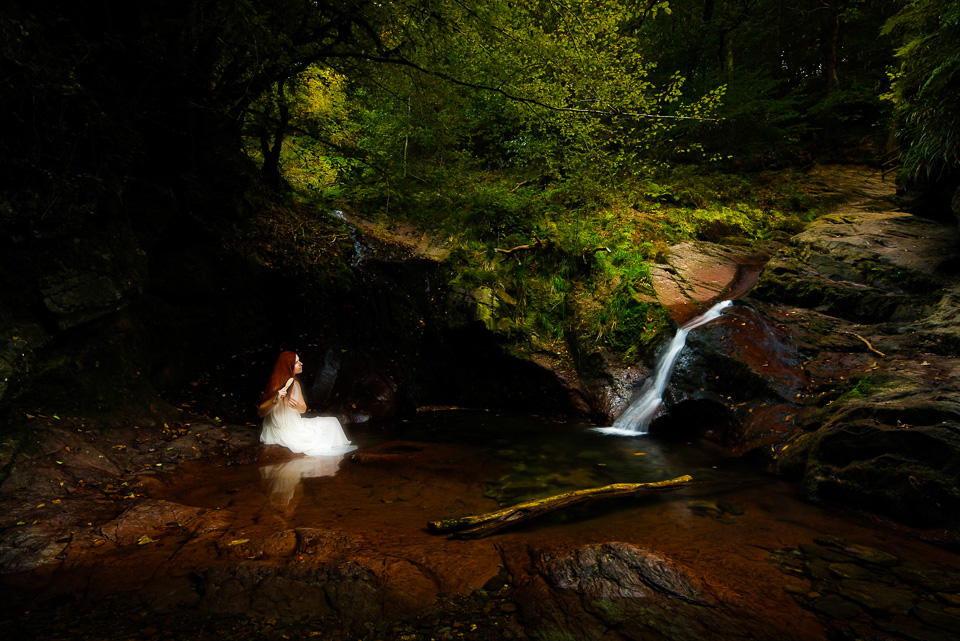
This requires some preparation on location, and you need to remember to first take an 'empty' photo with the correct exposure for each new composition. But this way, positioning your flash is never a problem and the light in the final result is exactly as you imagined it.
About the author
Nando Harmsen has been photographing for more than 40 years. He specialises in wedding photography and landscape photography. Nando also gives talks, workshops, masterclasses and photo trips, and regularly reviews new and interesting equipment.
You might also like
-
 Who is Photoshop Beta for?
by Nando Harmsen
-
 Which Strobist kit would you recommend?
by Elja Trum
-
 Replacing skies in Photoshop is getting easier
by Johan Elzenga
-
 Everything about Generative Fill in Photoshop Beta
by Nando Harmsen
-
 New in Photoshop Beta: Generative Fill
by Nando Harmsen
-
 Does Lightroom make Photoshop redundant?
by Nando Harmsen
4 comments
-
 guest wrote on Saturday 29 May 2021 at 20:54 | reply
Nando, thanks for this good tip. A great way of working. You get it with Photoshop the way you want it. Is the same result also achievable with, for example, Luminar AI?
Translated from Dutch. -

-
 Jan Flinkenflögel wrote on Tuesday 1 June 2021 at 16:26 | reply
Hi Nando, great idea, but I think the execution could be even easier. You place the 2 nearly identical layers on top of each other, with the layer with the flash on top. Then use the eraser to flatten out the flash. You don't have to do that very precisely.
Translated from Dutch. -

Have your say
Please note: Articles older than a week can only be commented on by signed-in visitors.Would you still like to comment? sign in or create a free account.
Become a better photographer every week
A practical photography tip in your inbox every week.
39,079 photography enthusiasts already receive the tips! More about the weekly mail. Or keep up to date via  Facebook.

Elja Trum
Photofacts; everything to do with photography!
Would you like to take better photos and keep up with what is happening in photography? Photofacts publishes articles that teach you something about photography — from a product announcement to a practical shooting tip or a look at a website. Photofacts covers photography every day and is a hobby project of Elja Trum's that got out of hand. The articles are written by a team of volunteer authors. If you would enjoy writing one or more articles for Photofacts, do get in touch.More about PhotofactsPhotofacts is made possible in part by
