

15 practical tips for sharper panning photos
Monday 10 January 2022, 20:10 by Huub Keulers | 17,692 views | 20 commentsThis article was translated from Dutch with the help of AI. Read the original.
Do you, like me, enjoy taking photos of moving subjects, but your photos are blurry? Or do you photograph action with a very fast shutter speed, losing the sense of movement?
In this article, I would like to explain how you can use the right panning technique to create more exciting photos that suggest movement. Are you ready? Enjoy reading and learning.
What exactly is panning?
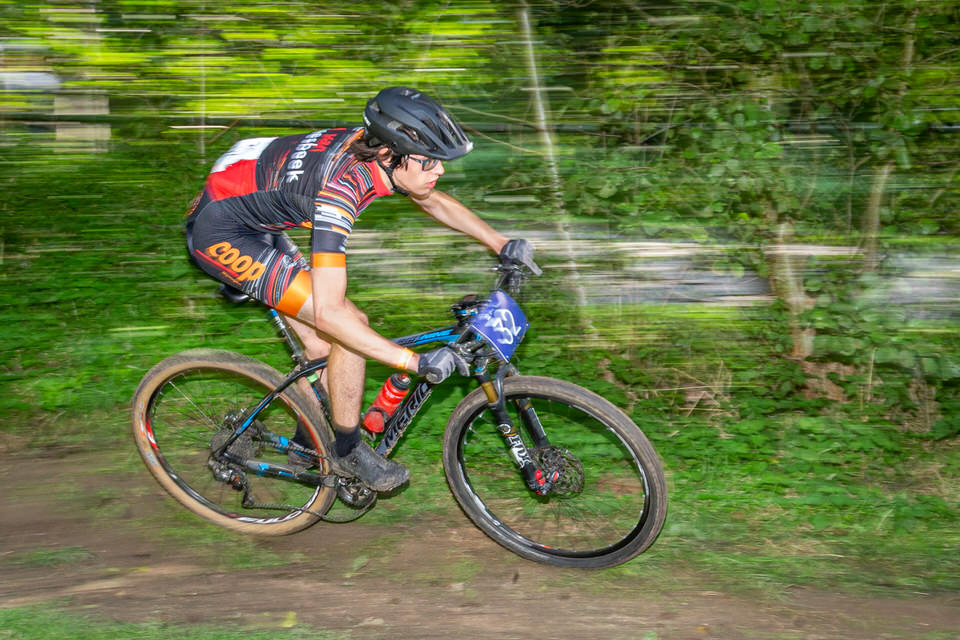
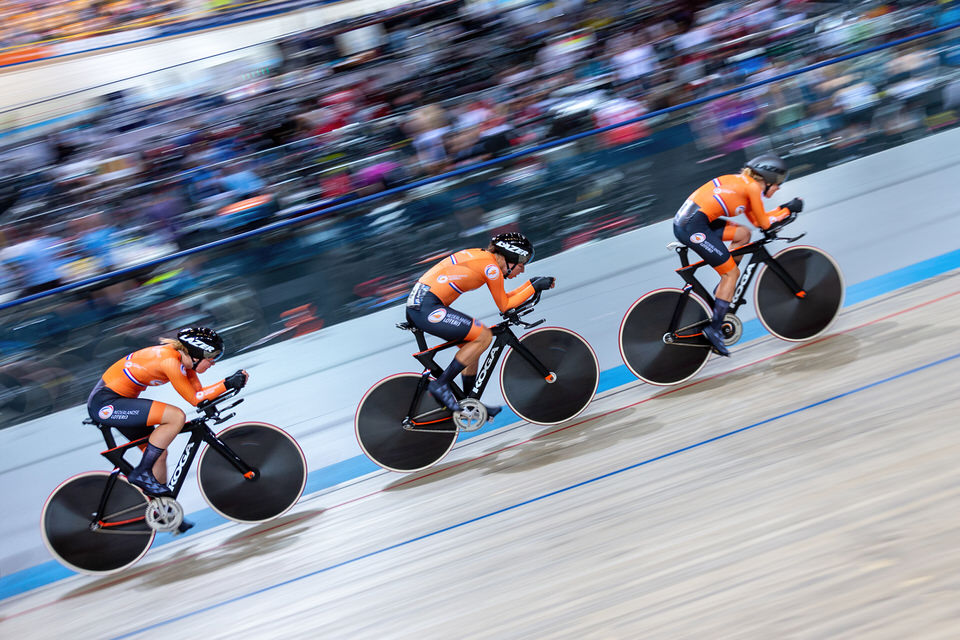
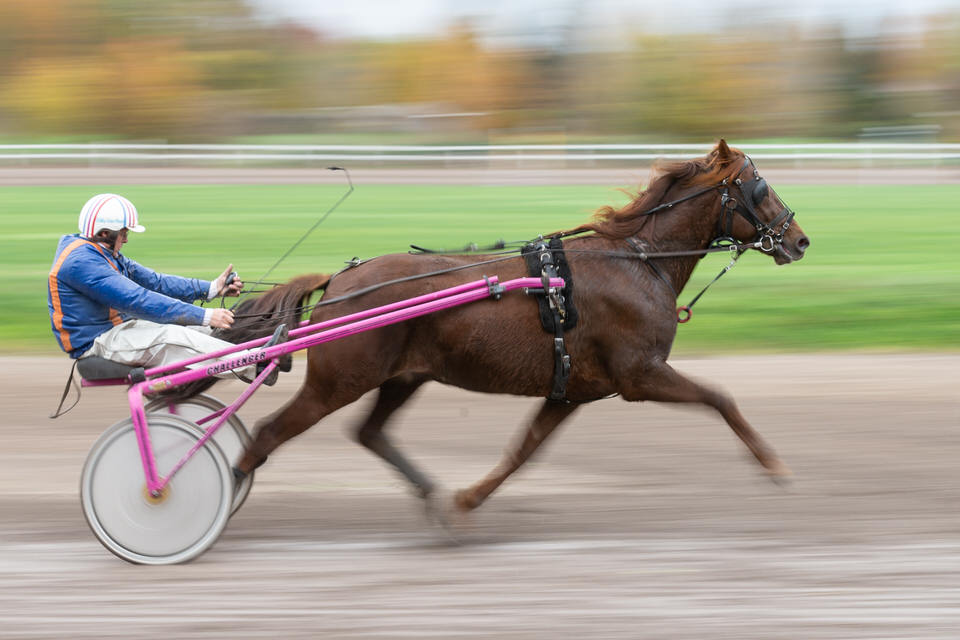
Panning is a photography technique that creates the illusion of movement. You can do this by using a slower shutter speed and moving the camera along with the subject.
It sounds simple, and technically it is. However, you often need to practise panning before you master the technique, but it is certainly achievable.
The art of panning
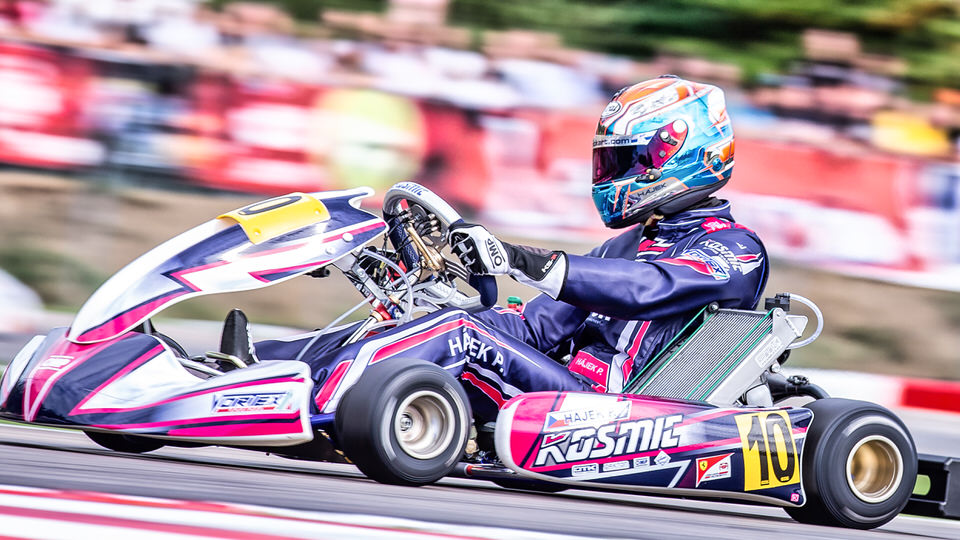
The trick when panning is to move your camera at the same speed as the subject. If you do this, your subject is actually stationary in relation to your camera, as the speed difference is zero.
This keeps your subject sharp in the photo while your background is blurred with motion streaks. Start focusing well in advance and complete the panning movement.
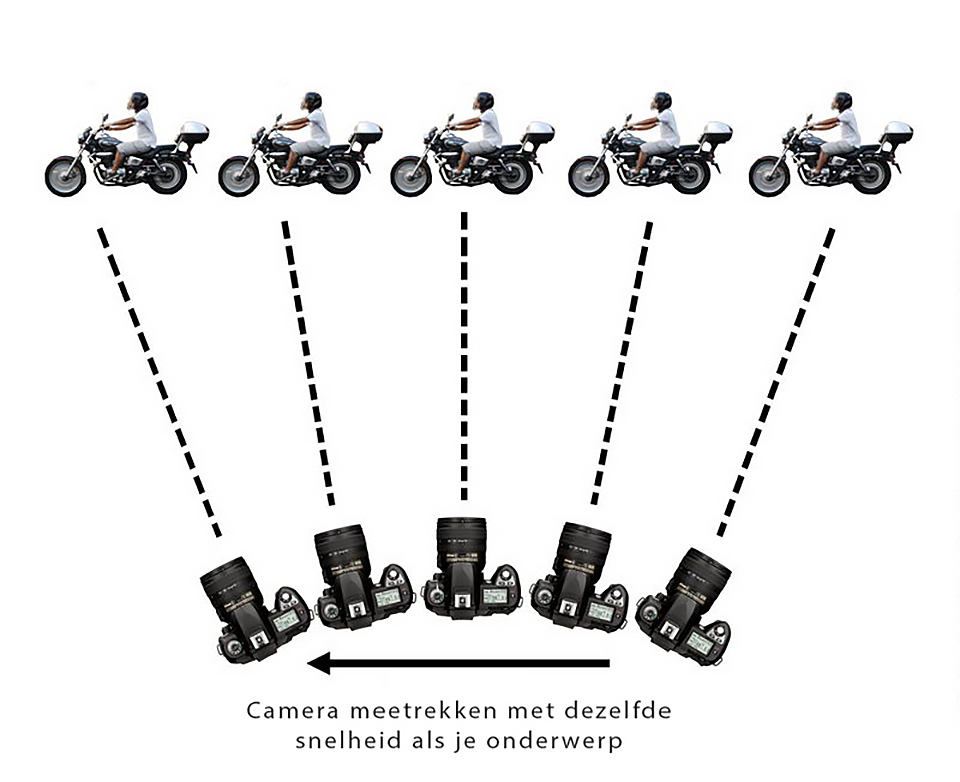
Taking panning photos in a nutshell
• Choose your subject and lens carefully.
• Position yourself where the subject will ideally pass you at a right angle.
• Set your desired shutter speed, see further on in this article.
• Adjust the rest of the camera settings for a correct exposure.
• Start focusing well before you actually take the photos;
• Complete the panning movement with your subject after you stop taking photos;
1. Choose your subject carefully
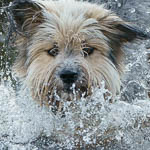
You can take panning photos of any moving subject, a dog, runner, car, cyclist and so on.
If the panning technique is new to you, it is best to start with repetitive subjects that move at a constant speed. For example, stand on the pavement and photograph passing cars.
A small tip: give a thumbs-up from time to time, because some people will wonder why that man or woman is photographing them. A skate park or fairground are also excellent locations for practising the panning technique. And less boring.
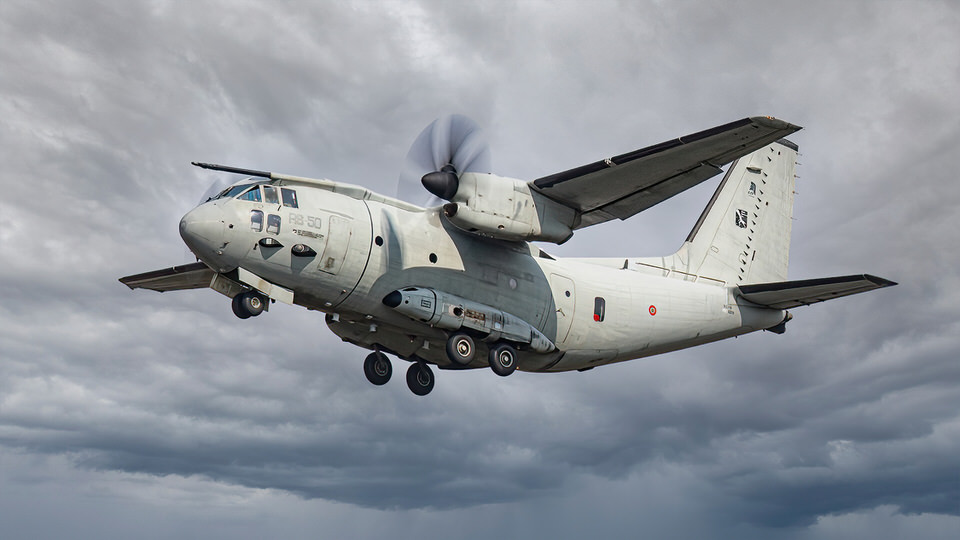
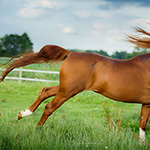
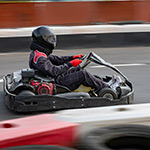
Once you have mastered the technique, try photographing faster subjects, such as horses, racing cars, dogs and so on. The best part of panning photography is finding fun subjects to photograph.
2. Adjust your distance
When panning, you need to consider two distances: the distance between you and your subject, and the distance between the subject and the background. Both affect the perception of speed in a panning shot.
Fast-moving subjects seen from a distance appear to move more slowly. Keep this in mind when, for example, you are at the race track and are deciding between sitting in the front row or in a higher section.
As for the distance between the subject and the background, remember that a shorter distance allows for more noticeable blur, creating a more intense sense of speed. Keep this in mind when selecting your camera lens.
3. Choose your lens carefully
Choosing the right lens can make panning considerably easier. Telephoto lenses can zoom in extremely far, allowing you to take frame-filling photos from a reasonable distance.
As well as this distance, such a long focal length has another advantage, namely that it is easier to move along with your subject.
At a race circuit, the fastest cars 'tear' around the track at about 300 kilometres per hour. Taking the photo from such a long distance means you only have to move a little for a panning shot.
Fortunately, cars on a public road travel at around 30 to 50 kilometres per hour. Slow enough to practise panning with a wide-angle lens. With a wide-angle or standard lens, you will be closer to your subject, so you will have to pan faster and for longer.
4. Use shutter priority
For panning photography, it is best to use shutter priority mode, or manual mode. You can also use the Auto ISO function in combination with shutter priority mode.
This way, you only need to worry about one value in the exposure triangle and can concentrate solely on your panning technique. Auto ISO also includes a setting for the minimum shutter speed.
However, when you use shutter priority mode, this setting is bypassed in many cases.
5. Set the right shutter speed
One of the most frequently asked questions about panning photography is: 'How do I know which shutter speed to use?' Well, everyone will give you a different value, and you will find plenty of shutter speed cheat sheets online, but the truth is that these are only starting points.
It is useful to know where to start, but remember that there is no specific shutter speed, as it depends on several factors. How fast is your subject moving? How far away are you from your subject? What effect do you want? Which lens are you using?
6. Use continuous autofocus
Manual focusing is almost impossible when taking panning photos, so using autofocus is essential.
There are different types of autofocus methods, however. The mode that works best with moving subjects is the continuous focusing mode.
Every camera manufacturer has a different name for this: on Canon cameras it is AI-Servo, on Nikon it is AF-C and on Sony it is Continuous AF.
With this continuous focusing mode, half-press the shutter button to focus. As long as you keep following your subject and continue half-pressing the shutter button, your camera will keep focusing on your moving subject.
7. Number of focus points
Personally, I prefer to use just one focus point, but if you have less experience, it is advisable to set 5 or 9 focus points. This reduces the chance of focusing next to your subject, resulting in a blurred background.
8. Turn off image stabilisation
Make sure you have turned off stabilisation on your lens or camera. Otherwise, you risk getting blurry photos. Image stabilisation tries to correct movement in your image, which is exactly what you want to avoid here.
Most telephoto lenses do have an image stabilisation setting that you can use for panning photos. This is often a switch on your lens with options 1 and 2, and sometimes even an option 3.
When panning, choose option 2. On Canon lenses, image stabilisation is called 'Image Stabilization' (IS), and on Nikon it is called 'Vibration Reduction' (VR).
9. Follow your subject well in advance
Make sure you already have your subject in your viewfinder well before you want to take the photos. If you only start following the subject when you actually want to take the photo, you will be too late and get a blurry image.
Most cameras simply cannot focus quickly enough on a fast-moving subject.
10. Speed of the panning movement
Try to move at the same speed as the subject. If you do this, your subject is actually stationary in relation to your camera. This keeps your subject sharp in the photo while your background is blurred.
When you press the shutter button, it is important to keep moving along with the subject for a little while after you stop taking photos. This will make the background blur look smooth from start to finish.
So you need to complete your movement. In a good panning photo, you move your camera through an angle of at least 90 degrees.
11. Breathe out calmly
Everyone who has done military service knows that you have the best chance of hitting your target when you shoot as you calmly breathe out. The same applies to photography.
If you press the shutter button while breathing in, your upper body will move more than it does while calmly breathing out. The result is a blurry photo.
You will notice this particularly in panning photos with a slower shutter speed, 1/60 or 1/30 second.
12. Turn from your hips
People with flexible hips, such as dancers, have an advantage when taking panning photos. This is for the simple reason that you need to make one smooth movement from your hips while moving along with your subject.
The more often you do this, the easier it will become. If you do not move at the same speed as your subject, your subject will not be captured sharply.
13. Watch out for overexposed photos
If you photograph in bright light with slower shutter speeds, you may end up with an overexposed photo. Make sure you choose a low ISO value and a small aperture, high F-number, to compensate for the slower shutter speed.
Take your time trying out the steps and you will see that you increasingly enjoy panning. If there is so much light that you still get overexposed photos at ISO 100 and f/22, you can always consider placing a neutral density filter on your lens to block some light.
14. Use your flash for sharper photos
It does not matter how good you become at following your subject while panning, you will always want to use a slow shutter speed to increase the panning effect. This will increase the chance of motion blur again.
A fun trick is to use flash while panning. You then get a creative mix of movement and sharpness in your photo.
Do realise that if you use Burst mode, multiple images per second, your flash will only fire once. The recycling time of your flash is never fast enough to expose all the photos in a sequence of, for example, 5 photos correctly.
One tip is to set your flash to manual and reduce the power to, for example, one eighth. This means your flash will recharge sooner for the next flash.
15. Practise, practise, practise
Finally, remember that the panning technique requires a lot of practice. The only way to master it is through trial and error. So do not give up if you do not get the desired results overnight.
The great thing about using a digital camera is that every photo is 'free', so take the time to experiment by taking lots of photos until you get the desired result.
Now that you have all the information you need, nothing is stopping you from panning images until you get great action photos.
If you have any questions about panning, leave a comment here and I will be happy to help you further.
About the author
Huub Keulers is een enthousiasmerende veelzijdige freelance fotograaf woonachtig in Elsloo (Li). Hij is gespecialiseerd in sport-, bedrijfs-, straat-, honden en portretfotografie. Daarnaast is Huub auteur van diverse educatieve fotografieboeken en verzorgt hij allerlei fotoworkshops, masterclasses en lezingen.
You might also like
-
 Panning for action shots
by Nando Harmsen
-
 10 tips for panning, moving the camera with the movement
by Nando Harmsen
-
 5 power tips for more exciting sports photos
by Huub Keulers
-
 The basic settings for action photography
by Nando Harmsen
-
 Sports photography tip: Focusing while panning
by Nico Delmeire
-
 Sports photography tip: Think like an athlete
by Nico Delmeire
20 comments
-
 Mac wrote on Tuesday 11 January 2022 at 08:07 | reply
Especially when you know where the subject will pass by I wouldn't use AF. but simply focus on the point where it will pass by. during panning it will always be sharp at that spot (provided you follow the subject properly)
Translated from Dutch. -
 Mars van den Heuvel wrote on Tuesday 11 January 2022 at 10:45 | reply
"and chooses a small aperture (high f-number) to compensate for the long shutter speed." Shouldn't this be a large aperture (small f-number)?
Translated from Dutch.
A small aperture requires an even longer shutter speed, after all.
Furthermore, it is a very beautiful and clear article. And beautiful photos! -
 Ronald wrote on Tuesday 11 January 2022 at 12:06 | reply
@Mars: No no, what Huub says.You have to compensate.
Translated from Dutch. -

 Huub Keulers
wrote on Tuesday 11 January 2022 at 12:17
| reply
Huub Keulers
wrote on Tuesday 11 January 2022 at 12:17
| reply
Dear Mars, thanks for your response and compliment!
Translated from Dutch.
By means of a small aperture (high f-number), you achieve that the excess light available will be held back. This allows you to set a longer shutter speed. So this only applies, for example, in the middle of the day with lots of sunlight. To be able to set a shutter speed of e.g. 1/30sec, you therefore have to hold back light by setting a low ISO value and stopping down the aperture. -
Huub Keulers
wrote on Tuesday 11 January 2022 at 12:21
| reply
Dear Mac, you're right. The pre-focusing method can indeed work too. It's just that, as you yourself point out, there's a chance that only the photo in which your subject is within the depth-of-field area will be sharp.
Translated from Dutch.
Thanks for your comment -
Mars van den Heuvel wrote on Tuesday 11 January 2022 at 13:27 | reply
@ Huub & Ronald. Aha, in too much light, so to speak. If you still want to see motion blur, for example.
Translated from Dutch. -
Huub Keulers
wrote on Tuesday 11 January 2022 at 13:32
| reply
Absolutely correct Mars.
Translated from Dutch. -
 4BYE
wrote on Tuesday 11 January 2022 at 14:43
| reply
4BYE
wrote on Tuesday 11 January 2022 at 14:43
| reply
@Mac
Translated from Dutch.
"Especially when you know where the subject will pass by I wouldn't use AF. but just focus on the point where he passes by. during panning he will always be sharp at that spot (provided you follow the subject properly)"
Don't think this will work for multiple reasons. Depth of field depends on the lens and aperture, distance from subject to camera keeps changing, especially when taking a series of shots, must use back-button AF. -
Mac wrote on Wednesday 12 January 2022 at 08:00 | reply
@4BYE
Translated from Dutch.
I’m not writing this for nothing. I’ve been using this method for years (and I’m not the only one).
You always have enough depth of field to have multiple photos in focus. Because you’re using a small aperture opening. ant you want to pan, so show the movement. So your shutter speed will be low (how low depends on the effect you want to achieve and the speed of the panning).
And I don’t understand why you’re talking about mandatory backbutton AF, because you’re not using autofocus at all. -
4BYE
wrote on Wednesday 12 January 2022 at 10:28
| reply
@Mac if it works for you, fine. I trust my AF more, which checks the AF and exposure about 60 times per second while the subject moves closer and farther away. I can also use my ND filters to keep the aperture and shutter speed low and thereby avoid any diffraction. This isolates the background from the subject even more. Apparently a different approach. It doesn't really matter, it's the result that counts. The backbutton remark was more because I assumed you wanted to lock in a focus point somewhere. I understand now that you also do that manually.
Translated from Dutch. -
 Jacqueline de Groot wrote on Wednesday 12 January 2022 at 13:26 | reply
Hello Huub,
Translated from Dutch.
Ever since I did a workshop with you in the distant past, my camera has never been off Back Button Focus. When panning, I keep the BBF button pressed in that case to follow my subject, right?
Thanks for the article and the beautiful photos'!
Best wishes,
Jacqueline -
Huub Keulers
wrote on Wednesday 12 January 2022 at 14:27
| reply
@Jacqueline,
Translated from Dutch.
Nice to read, Jacqueline
Indeed, you have to keep BBF pressed while panning.
Thank you for your lovely compliment
Best,
Huub -
 Mieke Oosters wrote on Wednesday 12 January 2022 at 18:30 | reply
Very interesting enjoyable article.
Translated from Dutch. -
 Peter wrote on Thursday 13 January 2022 at 12:45
| reply
Peter wrote on Thursday 13 January 2022 at 12:45
| reply
I also regularly take panning photos (usually of trucks) and then also use spot metering, linked to the focus point. That way your subject is always properly exposed, especially on days with harsh light, that is recommended.
Translated from Dutch. -
 Gina Heynze wrote on Thursday 13 January 2022 at 15:47 | reply
Tried many times but so far without suc6. I won't give up
Translated from Dutch.) -
Peter wrote on Thursday 13 January 2022 at 16:35
| reply
@Gina Heynze:
Translated from Dutch.
Keep practicing, don't worry about a few hundred or a few thousand photos. You have to be relaxed yourself when you do this and be able to cope with disappointments.
Good luck! -
Huub Keulers
wrote on Saturday 15 January 2022 at 12:14
| reply
@ Mieke. Thank you for your lovely response and for reading my article.
Translated from Dutch. -
Huub Keulers
wrote on Saturday 15 January 2022 at 12:15
| reply
@4bye and @Mac. Always nice when people respond to each other's messages. Great!
Translated from Dutch. -
Huub Keulers
wrote on Saturday 15 January 2022 at 12:17
| reply
@Peter Thank you for your response and explanation. Indeed a tried-and-tested method. Great!
Translated from Dutch. -
Huub Keulers
wrote on Saturday 15 January 2022 at 12:19
| reply
@Gina. Exactly as @Peter describes. Above all, keep practising and don't give up. You will definitely succeed
Translated from Dutch. You can always contact me for further advice.
Have your say
Please note: Articles older than a week can only be commented on by signed-in visitors.Would you still like to comment? sign in or create a free account.
Become a better photographer every week
A practical photography tip in your inbox every week.
39,024 photography enthusiasts already receive the tips! More about the weekly mail. Or keep up to date via  Facebook.

Elja Trum
Photofacts; everything to do with photography!
Would you like to take better photos and keep up with what is happening in photography? Photofacts publishes articles that teach you something about photography — from a product announcement to a practical shooting tip or a look at a website. Photofacts covers photography every day and is a hobby project of Elja Trum's that got out of hand. The articles are written by a team of volunteer authors. If you would enjoy writing one or more articles for Photofacts, do get in touch.More about PhotofactsPhotofacts is made possible in part by
