

10 tips for panning, moving the camera with the movement
Monday 27 February 2023, 15:51 by Nando Harmsen | 6,753 views | 12 commentsThis article was translated from Dutch with the help of AI. Read the original.
In most cases, you want your subject to be as sharp as possible. But if you want to show movement, you can use panning, moving the camera along with the movement. This is more difficult than it first appears. Here are ten tips. Can you add to them?
Taking a photo in which your subject is sharp is actually not that difficult. Make sure you focus on the right point and choose a shutter speed that is fast enough. Unless you do something unusual, the photo will be sharp.
It becomes more difficult when your subject is moving. But the autofocus on almost every modern digital camera can compensate for that. Again, choose a shutter speed that is fast enough and your subject will be sharp in the photo... Or will it?
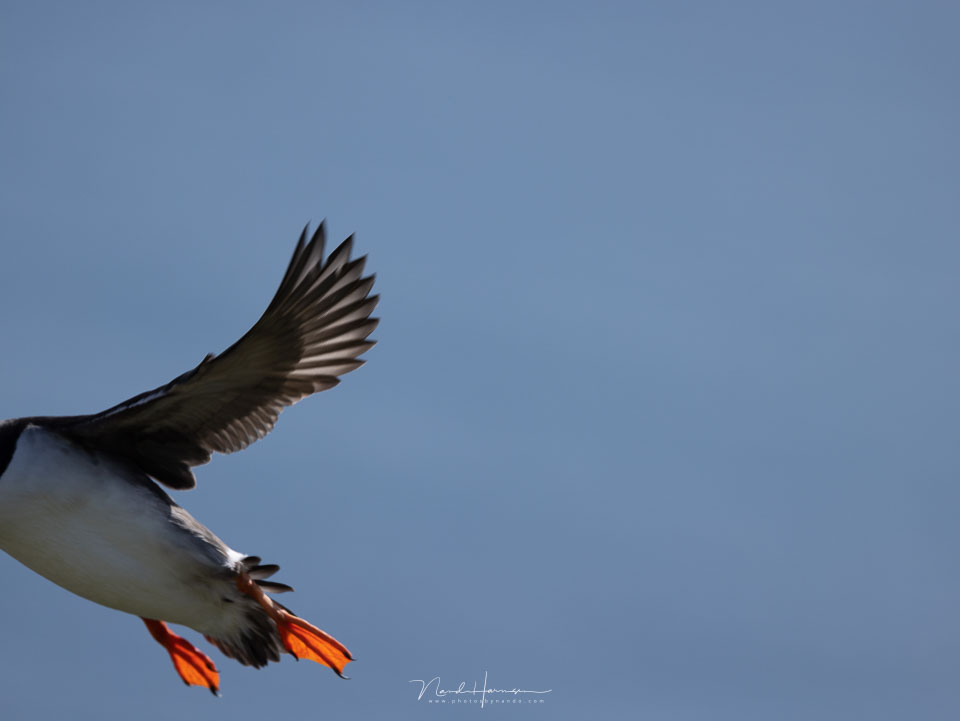
A common problem is that the subject moves across in front of you. You have to press the shutter button at exactly the right moment. The camera also has to see your subject quickly enough, focus on it, measure the exposure, even if you have set the exposure manually, and capture the photo.
When your moving subject is fast enough, you can easily miss the shot. An empty photo, in other words. To prevent this, you need to move the camera along with the subject. This is called panning. I have ten tips that can help you use this technique.
1. Choose the right autofocus
Since you are photographing a moving subject, the distance to the subject will always change. So set your autofocus to tracking, or continuous focusing. This can have different names or abbreviations, depending on the camera.
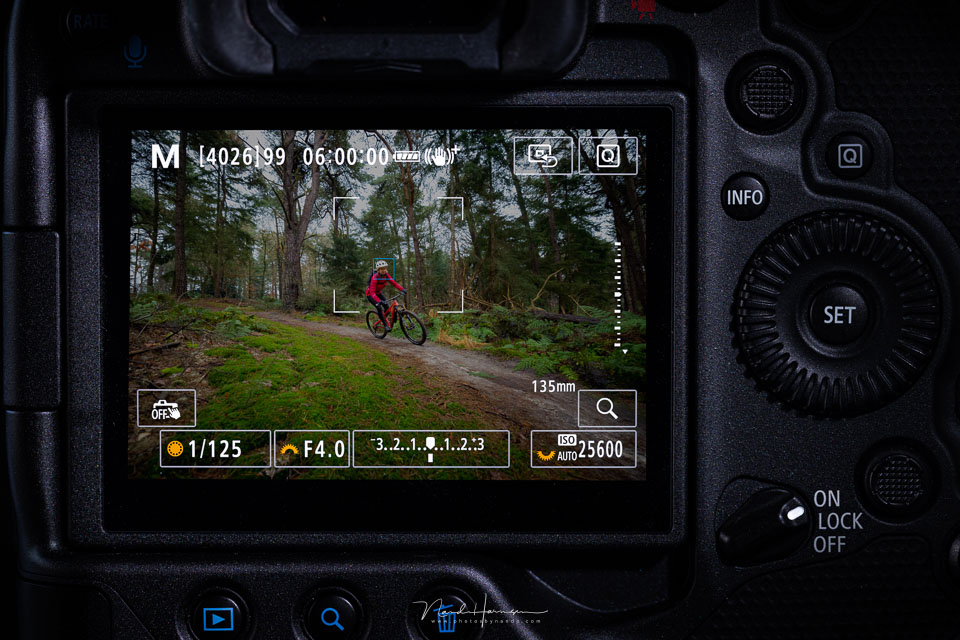
You can choose a single focus point in the centre, which means you have to keep the moving subject there while panning.
Or you can choose subject recognition, where the camera recognises the subject in the frame. It will move the focus point automatically so that it stays on the subject.
2. Choose the right focal length
There is no single correct focal length. It depends on the size of your subject and the distance to it. Choose a focal length that makes the subject large enough in the frame, but not filling the frame.
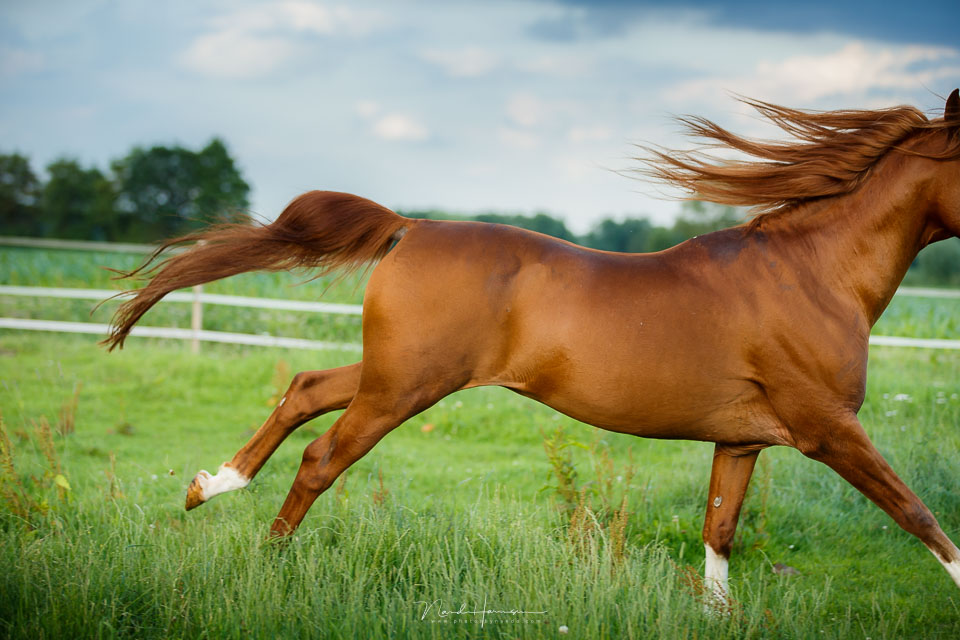
The larger the subject is in the frame, the harder it is to keep it perfectly inside the photo's frame. The smaller it is, the harder it is for the autofocus to keep it sharp.
Do not use too long a focal length. The longer it is, the narrower the angle of view becomes. This means that one small incorrect movement can already take your subject out of the frame. Try finding it in the frame again after that.
3. Do not stand too close
The closer you stand, the more difficult panning will be. When you are close, there is not only the risk that your subject will be too large in the frame. There is also the risk that its movement is so fast relative to you that following it becomes too difficult.
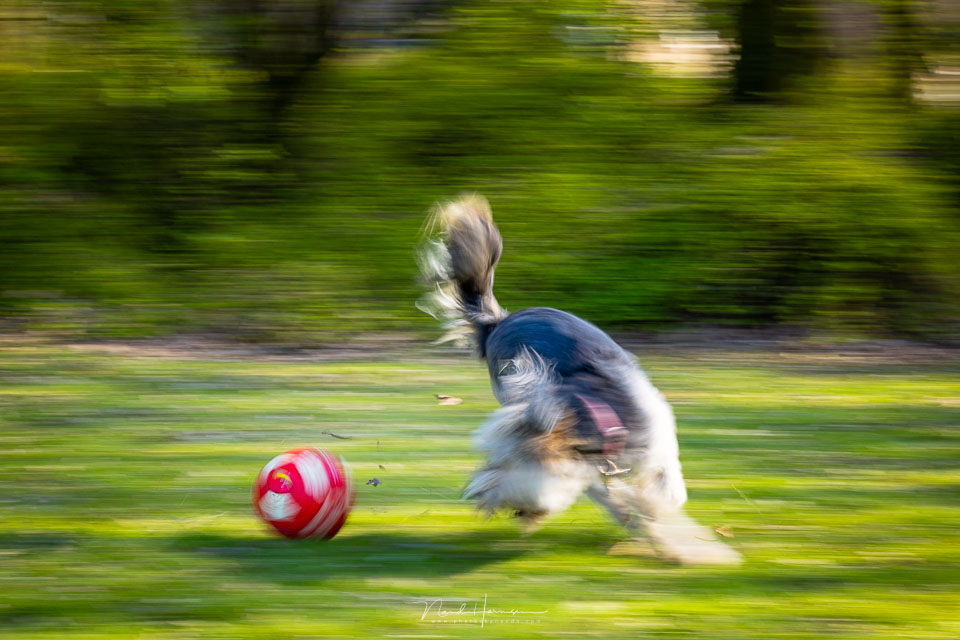
At a greater distance, the same fast movement will be much easier to follow. The movement you need to make while panning will also be much smoother.
4. Set your preferred exposure mode
There is no single correct exposure mode. Choose the mode you find most comfortable. Shutter priority with auto ISO is what I use in almost all cases.
I choose the shutter speed and let the camera set the aperture. If the correct exposure cannot be achieved, the camera adjusts the ISO for me.
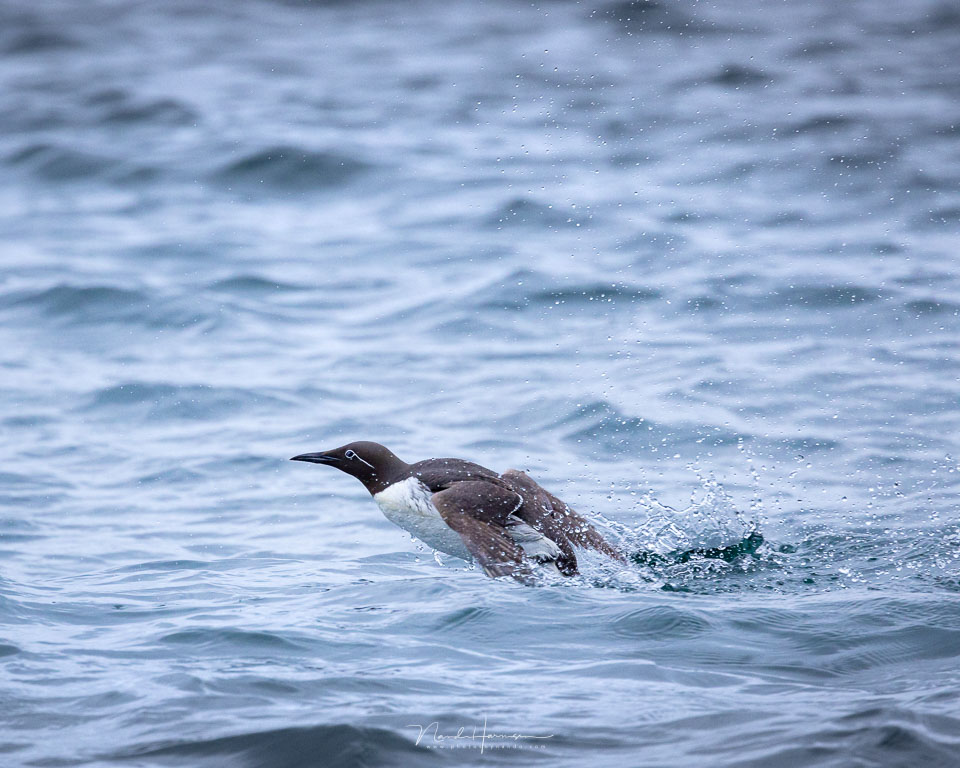
That way, I can focus all my attention on panning. If you prefer to set the exposure fully manually, you can do that too. In any case, always take changes in the brightness of the background into account.
5. Set your camera to burst mode
Taking a single photo while panning is simply a gamble. You have to catch exactly the right moment. So choose burst mode and shoot bursts lasting a few seconds while panning. Three or four seconds is usually more than enough.
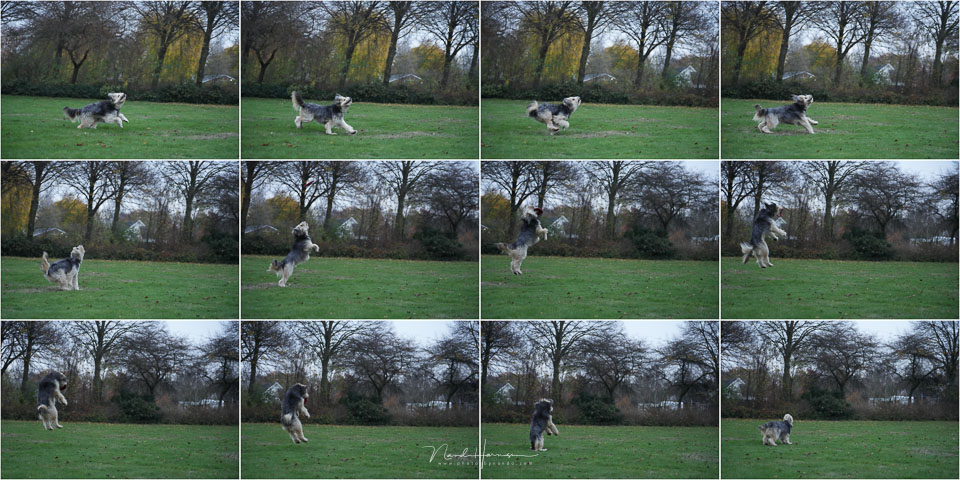
The number of photos you take per burst depends on the camera's speed. Some can take only 3 or 5 photos per second, while others can take as many as 30 or 40, or more. Remember that there is also a memory buffer. You often cannot shoot a burst continuously for an unlimited amount of time.
6. Turn image stabilisation off or use panning mode
Does your lens have image stabilisation? Preferably turn it off. If the camera has image stabilisation, you may want to turn that off too. Image stabilisation will try to correct the movement of the panning.
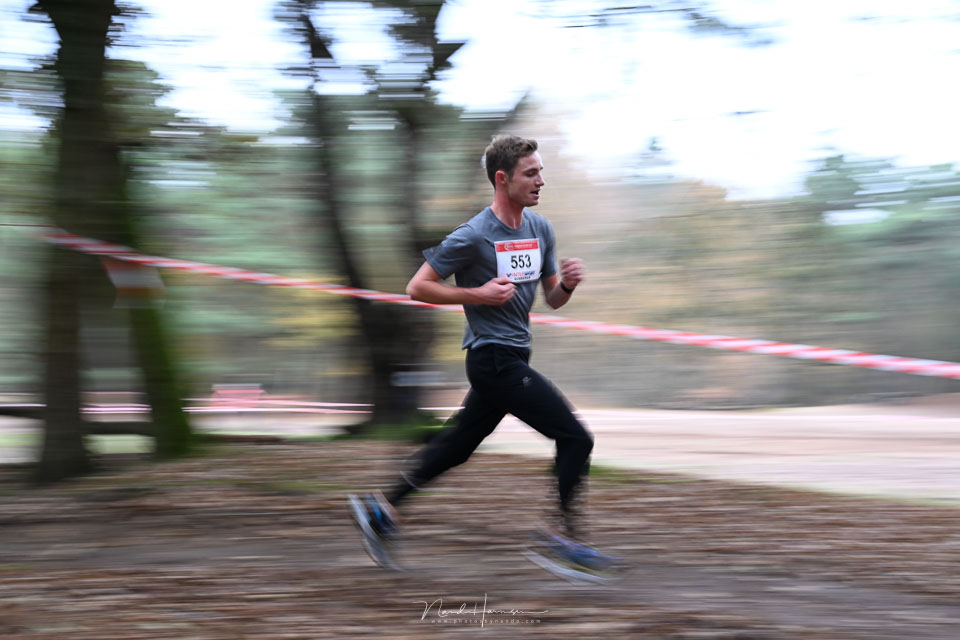
The reality is a little more complicated. Some lenses and cameras recognise panning movements and will disable image stabilisation in that direction. Some lenses even have a special panning mode.
Turning off image stabilisation is certainly not compulsory, but it is advice worth considering. Try it with your camera and lens, and make your choice based on the results.
7. Choose the right shutter speed for the effect you want
There is no single shutter speed you should always use for panning. The desired effect determines the choice of shutter speed, as do the speed and distance of your subject.
If you want to freeze movement, choose a very fast shutter speed. For example, 1/1000 or even 1/2000 second is recommended. If the movement is less rapid, you can use a slower shutter speed.
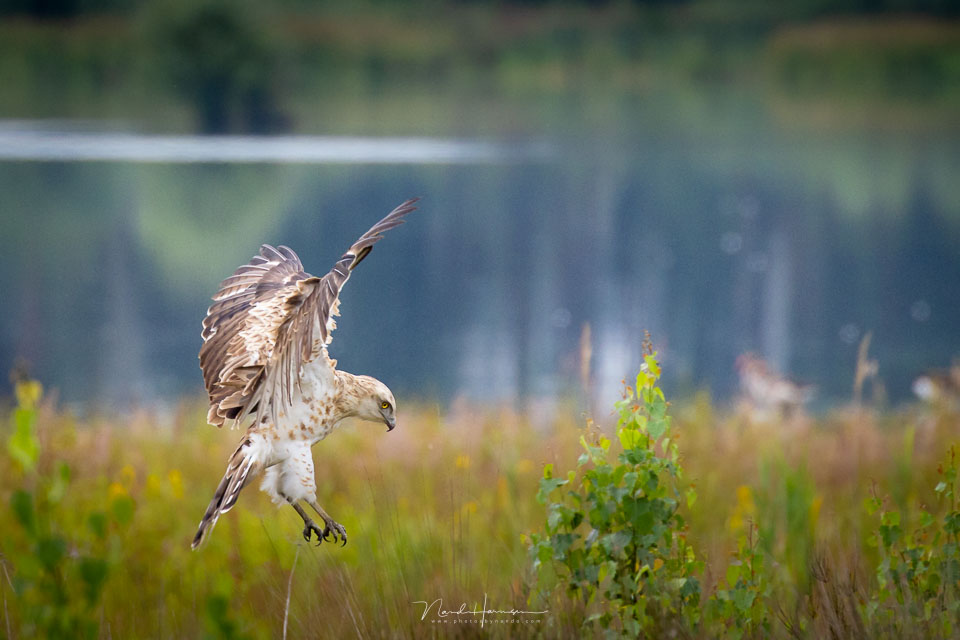
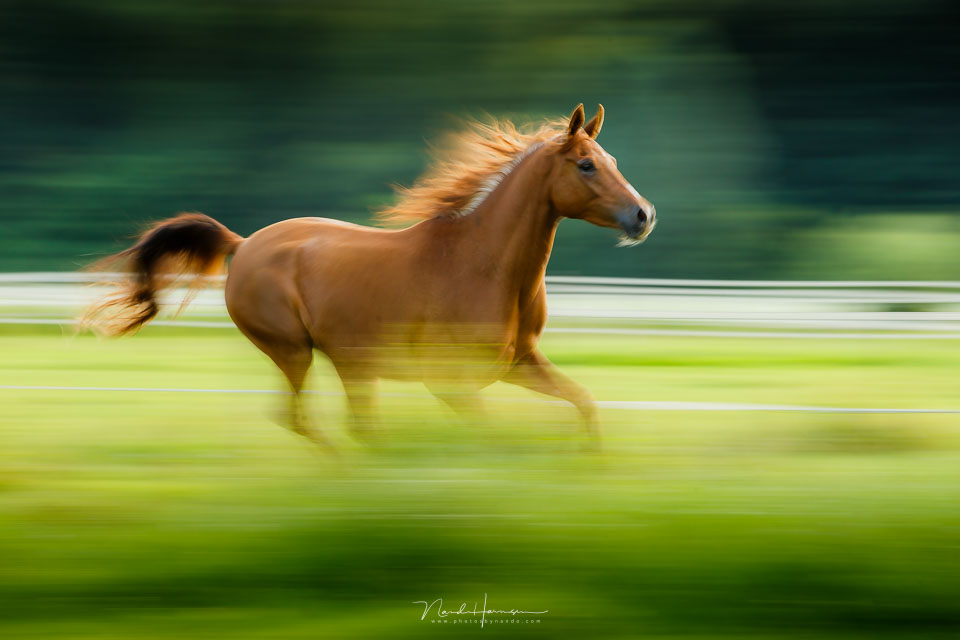
If you want to capture movement instead, choose a slower shutter speed. This could be 1/30 or even 1/4 second, depending on the speed of the movement, the size of your subject in the frame, and the desired effect.
8. Follow the subject for long enough
There is no point in getting the subject in the frame and immediately taking a burst of photos. There is a good chance that your movement is not yet smooth enough. Especially when you want to use a slower shutter speed to show the movement.

Start following well in advance and only press the shutter at the right moment. Starting to pan in time allows you to create a stable movement, which greatly increases the chance of success. Keep following the subject for a little while afterwards.
Remember that you first see a moving subject from an angle from the front, and then from an angle from behind. If you wait too long, you will always have the back of your subject in the frame.
9. There will always be failed photos
Do not think that good panning technique guarantees success. The pose of your subject has to be right. The angle at which the subject appears in the frame has to be attractive. The focus has to be perfect. There must be no distracting elements in the background.
Oh yes, for convenience I am assuming that the movement is always parallel to your camera and remains that way. That is certainly not always the case.
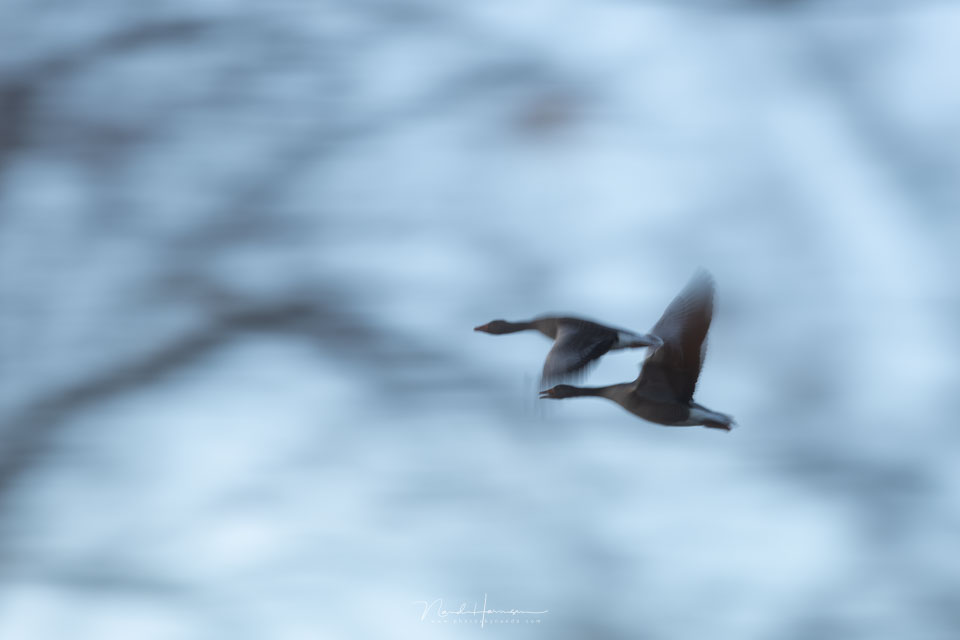
There is so much that you cannot control that there will always be failed photos, or even entire bursts that do not work. That is not a problem either, you only need one successful photo of the action. If you have that, the panning was successful. If it does not work at all, try again.
10. Practise, practise, and practise some more
Panning is not something you can just do quickly. It takes a lot of practice. You need to know which shutter speed suits which movement. You need to know how far from your subject you should stand. You need to know which focal length works best. Above all, you need to learn how to make a smooth, even movement with your camera.
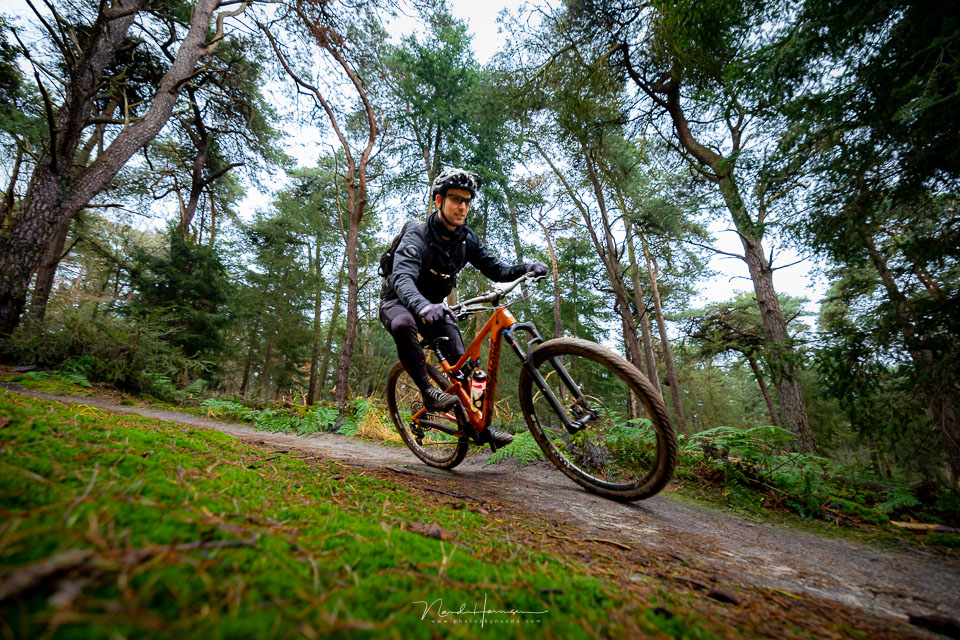
The only way to learn this is to do it often. You will see that the more often you pan, the better you become at it.
Panning is a normal part of photography
Panning is something you may already have done occasionally without realising it. Photographing your children or grandchildren. Photographing your pet or a windsurfer at the seaside. With these ten tips, you should at least be well on your way to taking a fantastic panning photo.
Do you have any additional tips for successful panning? Let us know in a comment below this post.
About the author
Nando Harmsen has been photographing for more than 40 years. He specialises in wedding photography and landscape photography. Nando also gives talks, workshops, masterclasses and photo trips, and regularly reviews new and interesting equipment.
You might also like
-
 Using Motion Blur to Your Advantage
by Nando Harmsen
-
 Panning for action shots
by Nando Harmsen
-
.jpg "15 practical tips for sharper panning photos") 15 practical tips for sharper panning photos
15 practical tips for sharper panning photosby Huub Keulers
-
 The basic settings for action photography
by Nando Harmsen
-
 Sports photography tip: Focusing while panning
by Nico Delmeire
-
 A little movement when panning
by Nando Harmsen
12 comments
-
 Donald Willemsen wrote on Tuesday 28 February 2023 at 11:42 | reply
I think it is a clear and well-explained story with good tips. I assume that you always photograph handheld during panning. Still, I would consider using a tripod sometimes. Suppose the subject passes in front of the camera in a straight line at a certain distance and height, then a tripod can be a useful tool. If that is the case, I do wonder which tripod head you should choose.
Translated from Dutch. -

 Nando
wrote on Tuesday 28 February 2023 at 12:01
| reply
Nando
wrote on Tuesday 28 February 2023 at 12:01
| reply
A tripod could indeed be something to consider. I’m thinking out loud.
Translated from Dutch.
It seems to me that it would be a major hindrance when anticipating the movement.
A panning base could work if you know for certain that the movement will remain exclusively and exactly in a horizontal direction. If you can block all other directions of movement, any head would be usable. I think.
I wouldn’t choose it quickly, unless I were using a lens that is very large and heavy. In that case, it would only serve as support.
But maybe someone else has experience with it? -
 Robert wrote on Tuesday 28 February 2023 at 12:25 | reply
Nice handheld and down on your haunches, Nando. Tripod?...noooh then you're stuck.
Translated from Dutch.
Photo-shooting regards Robert -
Donald Willemsen wrote on Tuesday 28 February 2023 at 13:40 | reply
@Nando, I understand all too well that you’re not thrilled about using a tripod for panning. I’m not either. But there are situations where it could potentially work. As for the tripod head, I’m thinking of a three-way tripod head, which often has somewhat longer handles for control.
Translated from Dutch.
But as with most situations, working handheld is better.
Have you ever thought about using video mode while panning, and then extracting a photo from it later? -
Nando
wrote on Tuesday 28 February 2023 at 13:47
| reply
As I said, it could be possible to use a tripod. With a three-way head, you then use that panning base. The horizontal rotation. That is also present on other tripod heads. So the type of head need not make any difference.
Translated from Dutch.
Burst modes that are included with modern cameras use video and let you extract a frame. That is often in RAW file format, and at a lower resolution.
With video you have limits to what is possible. (Usually) it is not RAW and has smaller resolutions. -
 Bram wrote on Tuesday 28 February 2023 at 17:09 | reply
I use a monopod with a tilt head myself, at least with a 150-600mm. I just have the impression that the stabilizer creates a kind of double image, even in panning mode. Or I need to practice more…..
Translated from Dutch. -
Nando
wrote on Wednesday 1 March 2023 at 09:15
| reply
Of course I don't know which brand of lens and camera you have. If they are two different brands, and your camera also has built-in image stabilization, could the two negatively affect each other?
Translated from Dutch.
Normally they should work together, but if they are different brands I'm not so sure about that.
It's just a thought, an idea, something to look into? -
Bram wrote on Wednesday 1 March 2023 at 11:20 | reply
Canon 6D with Sigma 150-600 contemporary. Handheld, the stabilization works fine, with a monopod I’m not so sure, even though you do move somewhat and you see the image more stably in your viewfinder. Same with panning mode, but that could also be due to the focal length. I’m currently trying to capture birds in flight with a shutter speed of 1/20 - 1/30, which works better with a monopod than without one. I’m focusing on geese and swans, they don’t fly that fast….. as said, lots of practice!
Translated from Dutch. -
Nando
wrote on Wednesday 1 March 2023 at 13:43
| reply
The movements you make on a monopod are different movements than the vibrations caused by holding it. Maybe this difference is noticeable?
Translated from Dutch.
Flying birds at 1/20 - 1/30 is of course a very slow shutter speed. This shows the movement of the bird, both in the horizontal and vertical direction. Because of this, it does indeed sometimes seem to produce a double image. I have seen that myself with these kinds of shutter speeds.
Thinking about it this way, I don't think it's caused by the image stabilization, but by the motion blur due to the slow shutter speed. -
Donald Willemsen wrote on Wednesday 1 March 2023 at 16:10 | reply
If you want to show the movement of the wings of flying birds or even blur almost the entire bird, then I can imagine using 1/20 or 1/30 sec.
Translated from Dutch.
However, if you want to 'freeze' the movement, you already have to use 1/1000 or shorter quite easily. Just try getting the wings of a hummingbird sharply in the photo. I was lucky enough to photograph a hummingbird hawk-moth in our garden several times last year and even though the body is sharp, you can't do that with the wings. -
 ifiamminghi wrote on Tuesday 7 March 2023 at 12:33
| reply
ifiamminghi wrote on Tuesday 7 March 2023 at 12:33
| reply
Another great article, although I think that, when working with shutter speeds of 1/2000th, it is difficult to still speak of panning. You do move your camera along with the subject, but the movement will be missing from your image.
Translated from Dutch.
Choosing the panning mode on your lens is very important.
With longer shutter speeds, with the intention of showing the movement in your image, it is also important in my opinion (and easier) for the distance to your subject to be sufficiently large (so that following is easier), but also for the distance from your subject to the background to be sufficiently large. That does allow you to use somewhat longer shutter speeds (e.g. 1/60 or 1/125) and still obtain a "streaked" background that shows the movement. -
Nando
wrote on Tuesday 7 March 2023 at 14:43
| reply
Panning is the technique. That is separate from whatever shutter speed you use.
Translated from Dutch.
What you are referring to is motion blur caused by panning. Motion blur is not mandatory when using panning, although nowadays it is often mentioned in the same breath.
Thank you for the nice addition regarding the use of motion blur with panning.
Have your say
Please note: Articles older than a week can only be commented on by signed-in visitors.Would you still like to comment? sign in or create a free account.
Become a better photographer every week
A practical photography tip in your inbox every week.
39,078 photography enthusiasts already receive the tips! More about the weekly mail. Or keep up to date via  Facebook.

Elja Trum
Photofacts; everything to do with photography!
Would you like to take better photos and keep up with what is happening in photography? Photofacts publishes articles that teach you something about photography — from a product announcement to a practical shooting tip or a look at a website. Photofacts covers photography every day and is a hobby project of Elja Trum's that got out of hand. The articles are written by a team of volunteer authors. If you would enjoy writing one or more articles for Photofacts, do get in touch.More about PhotofactsPhotofacts is made possible in part by
