

My settings for action photography
Monday 6 January 2025, 16:32 by Nando Harmsen | 5,705 views | 6 commentsThis article was translated from Dutch with the help of AI. Read the original.
You need to be quick for action photography. Good camera settings help with that. Although they are no guarantee of successful results, they do help increase your chances of getting a good shot. These are my favourite settings.
I recently spent a day in a hide. A whole day photographing animals from a distance that makes it easy to get them large in the frame. Of course, you need to use the best possible settings on your camera for that.
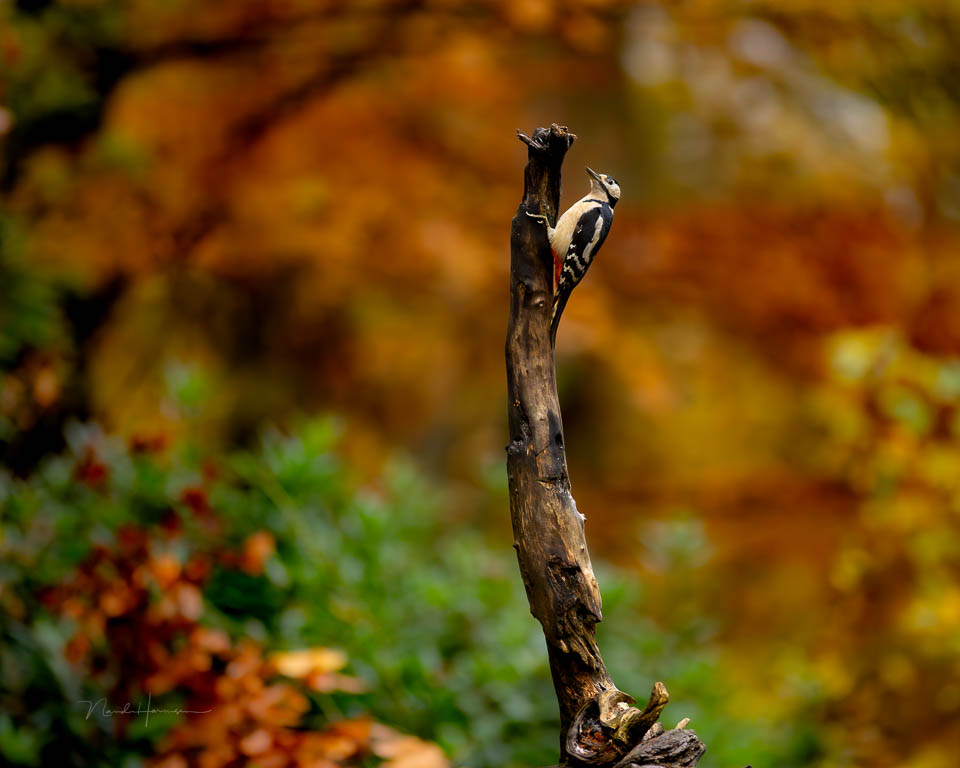
The best possible setting can be different for everyone. Each person has their own preference for using a camera. One person may want to use the camera in manual mode, while another prefers a semi-automatic setting. You can use spot metering, or another metering method.
The most important thing is getting good results. That is what matters, and the way you achieve it is not important. However, it can be useful to look at other ways of doing things too. You might find a way that works well for you as well.
For action photography, especially animals, I have a number of settings that give me good results. My approach is to keep things as simple as possible. That allows me to react quickly. I make as much use as possible of the technology in the camera.
Image stabilisation to prevent motion blur caused by camera shake. Eye autofocus and subject recognition to focus quickly and accurately. Servo AF to track subjects, and continuous shooting so you can quickly take many images in a row.
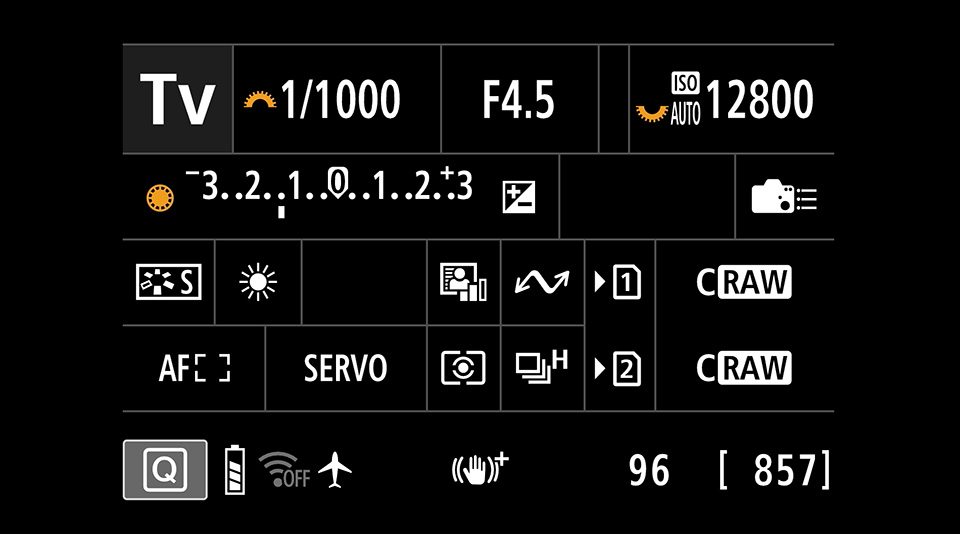
I choose the shutter speed and let the camera set the aperture. Is the exposure not to your liking because there are too many light or dark areas in the frame? Then I use exposure compensation. That is how I correct overexposed and underexposed photos.
I use matrix metering because I find spot metering too unreliable. You have to keep the spot used for metering in exactly the right place. This is particularly difficult with moving subjects. Matrix metering takes an average of the entire frame, so the metering fluctuates much less.
Auto ISO ensures that the exposure is also correct when the aperture is not wide enough for a good exposure. I have set a maximum, so the camera does not choose ISO values that I do not want.
With these settings, I can concentrate fully on keeping animals in the frame and on the composition. I use exposure compensation and let the camera set almost everything else. This allows me to anticipate quickly.
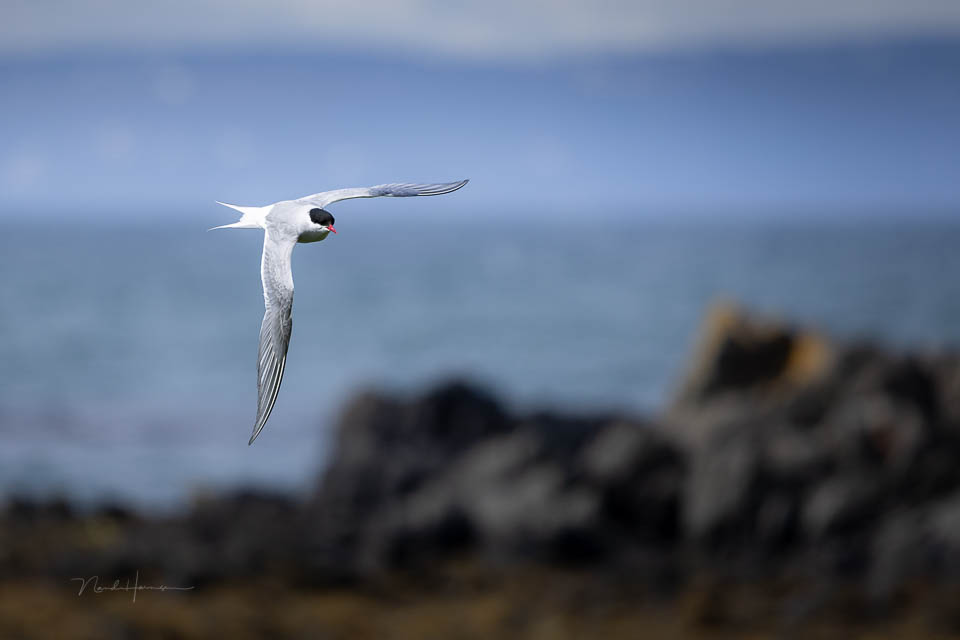
However, if the action has a constantly changing background, this method of setting the exposure does not work. Sometimes a dark background, then a light one, completely confuses the exposure meter.
In those conditions, you cannot work with shutter priority and exposure compensation. I have to set the exposure manually: aperture, shutter speed and ISO value. So, first meter, then set the values, and only then take the photo.
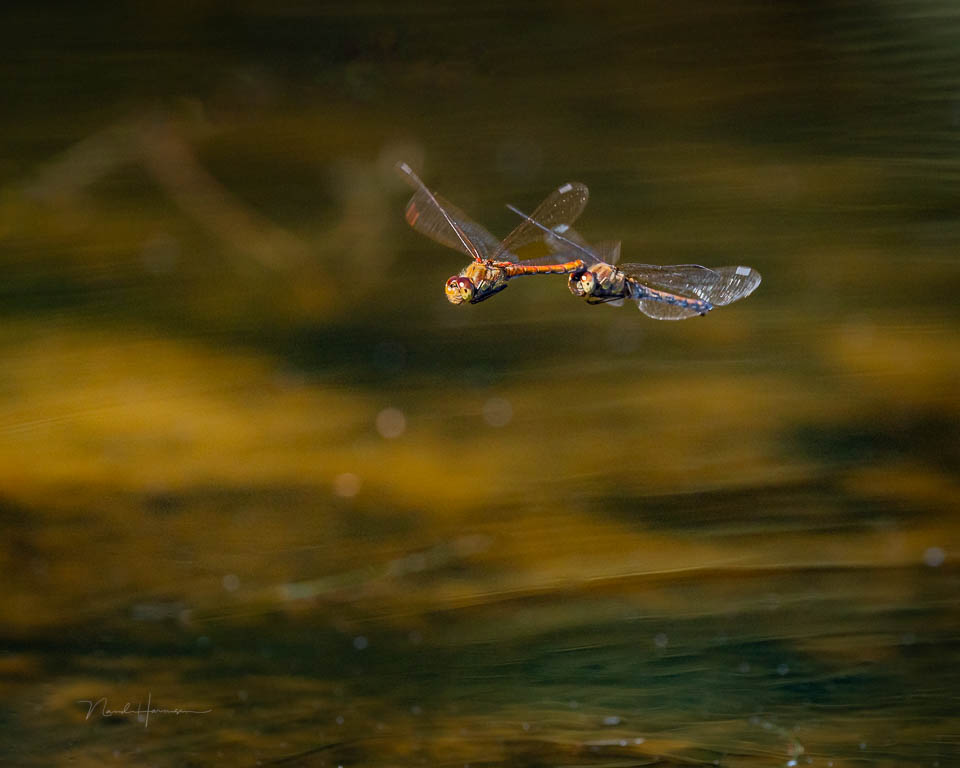
This is how I use the technology to achieve the best result. Do not work manually on principle just because someone said that it is professional. Being professional means making use of the camera's capabilities.
How do you photograph action? What are your settings in different conditions? Let us know in a comment below this article.
About the author
Nando Harmsen has been photographing for more than 40 years. He specialises in wedding photography and landscape photography. Nando also gives talks, workshops, masterclasses and photo trips, and regularly reviews new and interesting equipment.
You might also like
-
 The basic settings for action photography
by Nando Harmsen
-
.jpg "15 practical tips for sharper panning photos") 15 practical tips for sharper panning photos
15 practical tips for sharper panning photosby Huub Keulers
-
 Panning for action shots
by Nando Harmsen
-
 More Often Failed Than Successful
by Nando Harmsen
-
 Combine star trails in Photoshop with an action
by Nando Harmsen
6 comments
-
 Hans Stuurman wrote on Tuesday 7 January 2025 at 10:58 | reply
These settings can of course also be used for sports photography. There you actually have the same movement that you want to capture.
Translated from Dutch.
I set my aperture to 2.8 and the shutter speed to 1/800 or even faster. The ISO is then set automatically. Very useful for my trail running photography. Being able to get your own settings right with the help of articles like this is really great for many people. -

 Nando
wrote on Tuesday 7 January 2025 at 11:43
| reply
Nando
wrote on Tuesday 7 January 2025 at 11:43
| reply
Indeed, it applies to all photography where speed plays a role.
Translated from Dutch.
Choosing the right shutter speed for each situation to achieve the desired results is still the hardest part. But that is a matter of trying things out and doing it. -
 Wim Wilmers wrote on Tuesday 7 January 2025 at 11:11 | reply
This is truly a very clear and most understandable explanation you could wish for when you want to apply this. Great job Nando.
Translated from Dutch. -
-
 Derek wrote on Tuesday 7 January 2025 at 16:49 | reply
It is indeed all very personal and dependent on the camera and the light and the distance etc. I myself set the ISO to prevent getting too much noise. In addition, I use spot metering on the bird itself. The advantage is that the bird then almost always has the correct exposure, regardless of the background or the light around it. For a blurred background and possibly a Bockeh effect, use as small an aperture as possible. Usually 5.6 is fine!
Translated from Dutch. -
Nando
wrote on Wednesday 8 January 2025 at 09:28
| reply
If the shutter speed cannot be achieved because it is too dark, then the ISO will have to be higher. I let the camera regulate that for me and set a limit on how high it is allowed to go. That way there is never too much noise.
Translated from Dutch.
Spot metering I never understand (must be me) because just try keeping that spot exactly on the bird as it flies past. If you can't, the exposure jumps all over the place.
Have your say
Please note: Articles older than a week can only be commented on by signed-in visitors.Would you still like to comment? sign in or create a free account.
Become a better photographer every week
A practical photography tip in your inbox every week.
38,990 photography enthusiasts already receive the tips! More about the weekly mail. Or keep up to date via  Facebook.

Elja Trum
Photofacts; everything to do with photography!
Would you like to take better photos and keep up with what is happening in photography? Photofacts publishes articles that teach you something about photography — from a product announcement to a practical shooting tip or a look at a website. Photofacts covers photography every day and is a hobby project of Elja Trum's that got out of hand. The articles are written by a team of volunteer authors. If you would enjoy writing one or more articles for Photofacts, do get in touch.More about PhotofactsPhotofacts is made possible in part by
