

The Orton effect without Photoshop
Saturday 3 August 2024, 14:14 by Nando Harmsen | 4,198 views | 4 commentsThis article was translated from Dutch with the help of AI. Read the original.
The Orton effect is quite well known. Named after photographer Orton, it is a way to give a photo a dreamy atmosphere. The effect works particularly well with highlights. You can also achieve this with double exposures.
The Orton effect is an edit applied to a photo, usually in Photoshop or Lightroom. Or in similar software, because Adobe is not the only option. Whichever software you use, the effect creates a dreamy atmosphere.
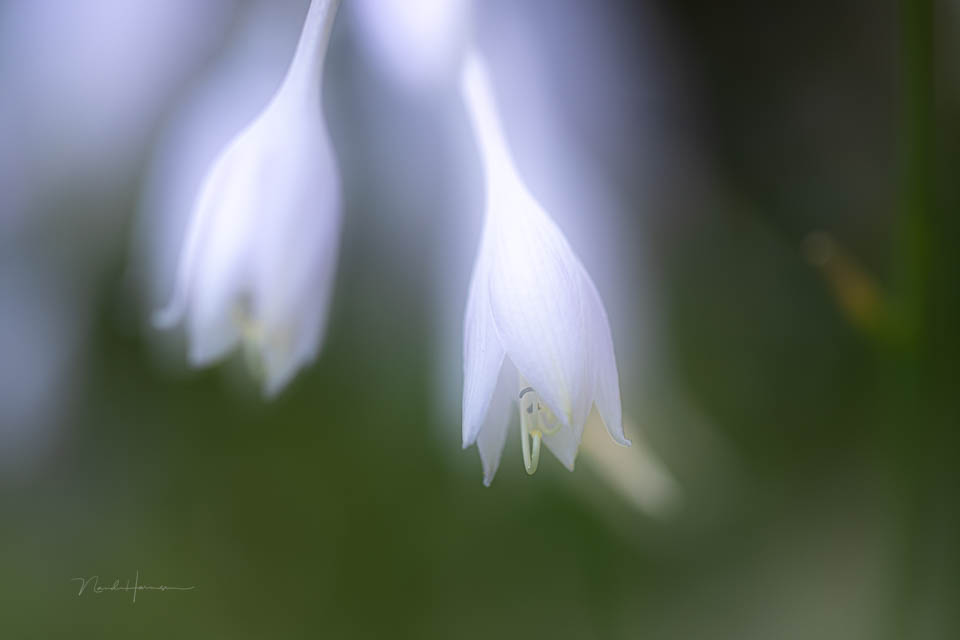
You can also create this effect while taking the photo. The condition is that your camera supports multiple exposures. If that option is not available, you are limited to the software mentioned earlier.
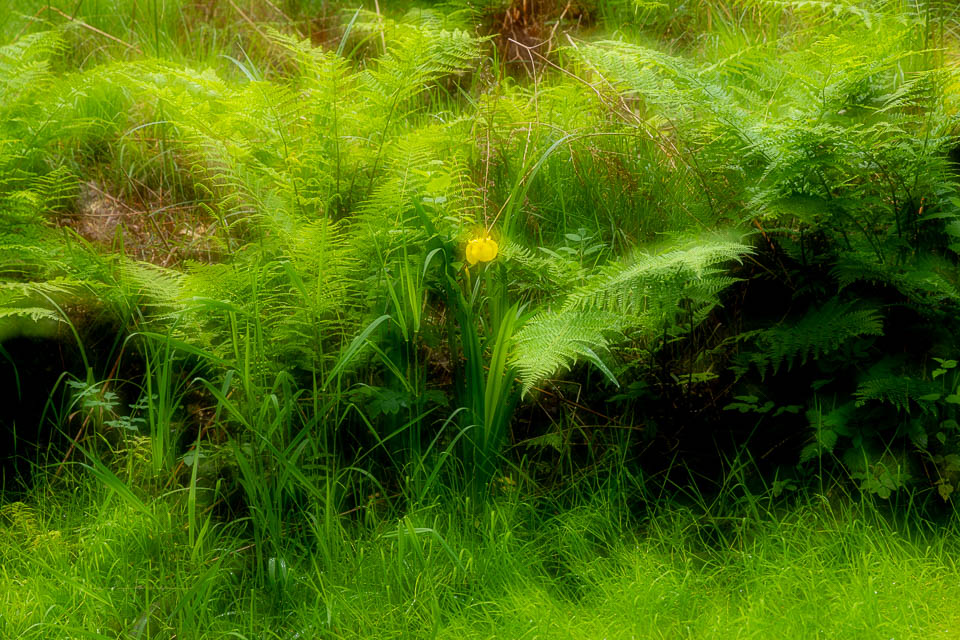
Multiple exposure simply means that the camera lays two or more photos over each other. Ideally, the end result is a raw file. Unfortunately, most cameras produce a jpeg file. Bear that in mind.
How it works is simple. After activating multiple exposures, sometimes called double exposure, and setting it to two shots, you can get started. First, you take a sharp photo of your subject. Then you take the image out of focus and take the second photo.
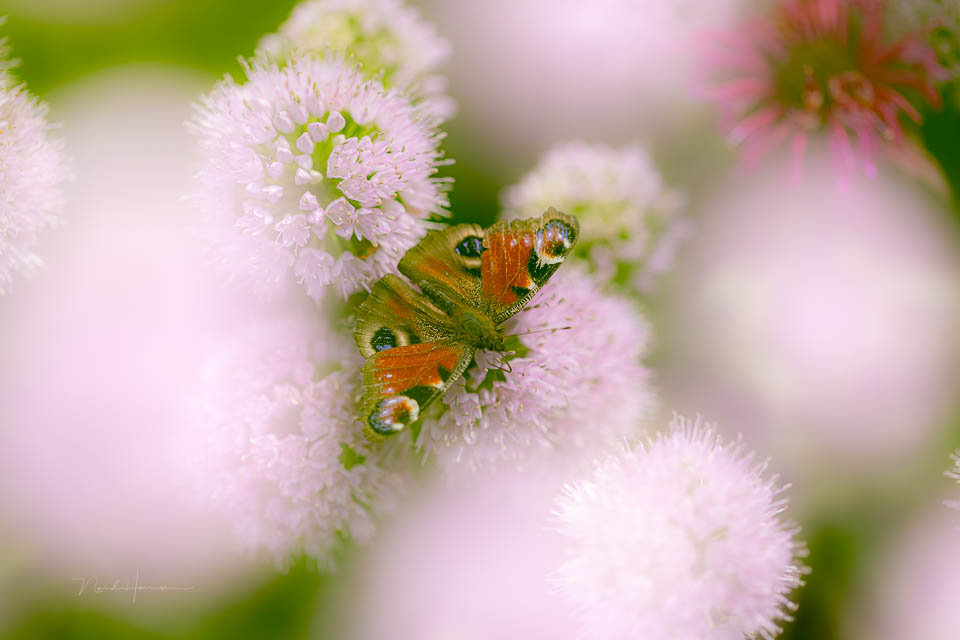
Taking the image out of focus means that you need to use manual focus for the second photo. You can choose the amount of blur, which determines the strength of the effect. You can also adjust the exposure, with one stop of overexposure creating a stronger effect. Experiment with the options.
All the photos in this article were made using this method. You do need to decide in the field whether to use this Orton effect. The advantage over creating this effect digitally afterwards is that you think more consciously about the end result while taking photos.
Would you consider using double exposures in this way, or would you leave it as a digital effect applied afterwards? Let us know in a comment below this post.
About the author
Nando Harmsen has been photographing for more than 40 years. He specialises in wedding photography and landscape photography. Nando also gives talks, workshops, masterclasses and photo trips, and regularly reviews new and interesting equipment.
You might also like
-
 Orton effect directly in the camera
by Nando Harmsen
-
10 Tips for Applying the Orton Effect
by Nando Harmsen
-
 Photoshop tip: use the export function
by Nando Harmsen
-
 File names are not important in Lightroom
by Nando Harmsen
-
 Photoshop tip: Using a clipping mask
by Nando Harmsen
-
 Have you ever heard of the Pep Ventosa technique?
by Nando Harmsen
4 comments
-
 Donald Willemsen wrote on Tuesday 6 August 2024 at 10:29 | reply
I would use both methods. I do prefer using the method while taking photos. Should it be the case that I still have a photo in my archive that is suitable for applying the Orton effect to, then I would do that using software. Admittedly, the software method often looks a bit contrived when you compare it with the first method.
Translated from Dutch.
Nando, would you also devote an article to soft-focus photography in the vein of David Hamilton? -

-
 Leidy Rijckaert de Boer wrote on Wednesday 7 August 2024 at 10:18 | reply
Good tip to do it using double exposure in the camera. I’m definitely going to work on this. Thank you (I’ve been following you for quite a long time and by now I’m a fan of your articles).
Translated from Dutch. -


Have your say
Please note: Articles older than a week can only be commented on by signed-in visitors.Would you still like to comment? sign in or create a free account.
Become a better photographer every week
A practical photography tip in your inbox every week.
39,083 photography enthusiasts already receive the tips! More about the weekly mail. Or keep up to date via  Facebook.

Elja Trum
Photofacts; everything to do with photography!
Would you like to take better photos and keep up with what is happening in photography? Photofacts publishes articles that teach you something about photography — from a product announcement to a practical shooting tip or a look at a website. Photofacts covers photography every day and is a hobby project of Elja Trum's that got out of hand. The articles are written by a team of volunteer authors. If you would enjoy writing one or more articles for Photofacts, do get in touch.More about PhotofactsPhotofacts is made possible in part by
