

Tips for photographing buildings
Monday 16 March 2026, 20:02 by Nando Harmsen | 3,549 views | 10 commentsThis article was translated from Dutch with the help of AI. Read the original.
Do you enjoy photographing buildings? Then you know that photographing upwards does not always produce the desired photo. Vertical lines appear at an angle. These are converging lines. Prevent them, or use them to your advantage.
Buildings are always larger than you. That makes sense, because otherwise you could not go inside. When you photograph them, you often have to use a wide-angle lens and photograph upwards. The vertical lines of the building converge towards a vanishing point.
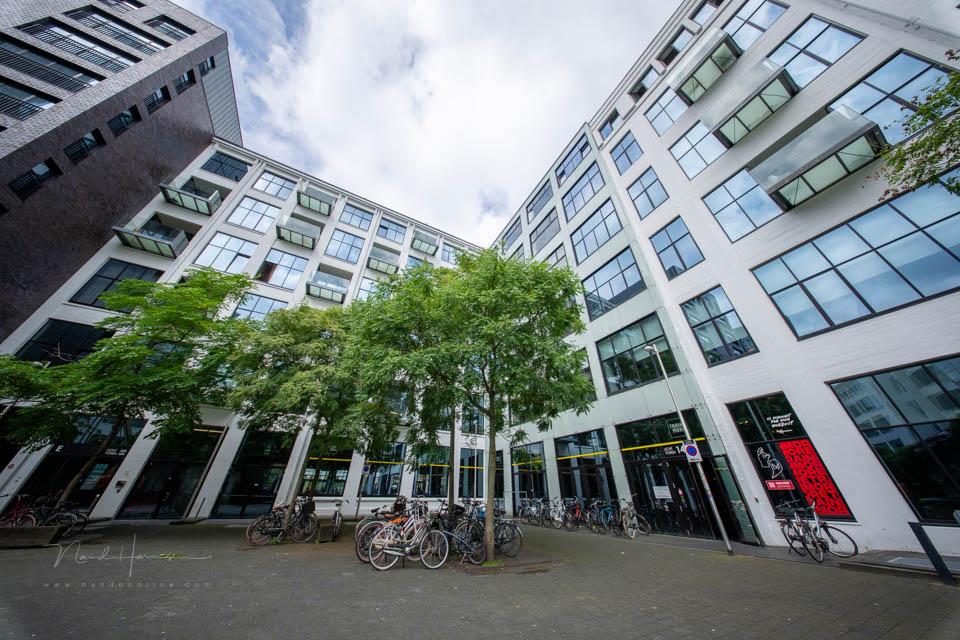
This is not caused by the lens, but is a natural perspective distortion. As a photographer, you can and should take this effect into account. Use it to your advantage, or prevent it. The latter is not always possible. Even so, you have a lot of control.
1. Keep your distance
By taking more distance, you no longer have to photograph upwards. You can even choose a slightly longer focal length. You can bring the relative proportions closer together with the surroundings.
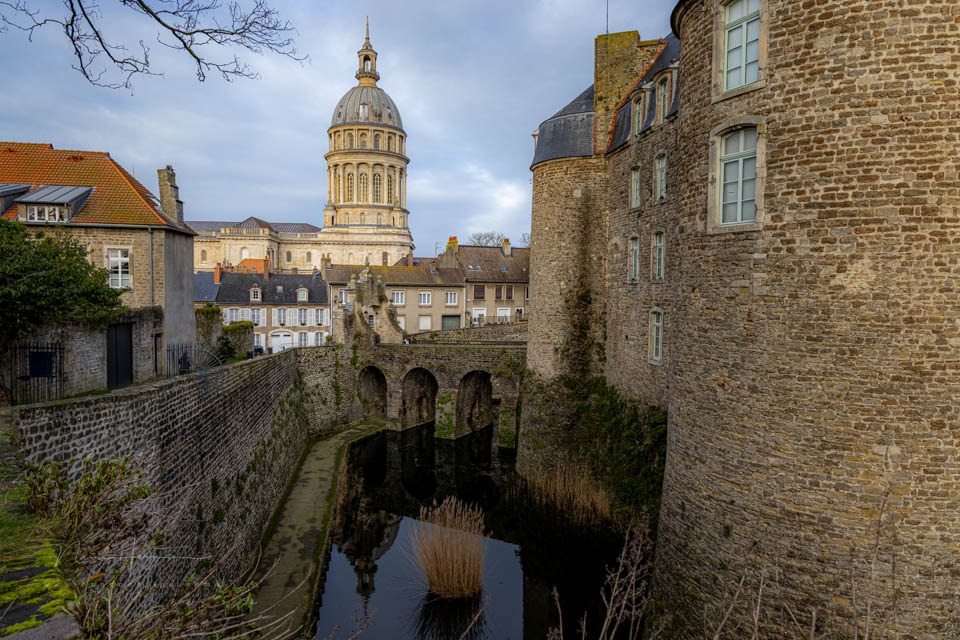
How far away you have to stand depends on the height of the building and your focal length, of course. You do need to have enough space to move back. If that is not the case, you are still forced to photograph upwards.
2. Tilt-shift lens
The shift function of a tilt-shift lens can prevent you from having to point the camera upwards. You shift the lens upwards in relation to the sensor. This keeps vertical lines vertical.
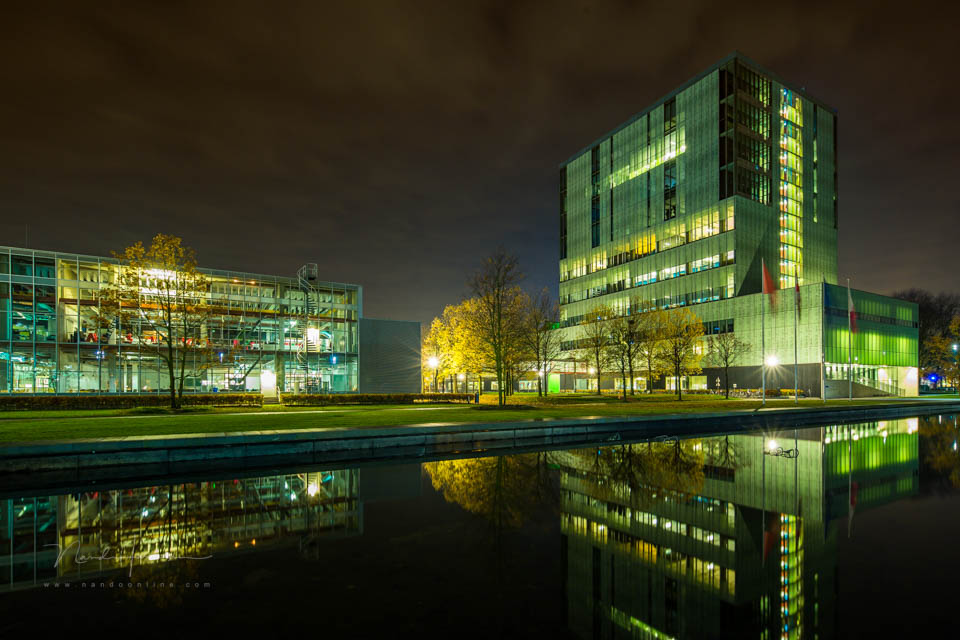
Even so, a tilt-shift lens is not a magic solution. Here too, you should not stand too close, because there is always some form of distortion. Something that is further away appears smaller in the image than something closer by.
If the building is tall, the top is proportionally much further away than the bottom. You can see that. A tilt-shift lens is most effective when you are still standing far enough away from the building.
3. Straighten it with software
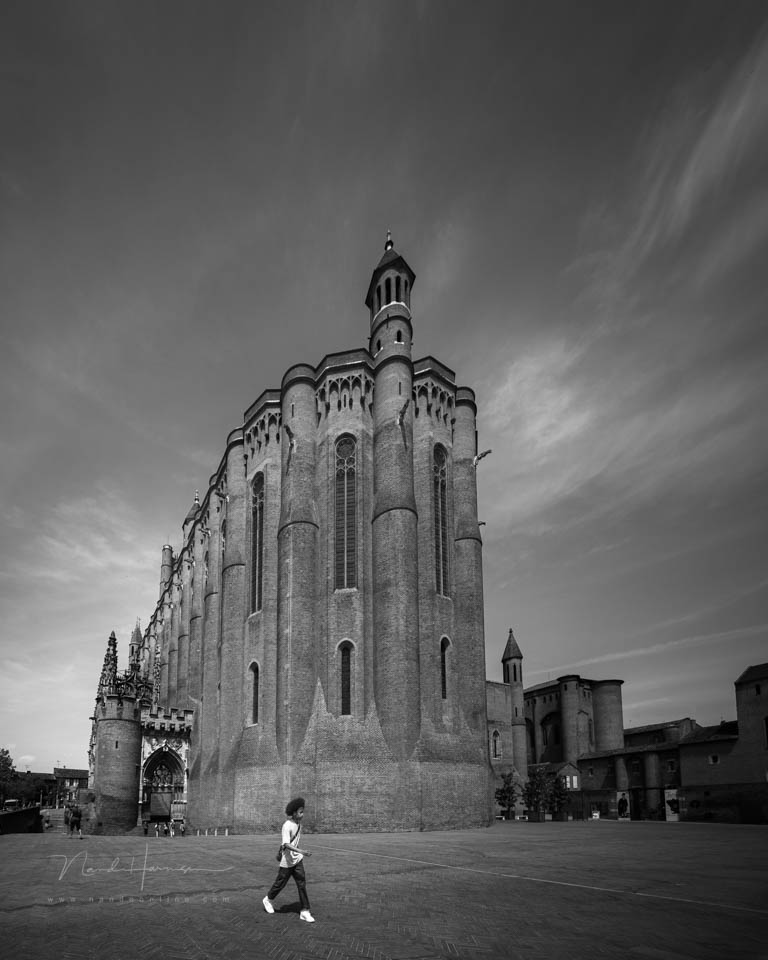
You can correct perspective distortion with software. You can straighten lines that run towards the vanishing point. To a certain extent. If the lines are too slanted, the proportions are no longer correct.
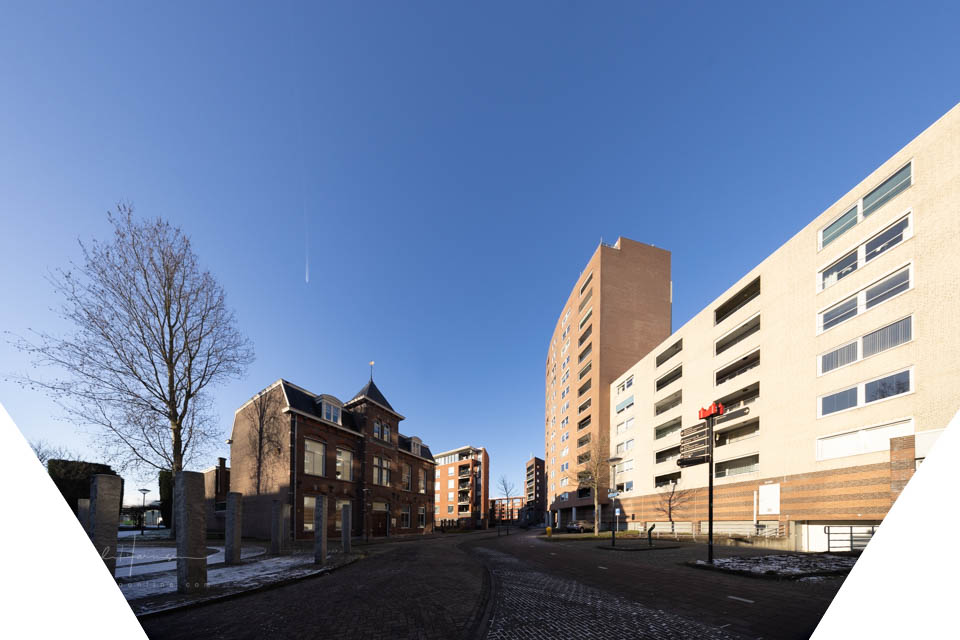
Because you distort the photo, an extra wide angle is essential. You lose parts of the photo during this correction. Here too, it works best when the corrections are not too large.
4. Panorama
Do you not have a sufficiently wide angle, or do you know that you will lose too much of the image during perspective correction? Then a panorama is a possible solution. This lets you create a wider angle of view than that of the lens.
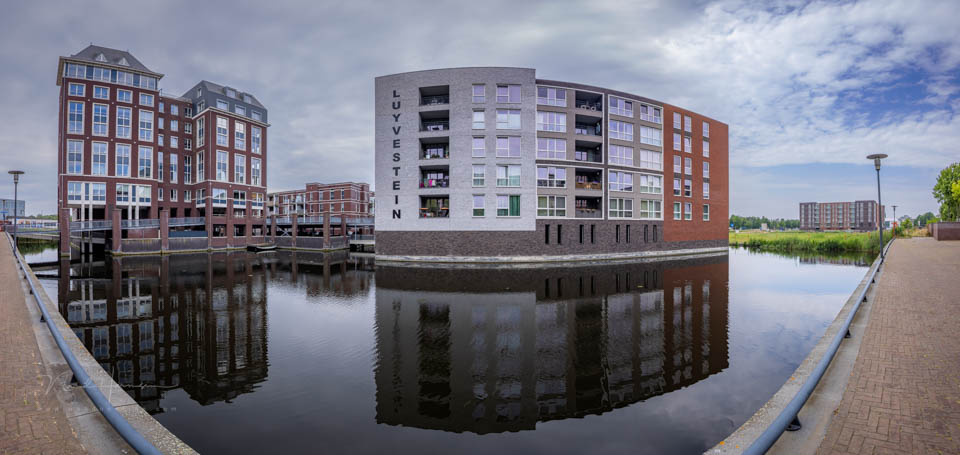
But be careful here too not to stand too close. Because of the rotation of the camera, the horizontal lines can now become curved. You need to stand far enough away to prevent that.
5. Embrace the converging lines
Trying to keep all vertical lines straight can produce a sterile photo. But you can also use converging lines to evoke emotion. The perspective distortion can emphasise how large the building is.
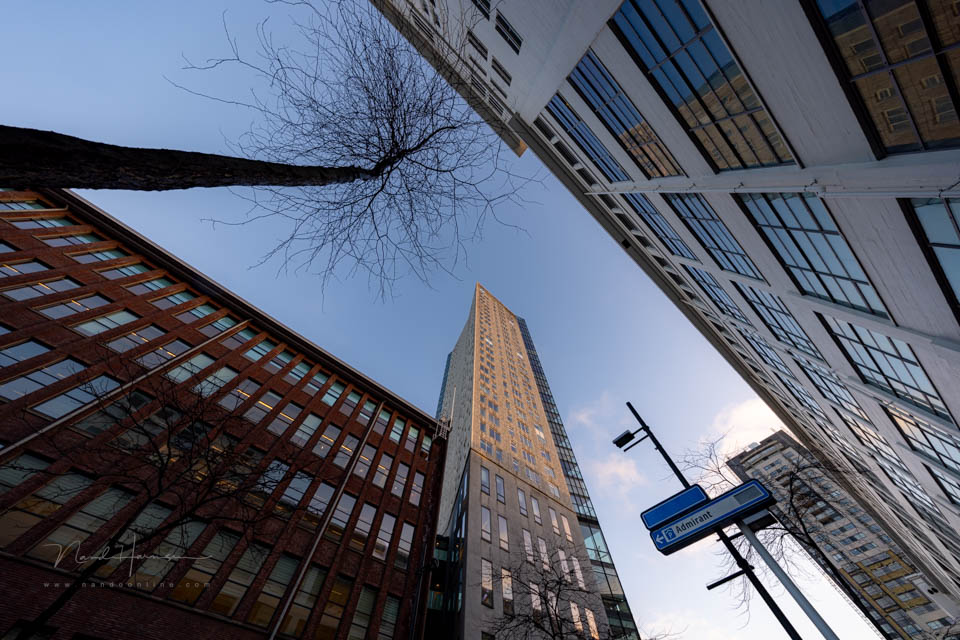
The lines running towards the vanishing point can make you feel overwhelmed by the size and height of the building. It creates a feeling of an impressive building. It shows the real world.
6. Not everything in one photo
Why do you want to include the entire building in the frame? Ask yourself that question. Perhaps it is more interesting to photograph parts of the building. Maybe there are reflections you can use. Shapes, contrasts.
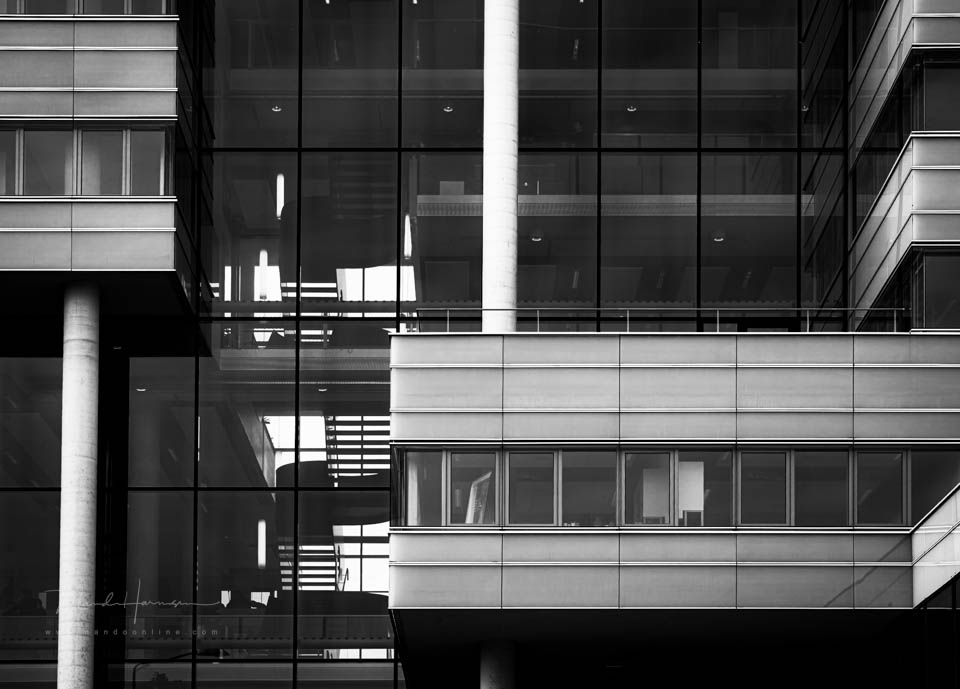
Make use of the lines, whether they converge or not. Look at details. Play with the angle at which you hold the camera. Use a telephoto lens too, to keep anything that could be distracting out of the frame.
7. Long shutter speeds, or not
Are people getting in the way of your shot? Then use a slow shutter speed so that they do not become visible. Expose for a minute or much longer. This can also create a nice effect in the sky, with clouds drifting past.
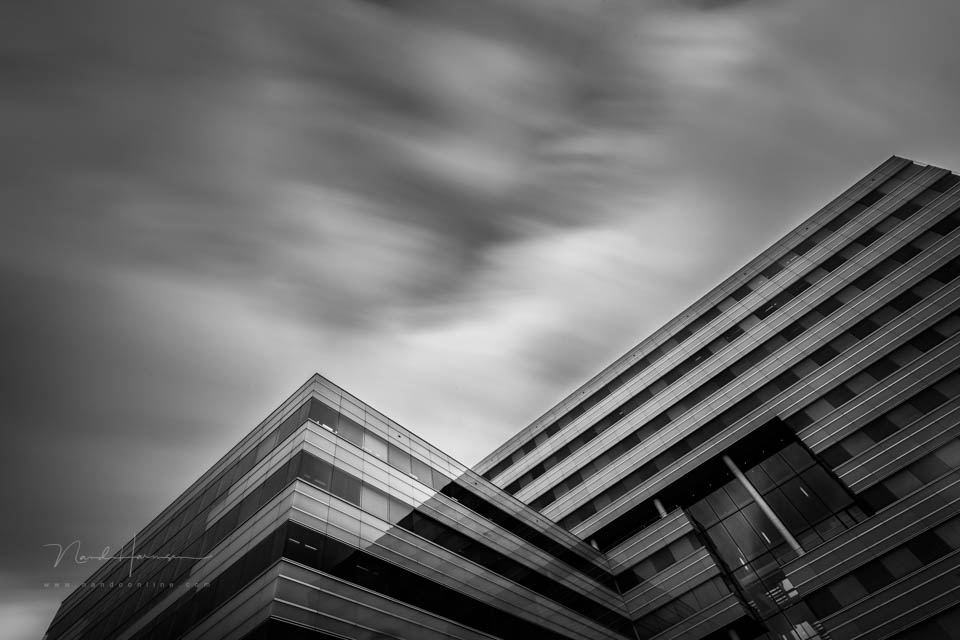
Or make use of the people, which brings the building to life. After all, people are an essential part of everyday life around the building. See what you prefer, or try both.
Any other tips?
These are of course just a few tips that can help with photographing buildings. Are you a photographer who enjoys capturing buildings? Let us know which tip you have and what results it produces.
About the author
Nando Harmsen has been photographing for more than 40 years. He specialises in wedding photography and landscape photography. Nando also gives talks, workshops, masterclasses and photo trips, and regularly reviews new and interesting equipment.
You might also like
-
 Photographing buildings around Utrecht station
by Elja Trum
-
 Play with perspective to influence lines
by Nando Harmsen
-
 Choose how to frame lines
by Nando Harmsen
-
 The shift of a tilt-shift lens explained
by Nando Harmsen
-
 Composition tip: Use horizontal lines
by Elja Trum
10 comments
-
 Paul wrote on Tuesday 17 March 2026 at 10:52 | reply
In spring and autumn, when the lights in the buildings are on, it is also fun to photograph then. You get an impression of what goes on inside the buildings
Translated from Dutch. -

-
 albert wrote on Tuesday 17 March 2026 at 13:28 | reply
Missing the technique description for photographing vertical lines vertically after all, with a normal lens (so without a tilt-shift lens) INDEPENDENT of the distance camera+lens <-> subject.
Translated from Dutch.
Anyone can apply it with any camera + lens.
This article does not solve the described problem, unless this is intentional to sell a workshop. -
 Nando
wrote on Tuesday 17 March 2026 at 13:43
| reply
Nando
wrote on Tuesday 17 March 2026 at 13:43
| reply
They are tips. It is not a tutorial.
Translated from Dutch.
In tip three I mention correcting crooked lines. With this tip you become aware of the possibility. That is the idea. Then you can look at the ways how you should do this. After all, you cannot cover everything in an article. -
 willem wrote on Tuesday 17 March 2026 at 20:03
| reply
willem wrote on Tuesday 17 March 2026 at 20:03
| reply
hi Albert, would you be willing to describe that technique sometime?
Translated from Dutch. -
 paulusvanaken@gmail.com wrote on Tuesday 17 March 2026 at 17:02 | reply
Good piece again. But you also have the interiors of buildings, also very challenging. In the city where I live, one of the better works by Pierre Cuypers stands, the Reële school, very challenging, I let my (ultra) wide-angle loose on it.
Translated from Dutch. -
willem wrote on Tuesday 17 March 2026 at 20:06
| reply
I have an AF-S Nikkor 14-24, with this the vertical lines also remain straight. sometimes standing further away with a telephoto lens isn't possible either. in a big city, it's almost always impossible.
Translated from Dutch. -
Nando
wrote on Wednesday 18 March 2026 at 09:02
| reply
Every wide-angle lens you use to photograph upwards shows perspective distortion. Your 14-24 does too, and at 14mm even extremely so. You will always get 'falling' lines.
Translated from Dutch.
That has nothing to do with the quality of a lens, but with optical physics.
Only if you photograph perfectly horizontally will you not have that distortion. -
 Donald Willemsen wrote on Tuesday 17 March 2026 at 23:52 | reply
Nando, you have given a number of good tips that you can get to work with. I regularly use the panorama technique. For me, it is also a technique to get as many details of the building as possible in the image.
Translated from Dutch. -
albert wrote on Wednesday 18 March 2026 at 14:21 | reply
Here is a very simple tip for architectural photography:
Translated from Dutch.
Simple: Keep your camera sensor/film exactly parallel to the vertical plane of the building. This prevents the lines of the building from falling backwards or forwards.
A little more complex: If the eye/camera viewer looks from 1.70 metres above the ground, aim the camera viewer (centre of the optical axis) at a height of 1.70 metres on the building. This way you again construct parallelism between object and sensor and correct vertical lines.
The technique costs you 50% of your camera resolution because the building is not at the bottom. But a crop of the upper part of the photo can show the object again in the correct proportions.
This technique can be applied with every normal (zoom) lens and with every focal length (also without tilt/shift lenses). Only the space in front of the object determines the possibility of photographing the entire building.
Even more complex: Apart from this photography technique, distortion of straight lines/planes can arise due to lens distortion, such as barrel or pincushion distortion. Modern editors, such as Adobe Ligthroom, DxO, etc. can, if they know which lens was used, calculate out the generic lens distortion, so that this distortion disappears. They cannot eliminate any individual distortion, you would have to determine and compensate for that yourself manually.
Have your say
Please note: Articles older than a week can only be commented on by signed-in visitors.Would you still like to comment? sign in or create a free account.
Become a better photographer every week
A practical photography tip in your inbox every week.
39,079 photography enthusiasts already receive the tips! More about the weekly mail. Or keep up to date via  Facebook.

Elja Trum
Photofacts; everything to do with photography!
Would you like to take better photos and keep up with what is happening in photography? Photofacts publishes articles that teach you something about photography — from a product announcement to a practical shooting tip or a look at a website. Photofacts covers photography every day and is a hobby project of Elja Trum's that got out of hand. The articles are written by a team of volunteer authors. If you would enjoy writing one or more articles for Photofacts, do get in touch.More about PhotofactsPhotofacts is made possible in part by
