

How to set the exposure manually
Saturday 5 September 2026, 14:41 by Nando Harmsen | 1,552 views | 5 commentsThis article was translated from Dutch with the help of AI. Read the original.
Do you like setting the exposure manually? But do you sometimes lose your way? I will give you a step-by-step approach so you always arrive at the right exposure. Of course, you can adapt this method to suit your own needs.
Setting the exposure manually means adjusting three settings: aperture, shutter speed and ISO value. Only the right combination will produce a good exposure.
The difficulty is that you can set a good exposure for every aperture value. Or for almost every shutter speed. Or for nearly every ISO value. So where do you start?
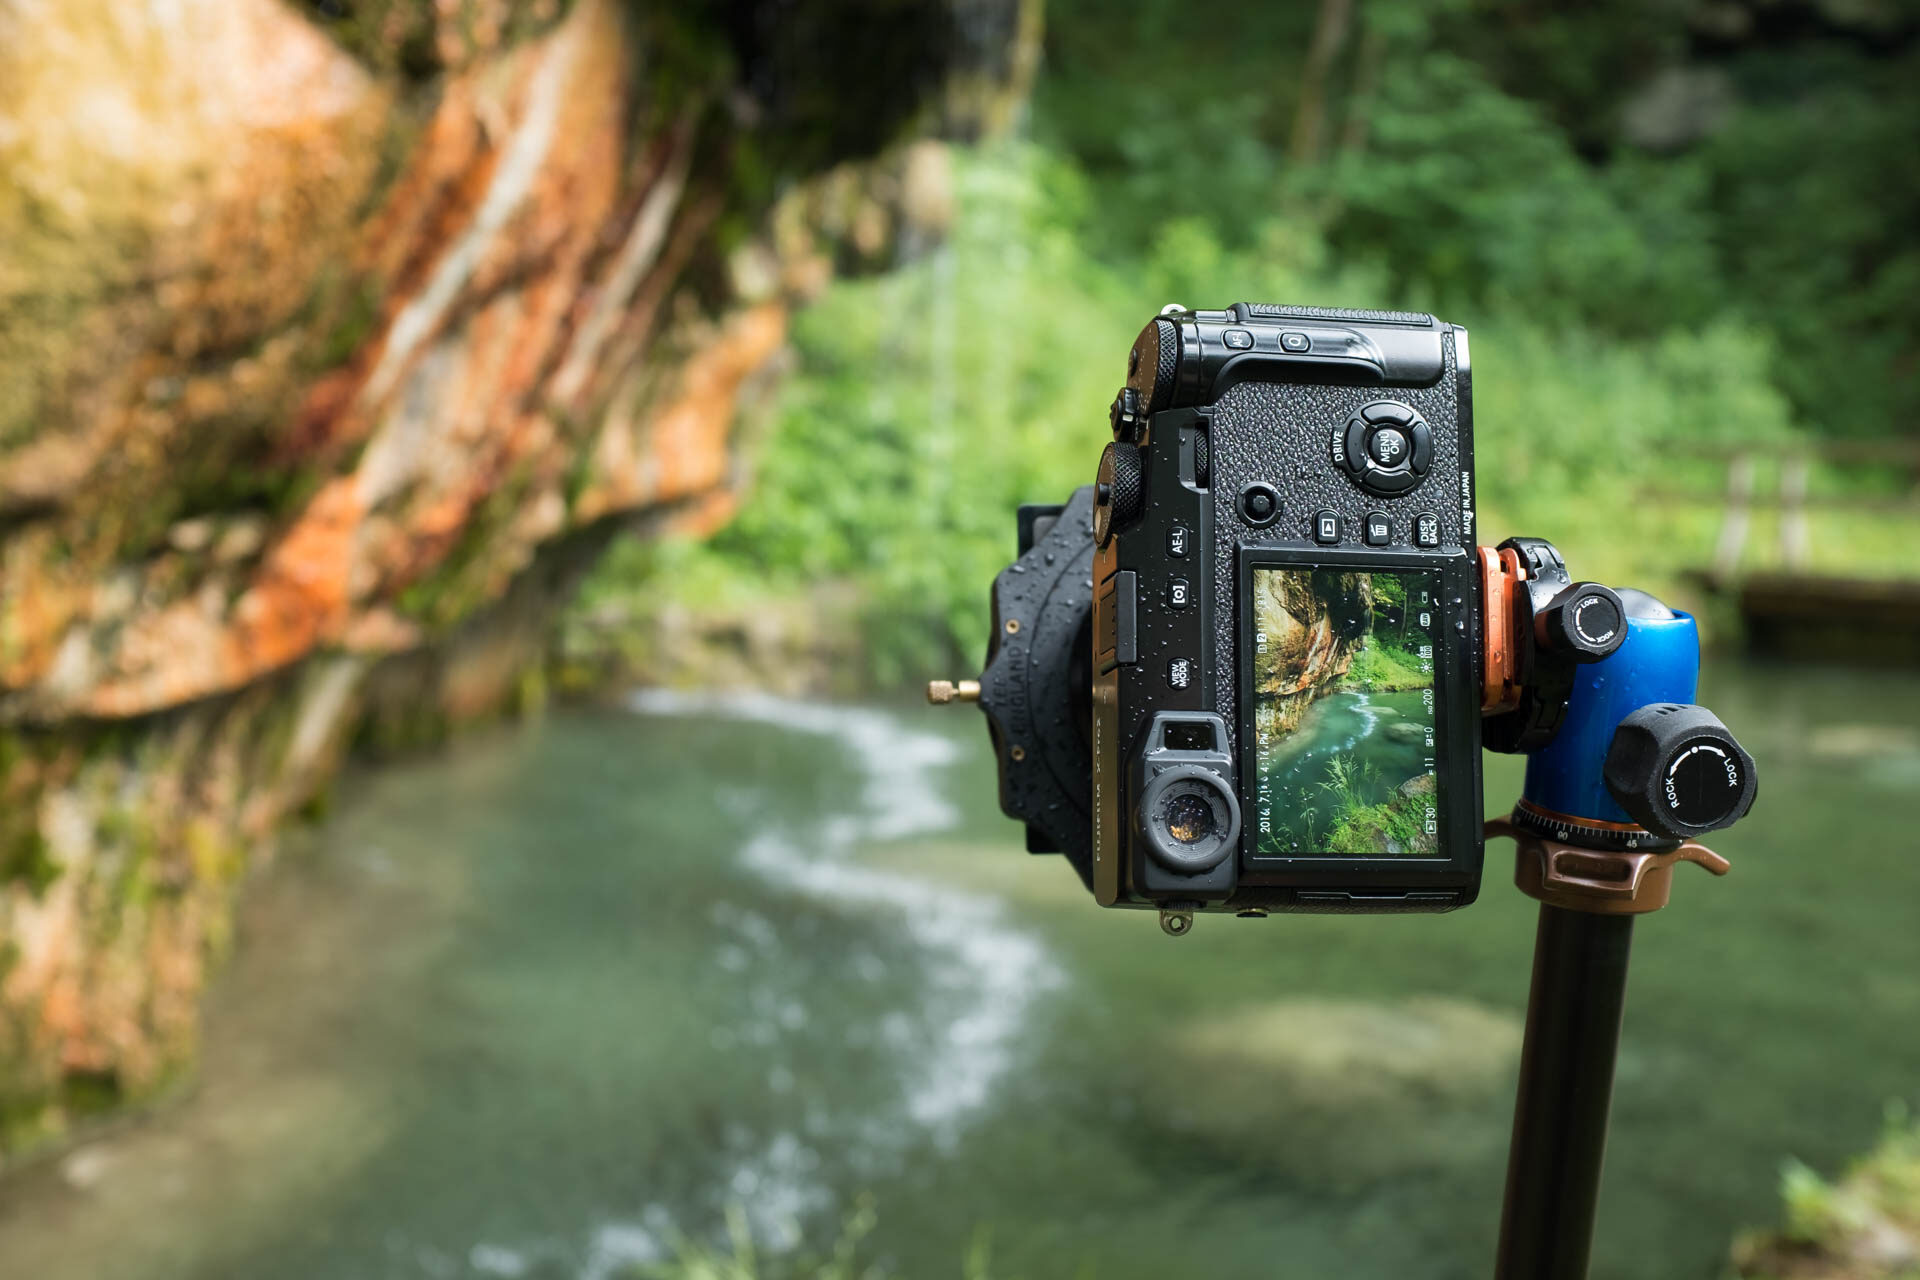
Setting the exposure manually? Take a systematic approach. Do not just do something at random.
Finding that starting point is something many (beginning) photographers struggle with. Ask yourself: what depth of field do you want, or what shutter speed do you want? The choice depends on your goal.
If your goal is action and speed of the subject, you need to choose a shutter speed. In almost all other cases, depth of field is what you need to choose. That means the aperture.
When depth of field is important
Depth of field determines the look of the photo and is an artistic choice. It is determined partly by the aperture. The aperture is therefore usually the most important setting.
Step 1: Choose an ISO value
Start with a low ISO value. This can be ISO100, 200 or 400. These low values produce the least noise in the image.
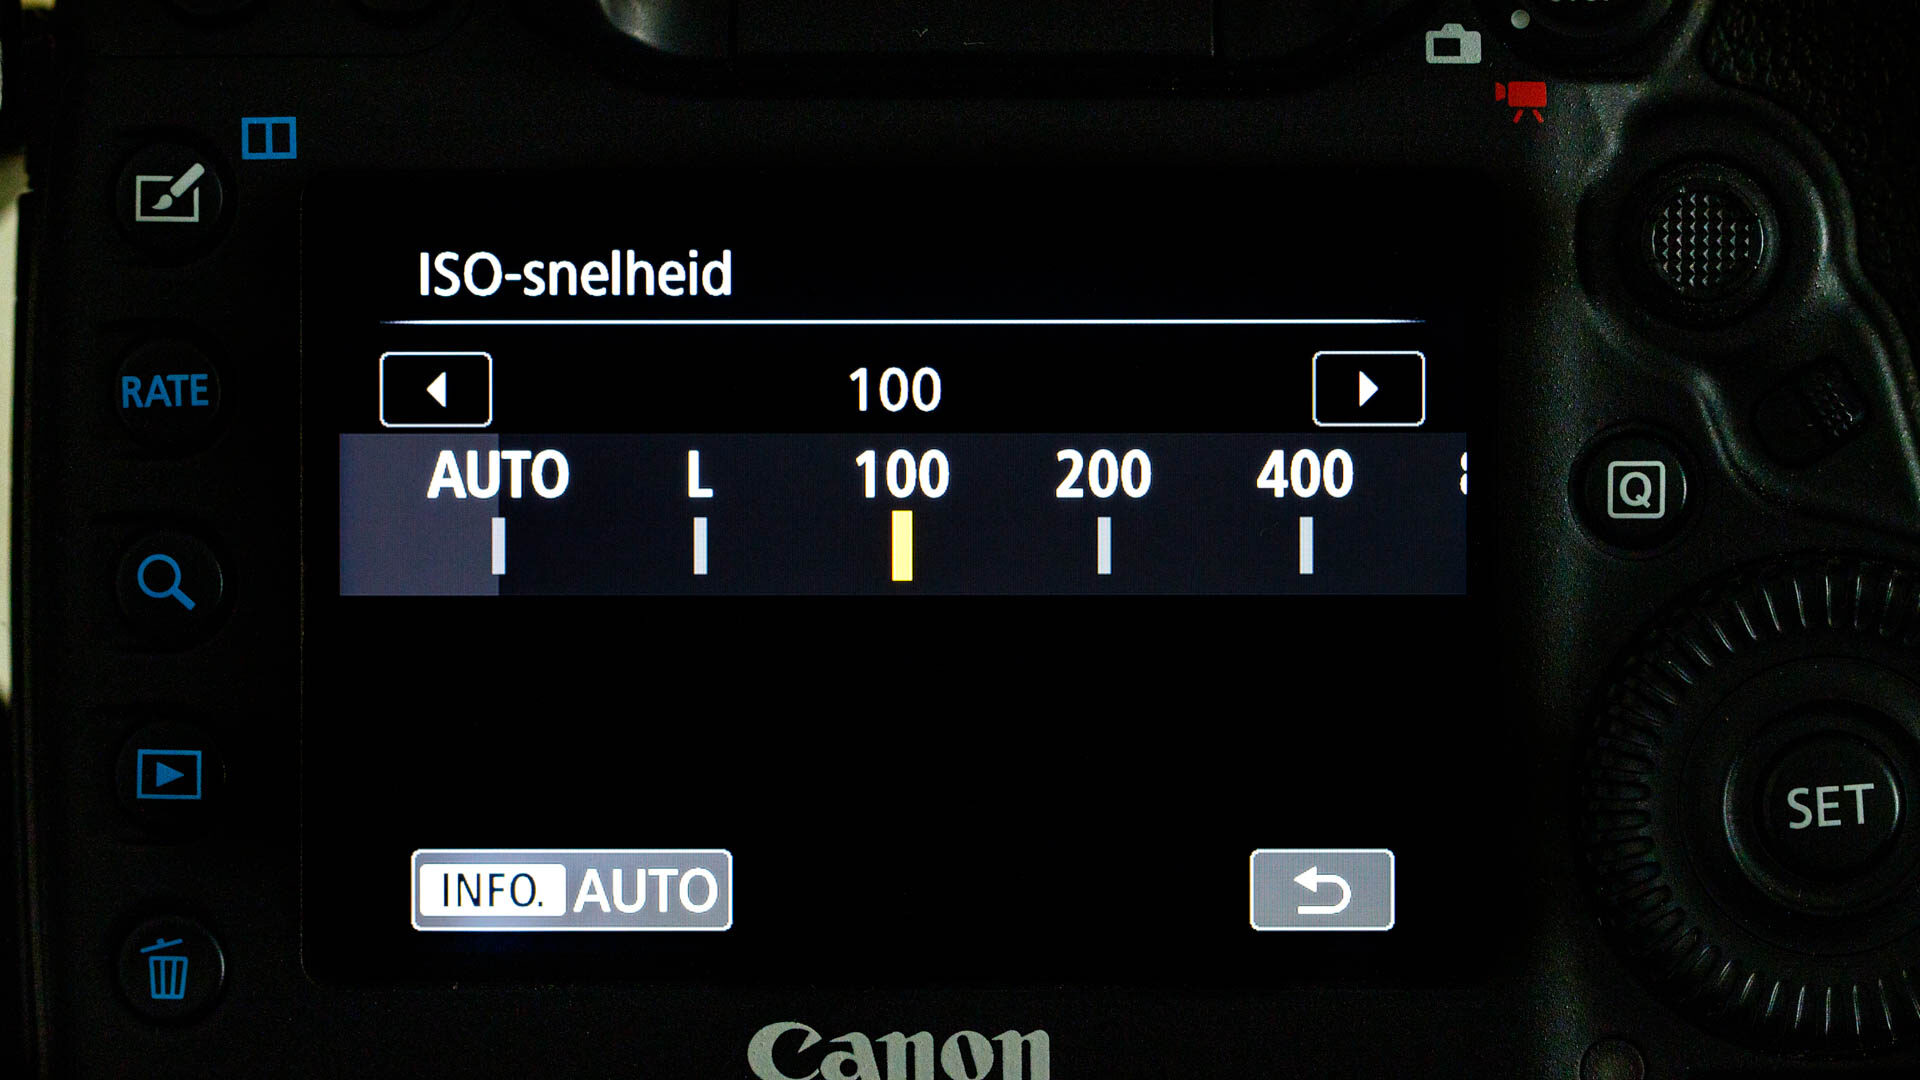
Always start with a low ISO value.
Step 2: Choose a depth of field (aperture)
The aperture determines the depth of field. A small number means a shallow depth of field. A large number means a large depth of field. Choose what you think you need and set it.
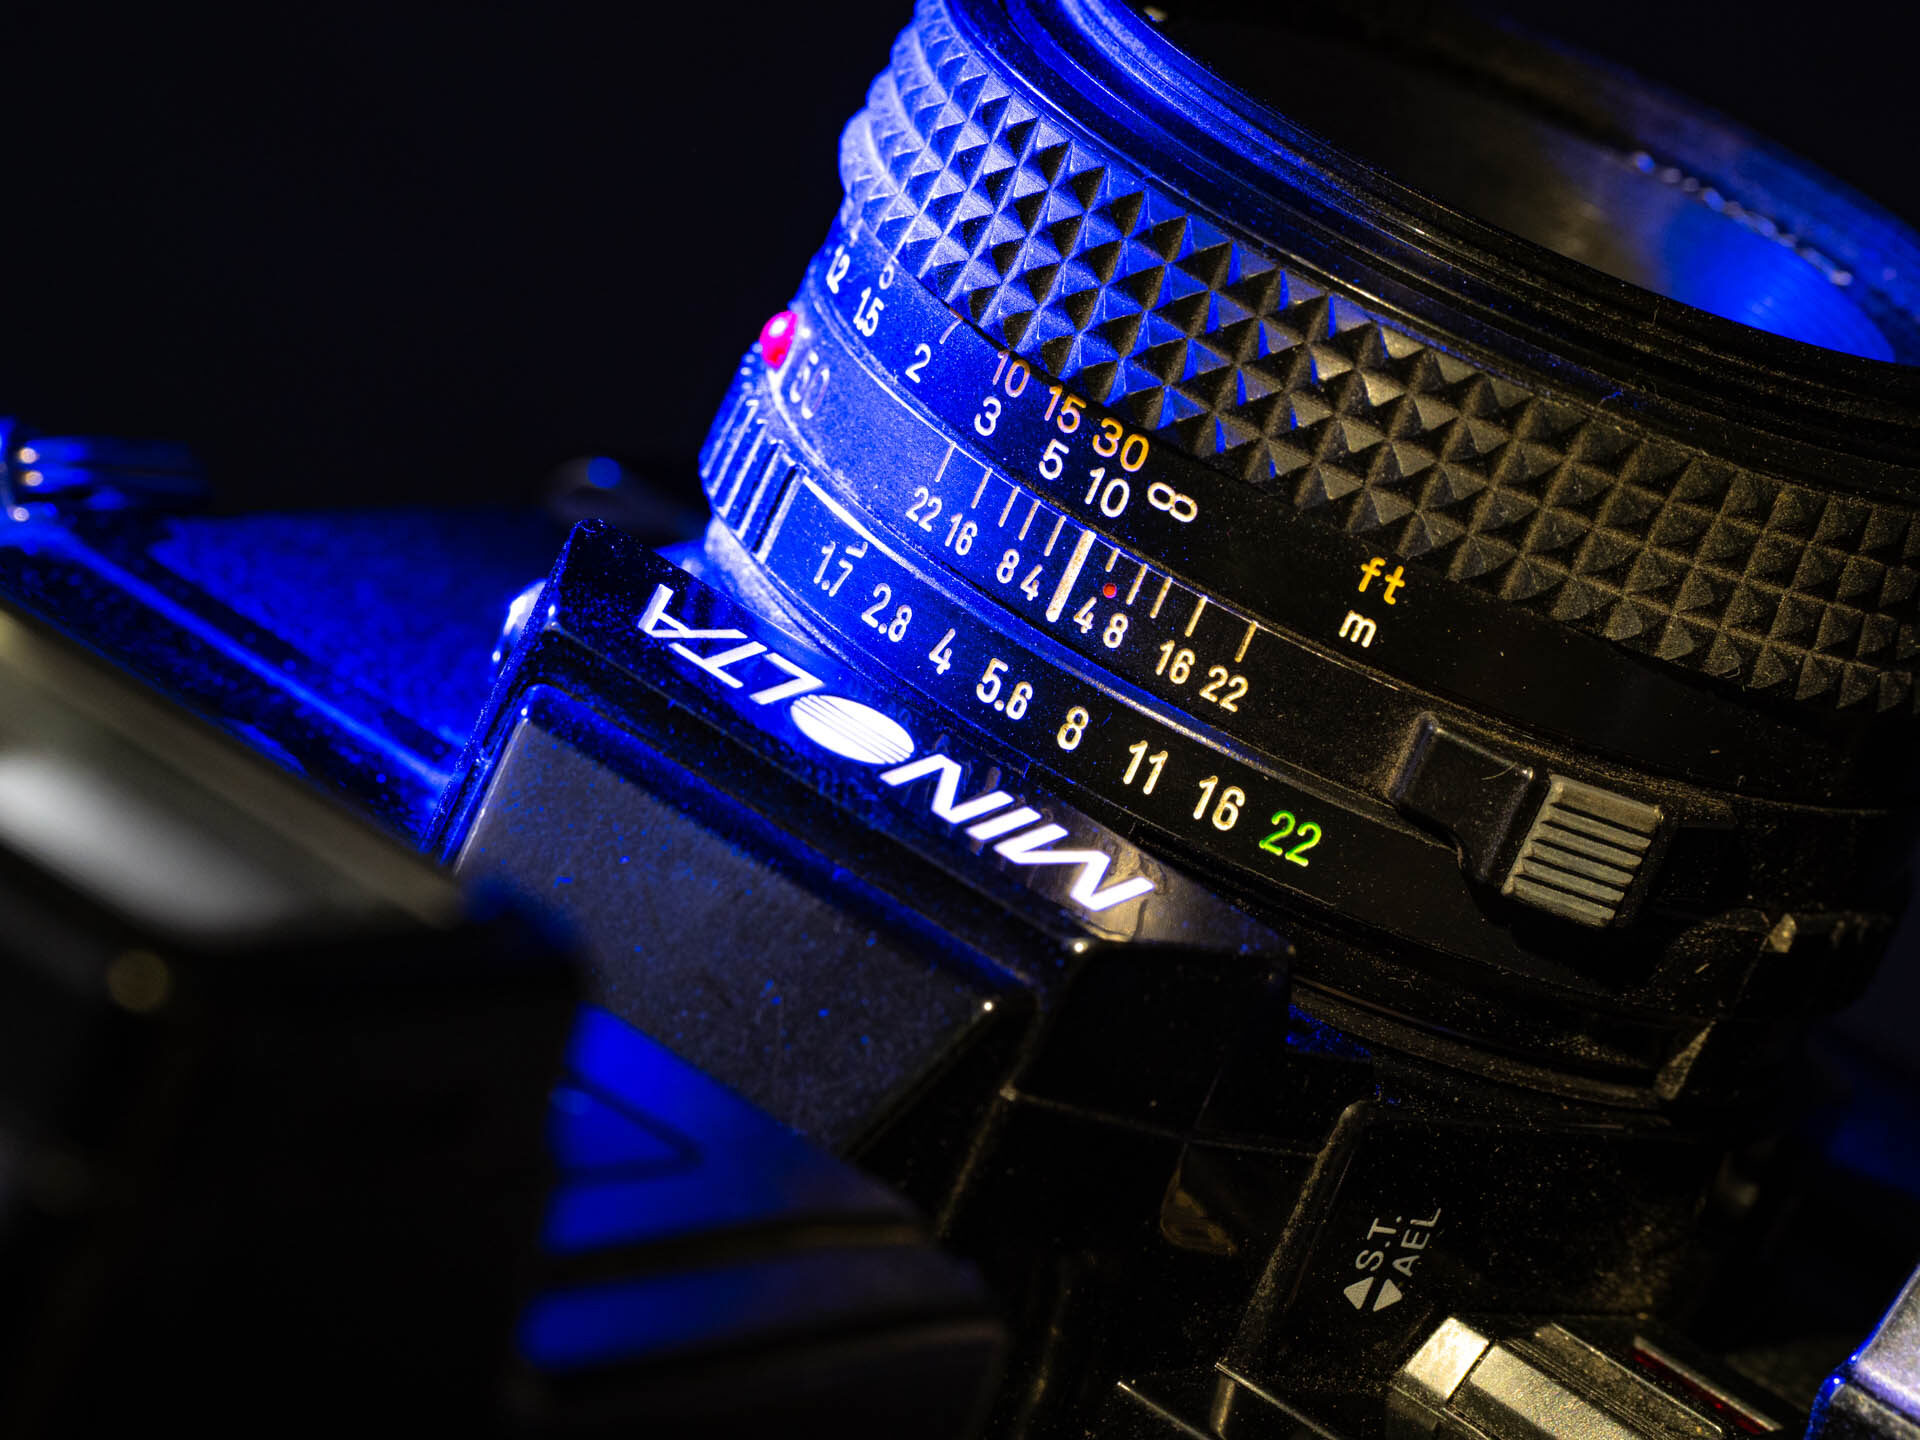
The aperture used to be on the lens. These days, it is set with the camera. Although many modern lenses now have an aperture ring again.
One note: distance and focal length also play an important role in the actual depth of field. But that is not important for now. For now, it is only about whether the depth of field should be large or small.
Step 3: Use shutter speed to get the exposure right
With the ISO value and aperture set, you can now set the exposure time. You do this with the shutter speed. The higher the number, the faster the shutter speed. The exposure time is then shorter.
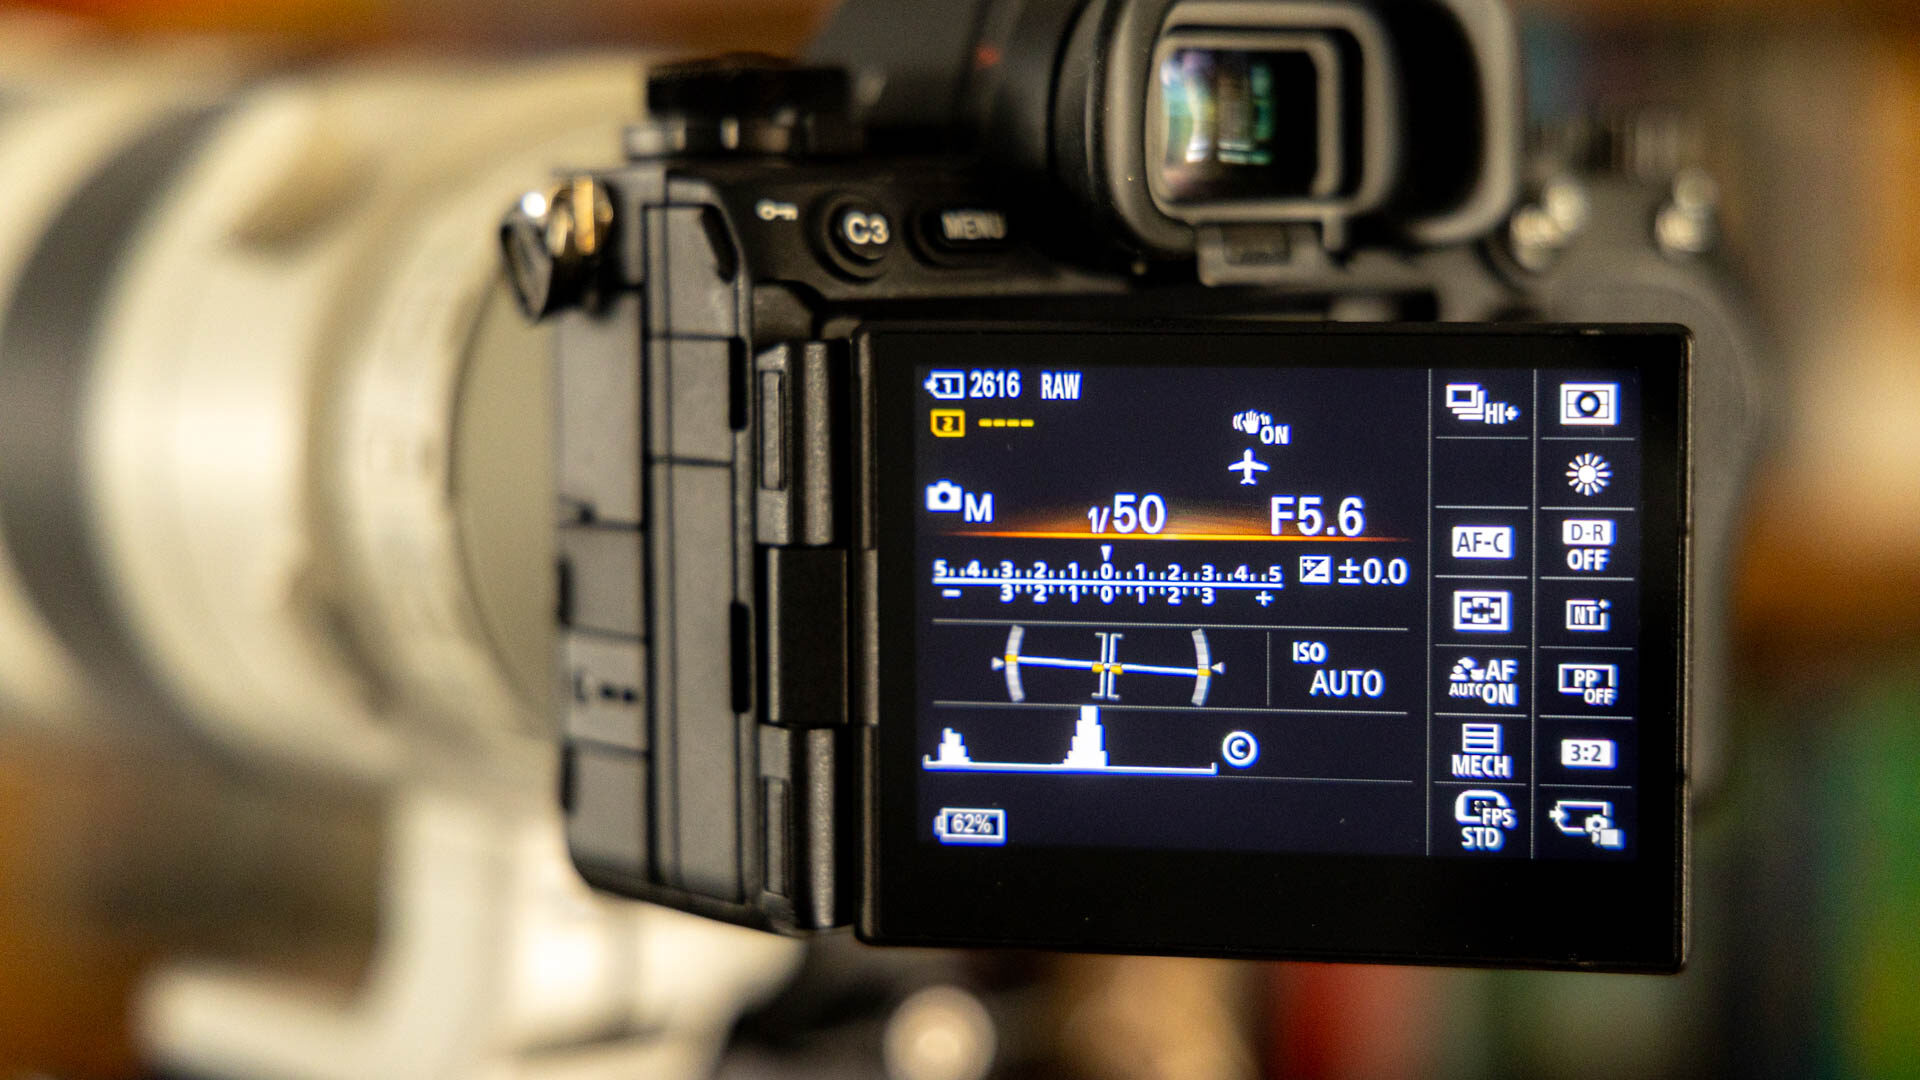
The shutter speed is chosen so that the exposure meter indicates 0 EV. This is the correct shutter speed for the selected aperture and ISO value (photo for illustration)
You do this using the camera's exposure meter. Make sure it indicates 0 EV. In most cases, this is the right value. But always pay attention to the shutter speed you had to choose.
Step 4: Higher ISO if the shutter speed is too slow
Is the shutter speed too slow? Then you risk motion blur. You cannot keep the camera still during the exposure time. This means the shutter speed needs to be faster.
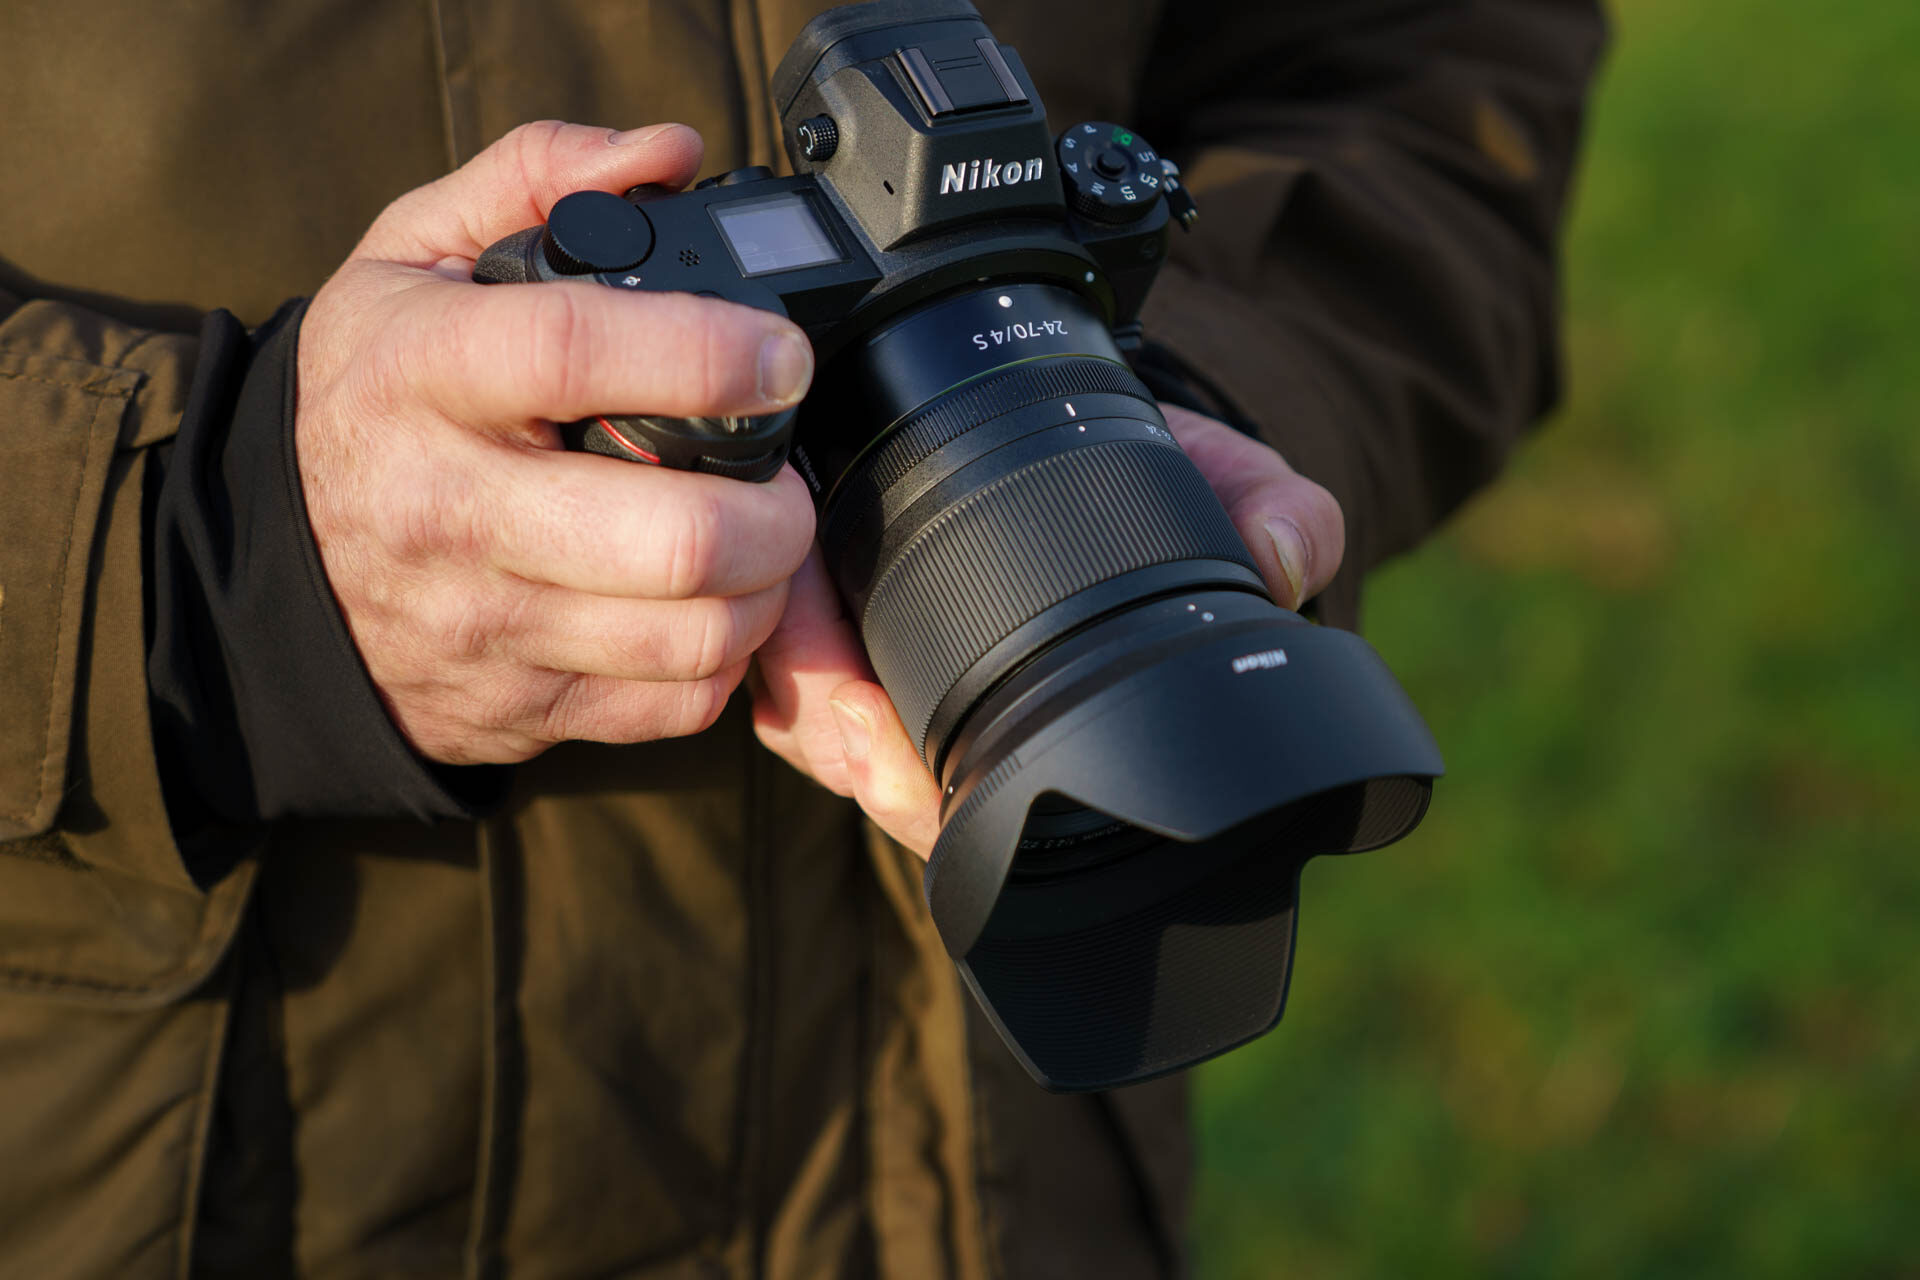
Are you photographing handheld? Make sure the shutter speed is fast enough. Prevent motion blur.
To make this possible, you need to increase the ISO value. For example, from ISO200 to ISO400. Sometimes even to ISO800 or higher. You can then set the correct exposure time again according to step 3.
Step 5: Deviate from the exposure meter if necessary
Sometimes the exposure meter does not indicate the exposure you want. The photo is too light or too dark for your taste. In that case, the shutter speed must differ from what the exposure meter indicates as correct.
Make the shutter speed faster if the photo is too light for your liking. If the photo is too dark for your liking, make the shutter speed slower. In the latter case, you need to look at point 4 again.
When speed is important
For action photography, it works almost the same way, only you choose the shutter speed instead of an aperture. After all, the shutter speed determines how movement is shown. It then works as described in the following steps.
Step 1: Choose an ISO value
Choose a low ISO value, for example ISO100, 200 or 400. This ensures that you have as little noise as possible in the photo.
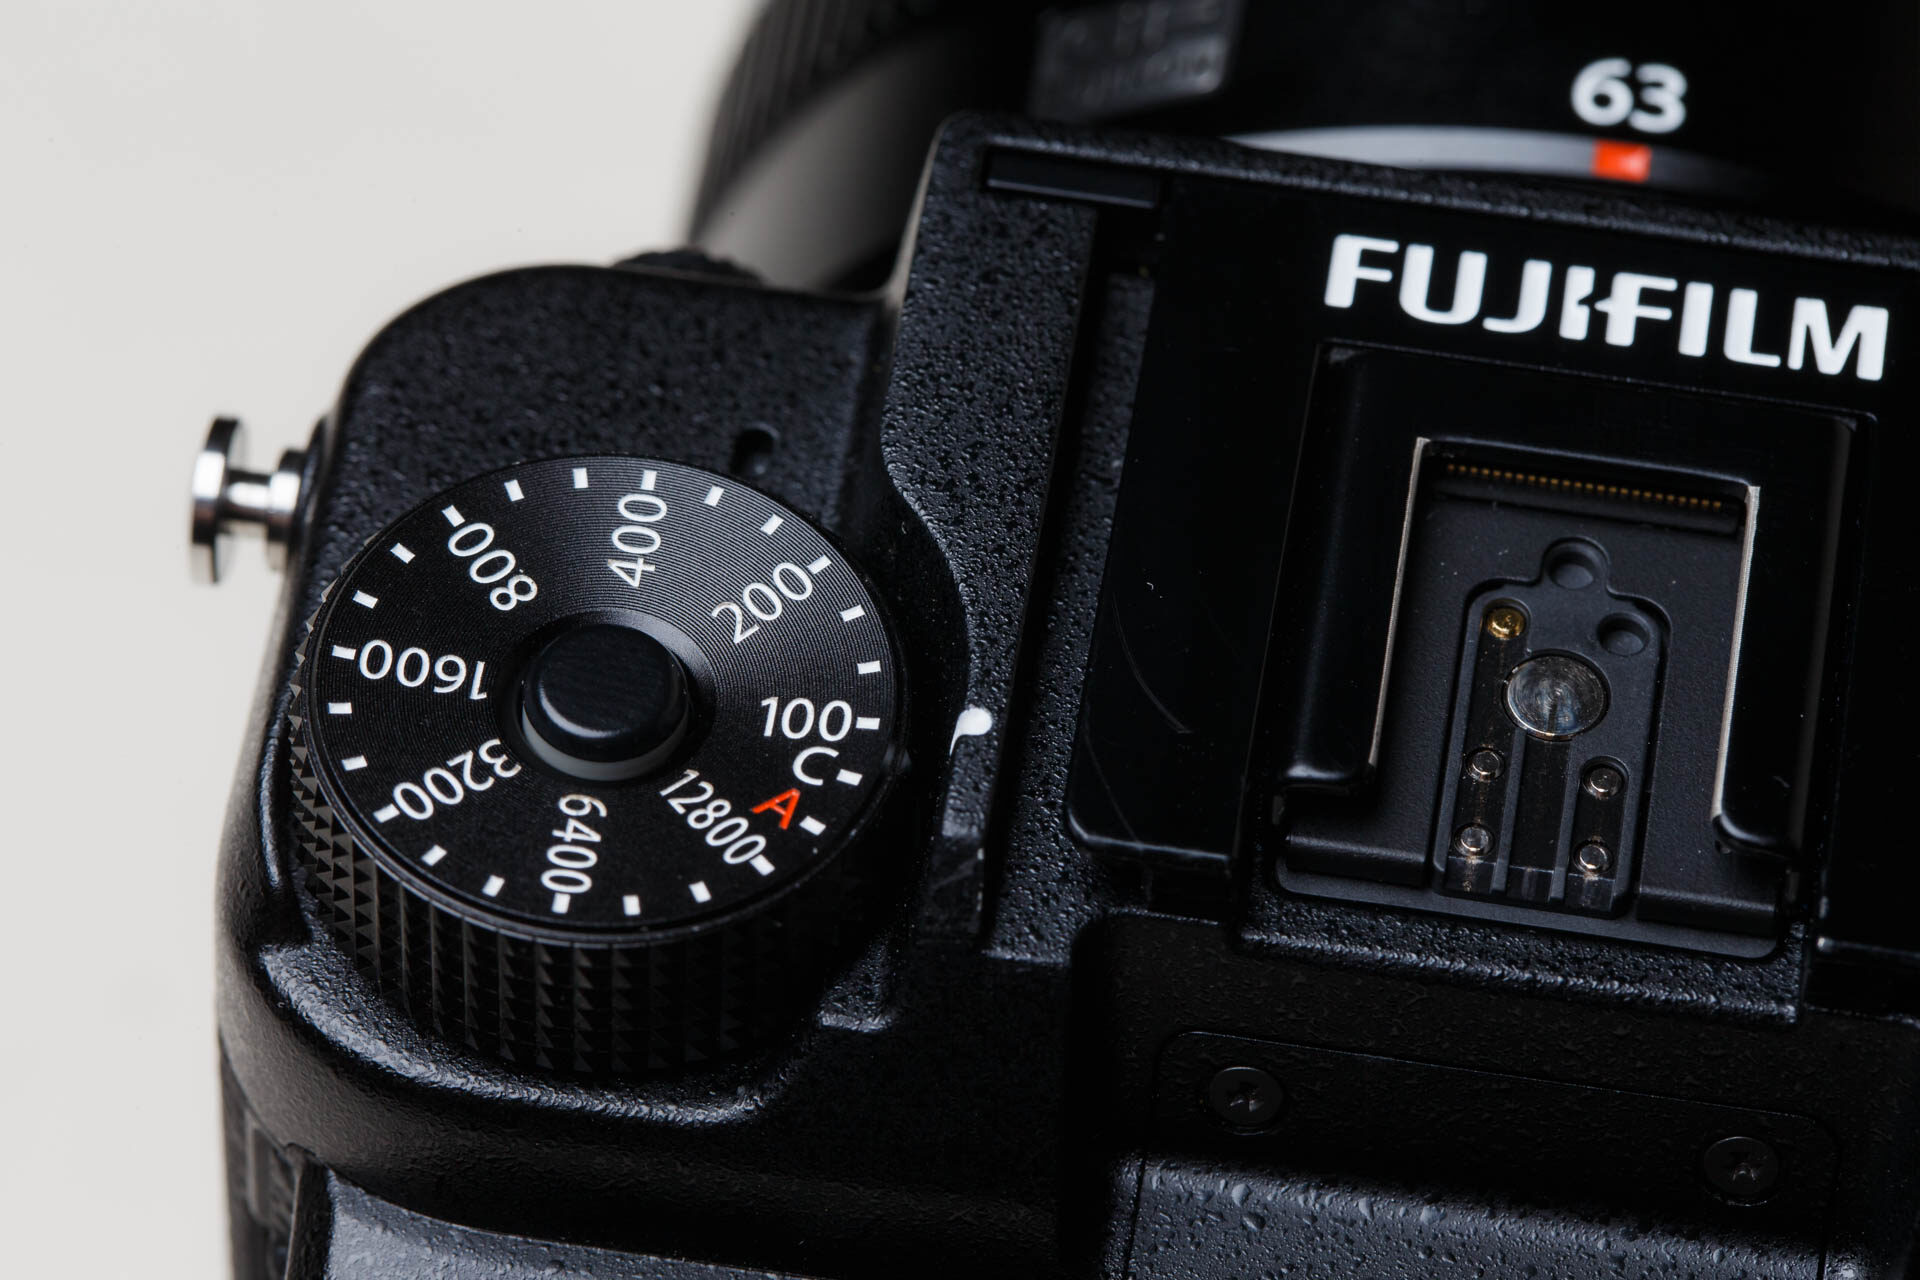
Start with a low ISO value. You can always increase it later if necessary.
Step 2: Choose the desired shutter speed
The shutter speed determines the duration of the exposure. The higher the number, the shorter the exposure time. A short exposure time freezes movement. A long one creates movement in the image.
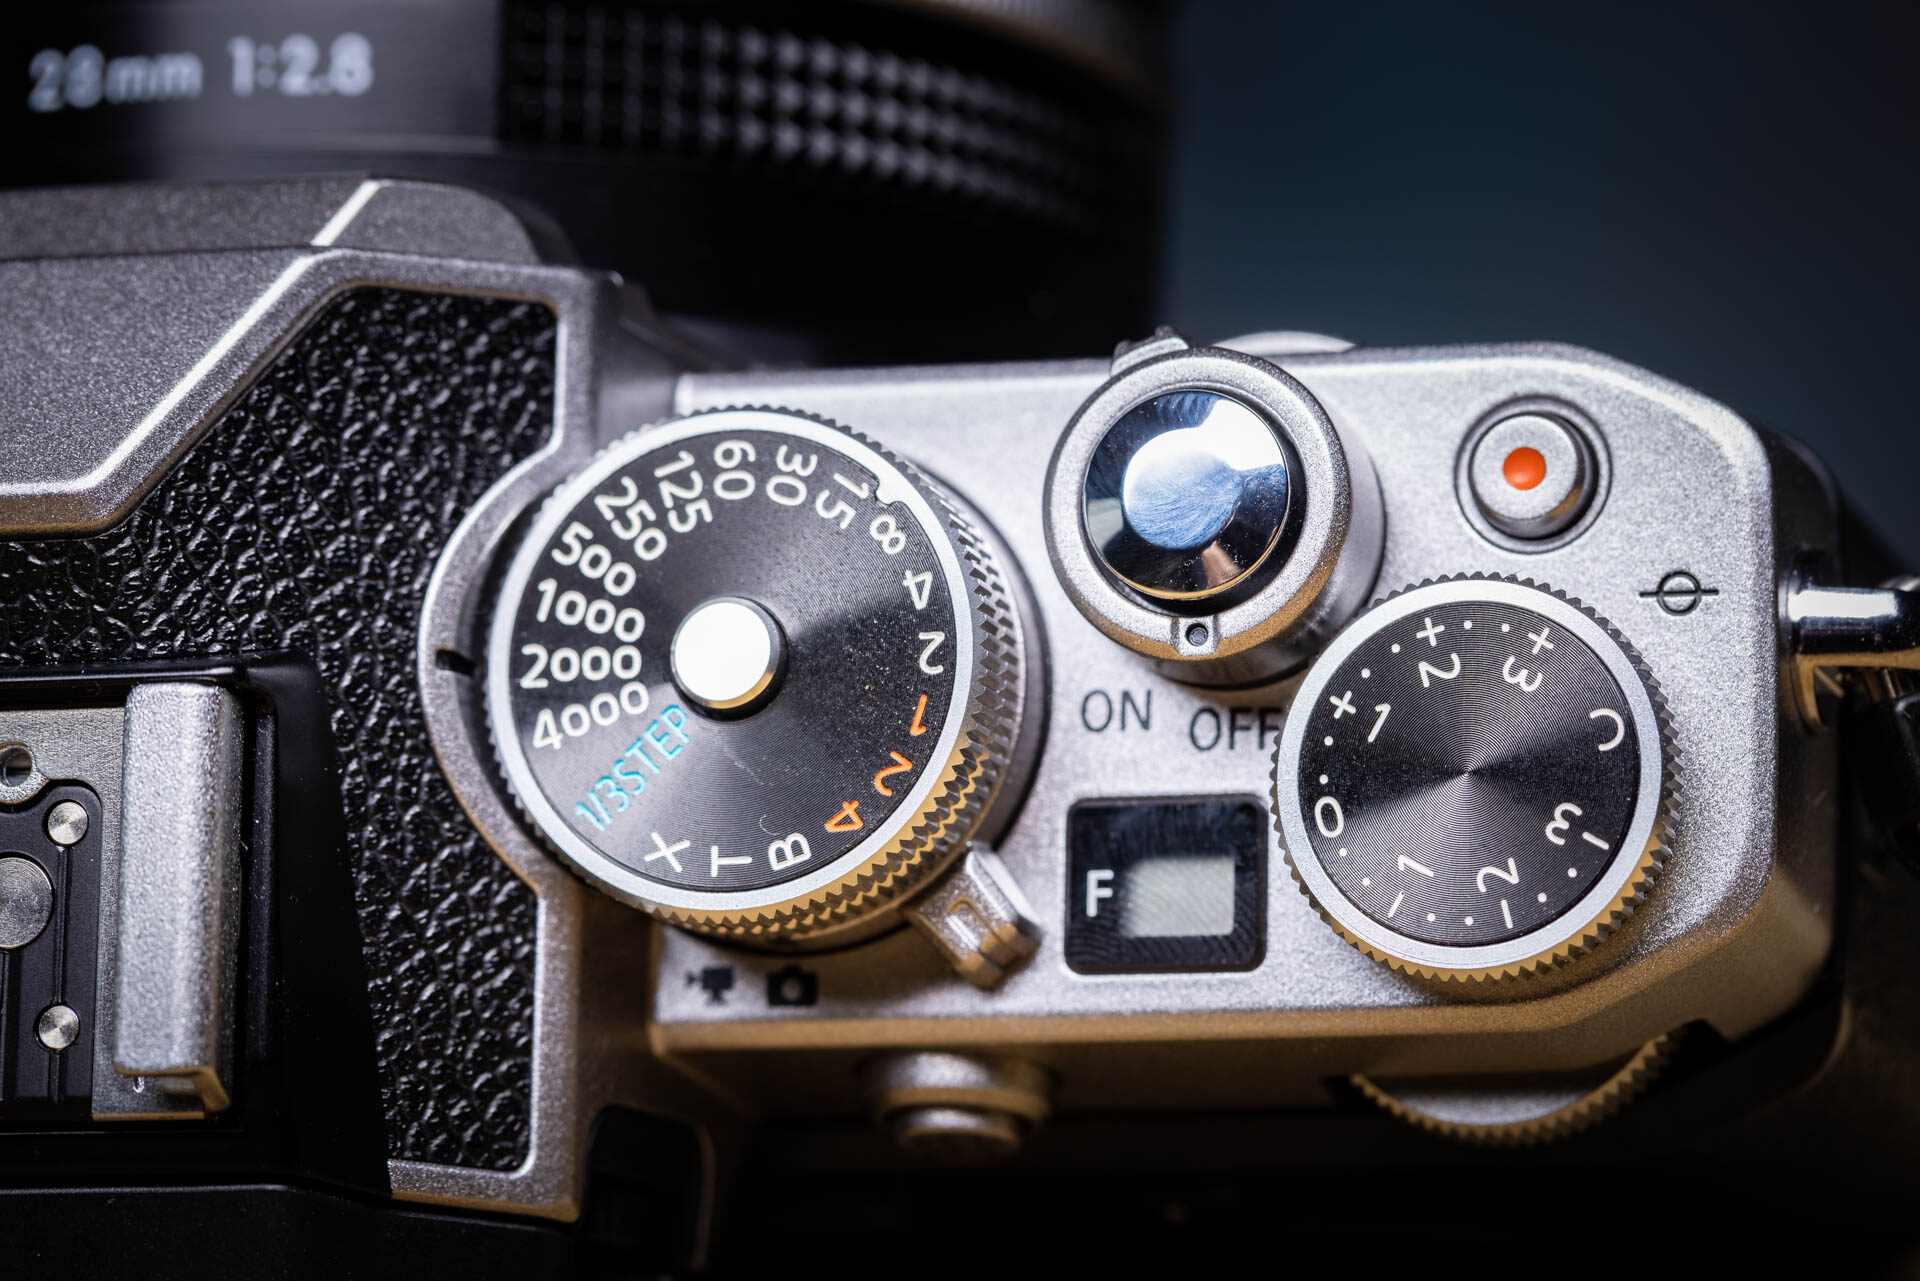
For action, a suitable shutter speed is important. Choose what you need. A fast or slow shutter speed. The higher the number, the shorter the exposure time.
Choose the shutter speed you want. Which one that is for the action you are photographing depends on your preferences. And on the speed of the movement. This is a matter of trying things out and gaining experience.
Step 3: Use the aperture to get the exposure right
With the ISO value and shutter speed set, you can choose the aperture to get the correct exposure. Turn the aperture until the EV value on the exposure meter indicates 0.
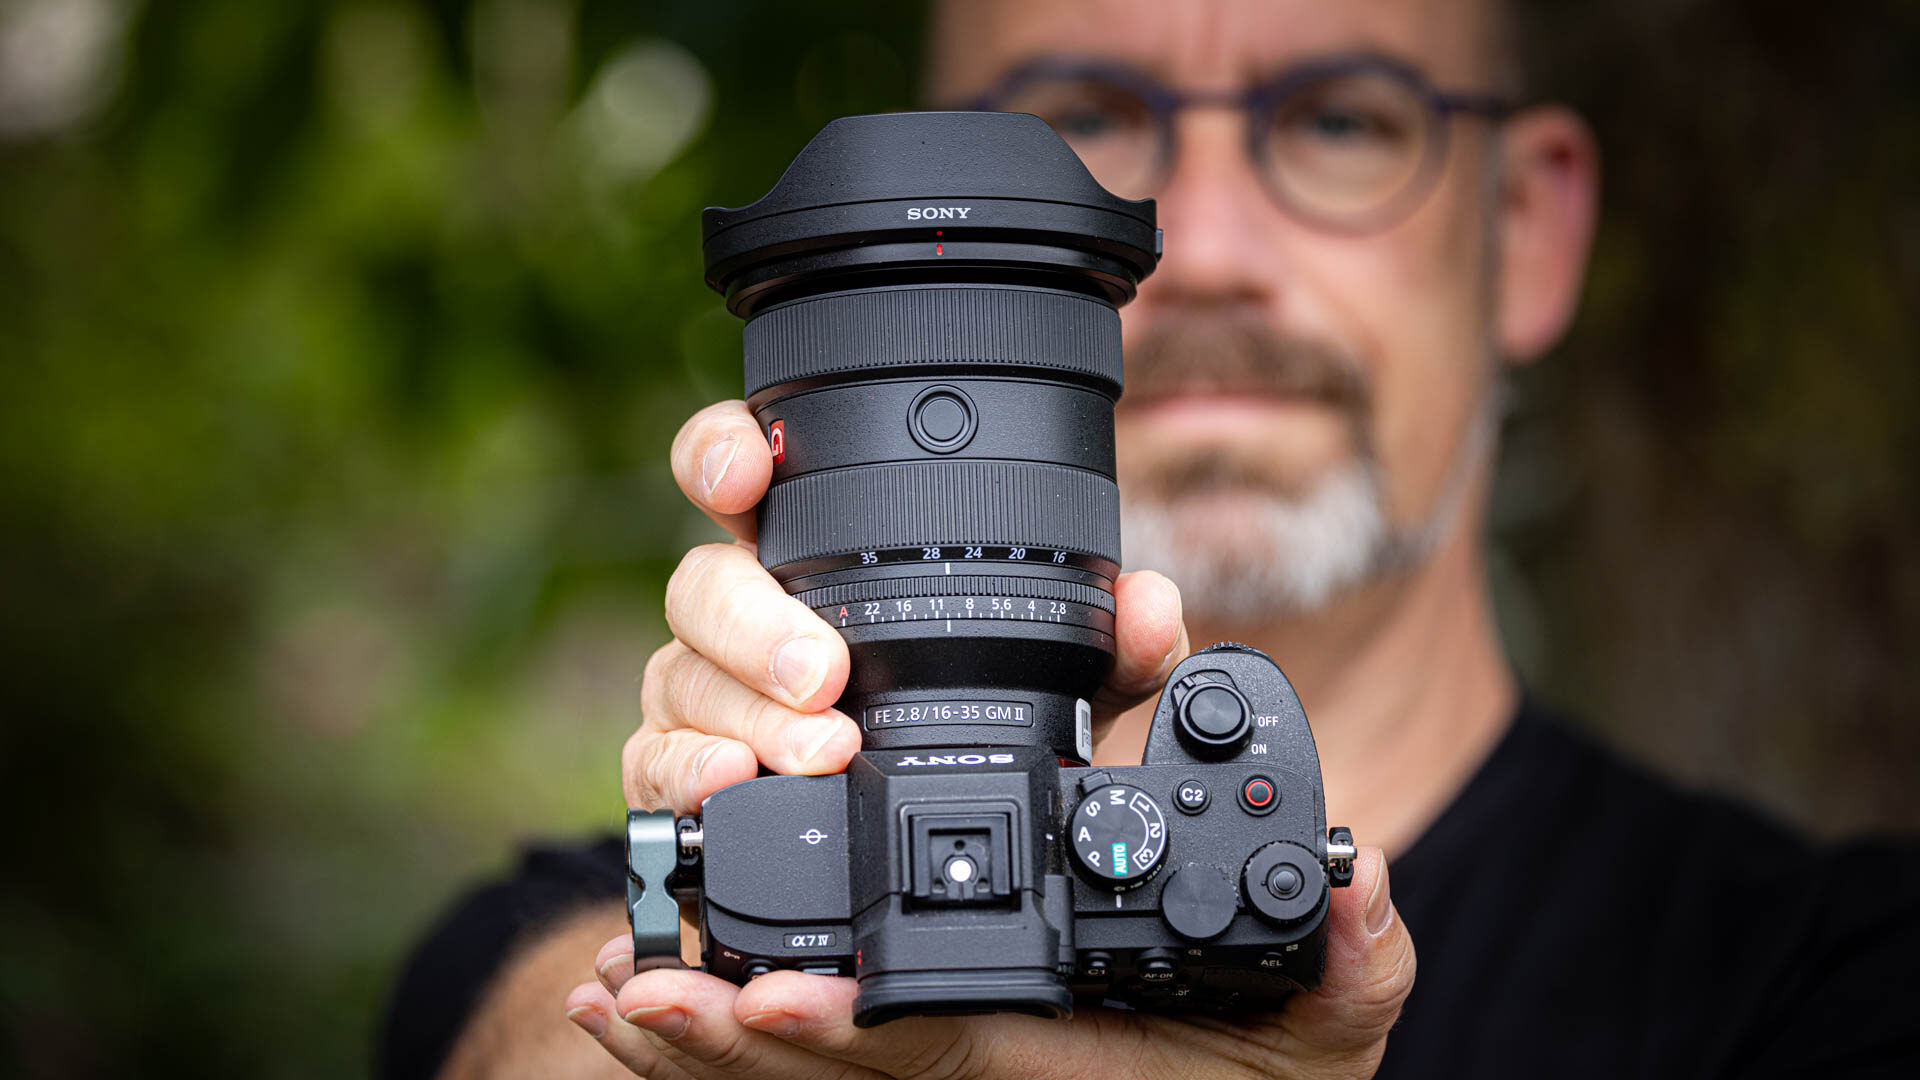
The lens opening is used to achieve the correct exposure. (photo for illustration)
With a fast shutter speed, the aperture will usually be a small number. With a short exposure time, a larger number often needs to be chosen.
Step 4: Higher ISO if the widest aperture is not enough
Is the widest aperture still not enough to set a correct exposure? Then the ISO value needs to be increased. This will often be necessary, especially for very short shutter speeds.
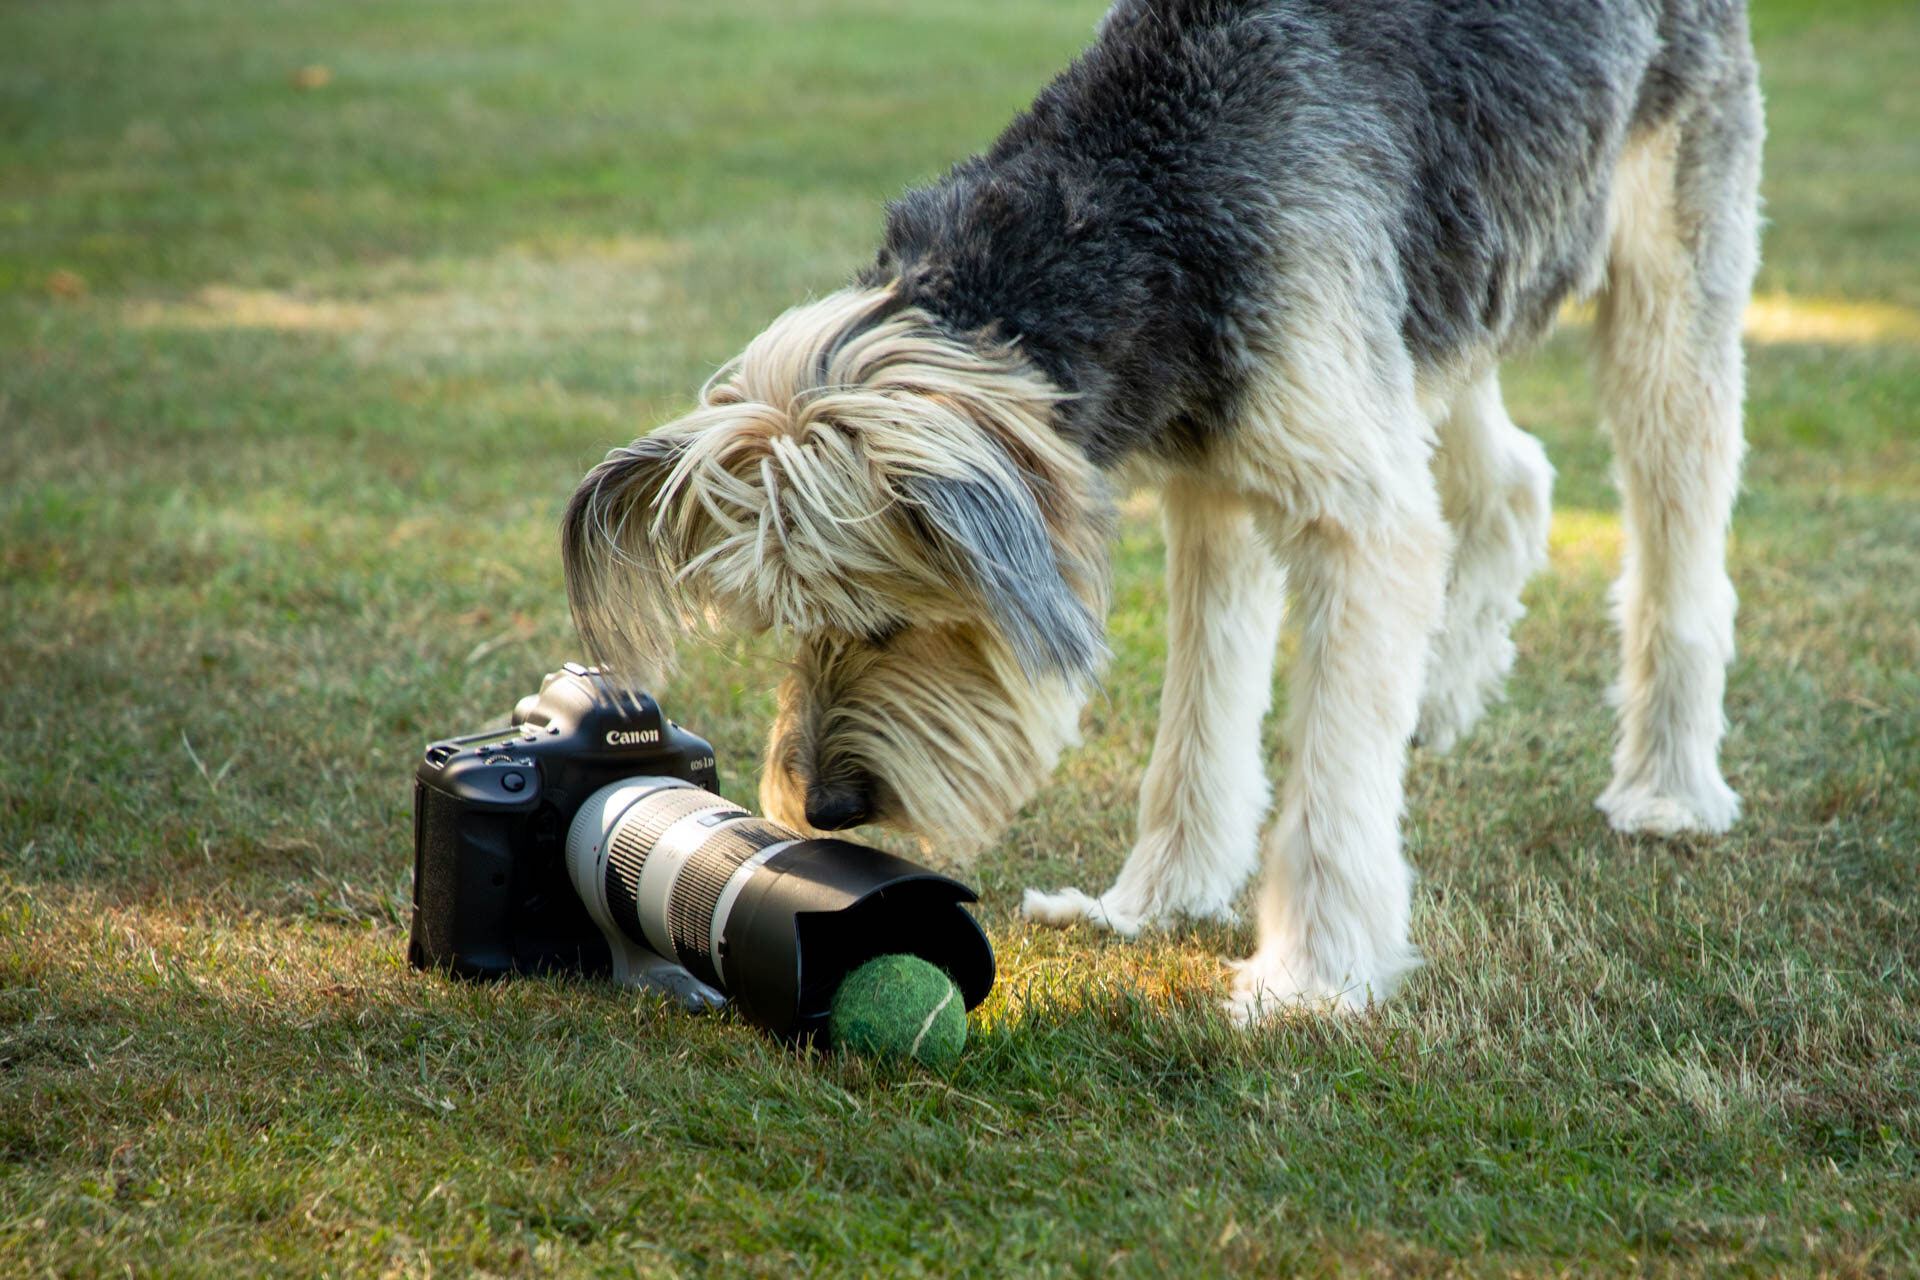
You often need to use a higher ISO value to use fast shutter speeds for action. After all, a lens has a maximum aperture. No more light can pass through it.
Set the ISO value to 400, 800 or even higher until the exposure is correct. Go as high as necessary. But keep in mind that extremely high ISO values can produce a lot of noise. There is no other option in that case.
Step 5: Deviate from the exposure meter if necessary
Is the photo with the correct exposure not to your liking? Is the photo lighter or darker than you actually want? Then you need to apply exposure compensation. Preferably with the aperture.
Stop down the aperture further (larger number) if the photo needs to be darker. Open the aperture further (smaller number) if you want the photo to be lighter. As long as you have room to do so.
Is the aperture already as wide as possible, and do you still want the photo to be lighter? Then you need to increase the ISO value a little more. That is the only way.
Manual settings take time
Always bear in mind that setting the exposure manually takes time. Sometimes that is needed for every photo. Sometimes you can get by with a one-off setting for a while. Until the light changes.
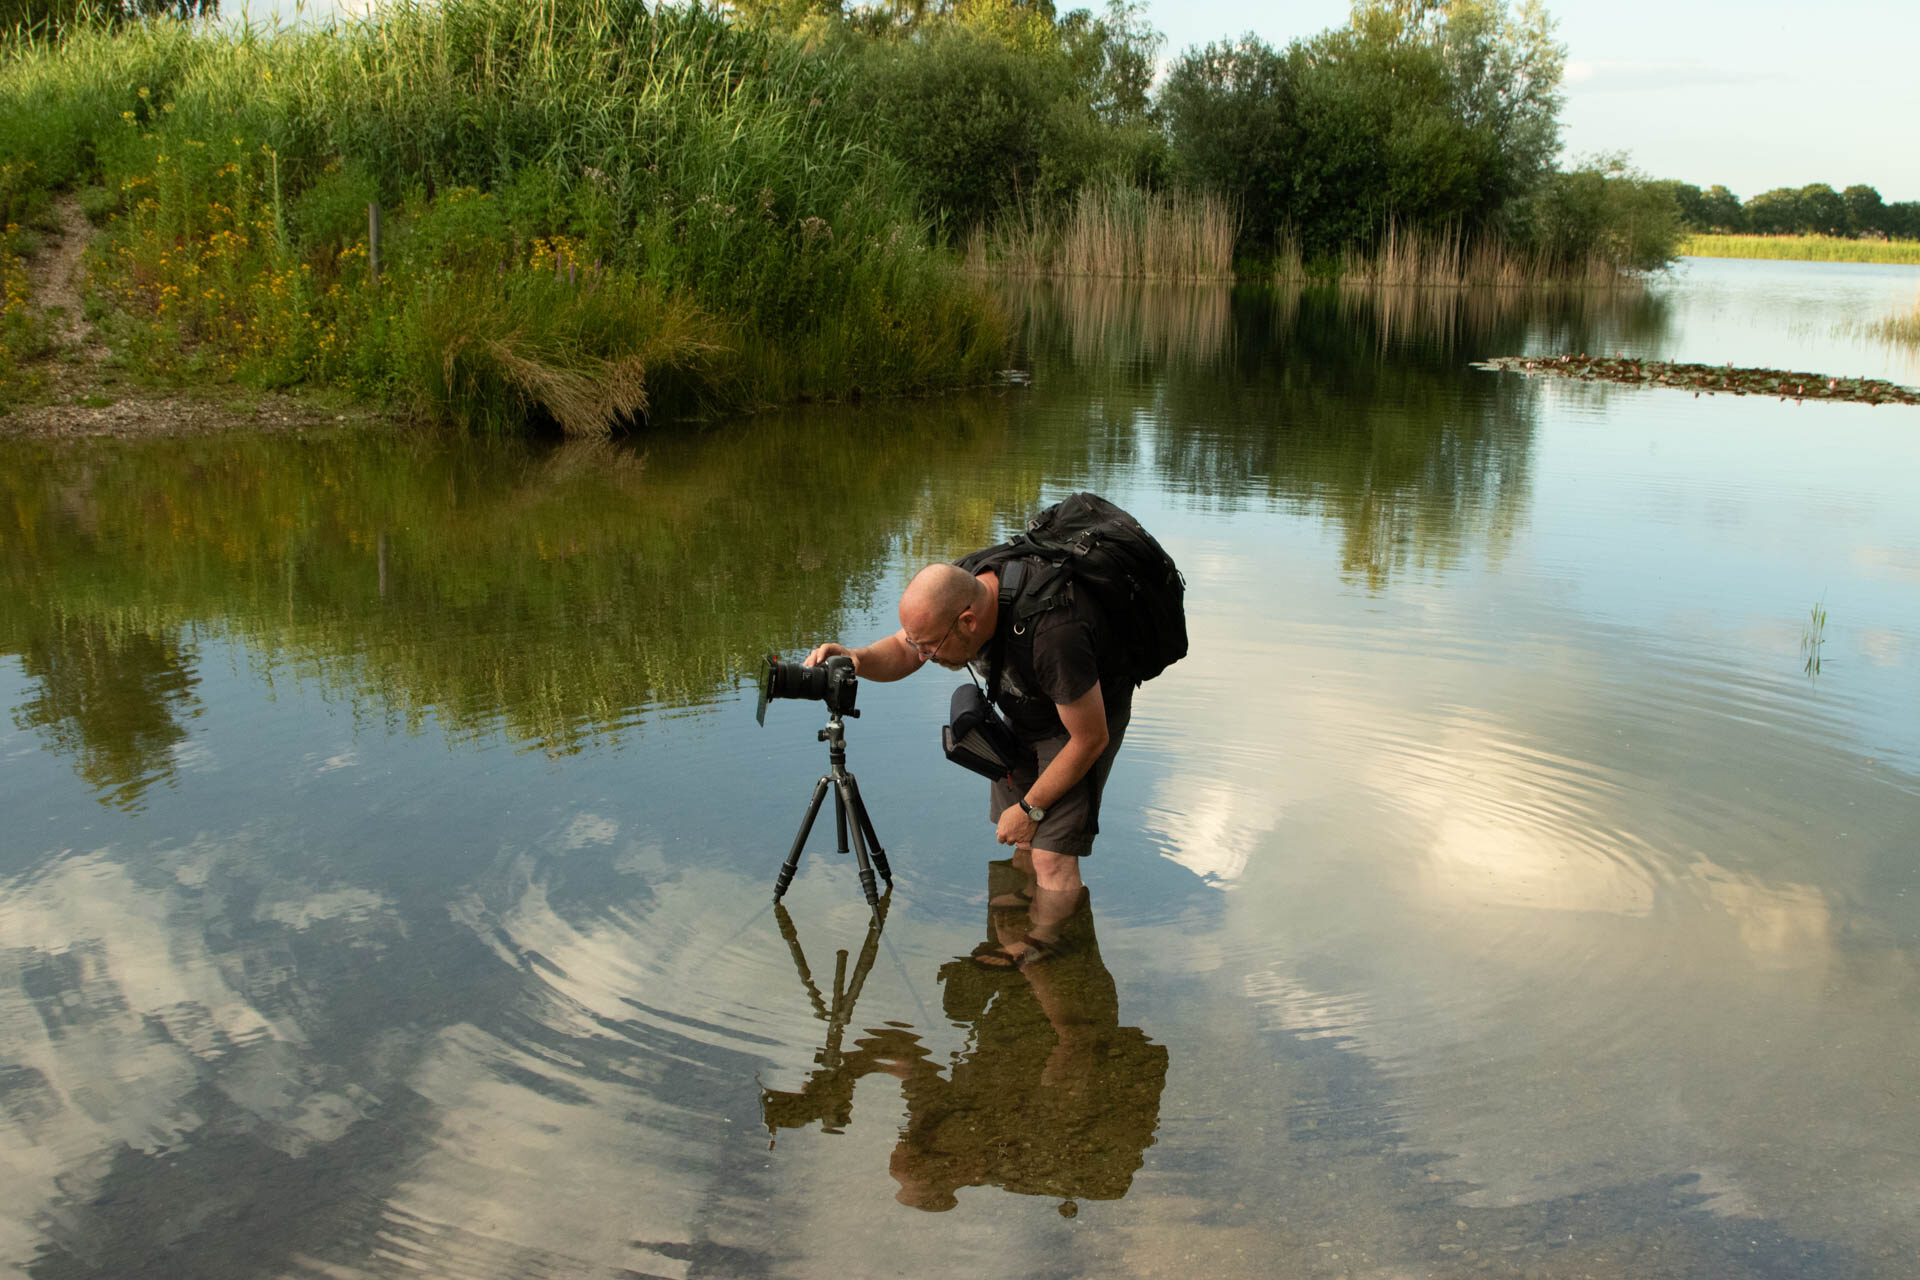
Setting the exposure manually takes time. Give yourself that time too, and keep an eye on the light. Every change in the light requires adjustments.
Do remember that with manual exposure settings, you ALWAYS check the exposure. Changes in lighting conditions mean that you need to adjust the settings.
With these five steps, manual exposure should always work out well. Do you use this method too? Or do you approach it differently? Share your method in a comment below this post.
About the author
Nando Harmsen has been photographing for more than 40 years. He specialises in wedding photography and landscape photography. Nando also gives talks, workshops, masterclasses and photo trips, and regularly reviews new and interesting equipment.
You might also like
-
 My settings for action photography
by Nando Harmsen
-
 Using Motion Blur to Your Advantage
by Nando Harmsen
-
 The Light Meter, How Do You Read It?
by Frank Doorhof
-
 7 photo situations for manual focus
by Michelle Peeters
-
 The only real reason to set the exposure manually
by Nando Harmsen
-
 The basic settings for action photography
by Nando Harmsen
5 comments
-
 Donald Willemsen wrote on Tuesday 8 September 2026 at 22:39 | reply
When I use the camera's M mode, I start by setting the ISO as low as possible. If I'm shooting handheld, I then set a shutter speed that prevents me from suffering from motion blur and also make use of the leeway IBIS offers me. Finally, I set the aperture according to my DoF needs. I don't pay that much attention to the exposure meter. I find the histogram more important and often use ETTR, applying an exposure compensation of 2/3 to 1 stop.
Translated from Dutch. -

 Nando
wrote on Wednesday 9 September 2026 at 09:21
| reply
Nando
wrote on Wednesday 9 September 2026 at 09:21
| reply
The histogram comes about thanks to... that's right: the light meter. So you simply make use of it. There’s no other way.
Translated from Dutch.
And then the question of conscience: if you have set a low ISO and your desired shutter speed and desired aperture, how do you then get the exposure correct? Which settings are you going to change? -
Donald Willemsen wrote on Wednesday 9 September 2026 at 10:32 | reply
Nando, the exposure meter is displayed by a scale from -3 to +3 with 0 in the middle. So I don't look at that when looking through the viewfinder, but I do look at the histogram that is produced by the exposure meter.
Translated from Dutch.
The question of conscience: When the ISO, the desired shutter speed and desired aperture have been set and I still have to make an adjustment, then initially I use the exposure compensation +/- without changing the actually set shutter speed or aperture. If that does not produce the desired result, then I choose to increase the ISO value. The histogram is and remains my reference point, whereby I absolutely avoid blown-out white on the right side.
In addition to the above, I also use ND and GND filters to get a correct exposure with the desired shutter speed and aperture.
Nando, your response to this is more than welcome. Shoot me down😉 -
Nando
wrote on Wednesday 9 September 2026 at 10:54
| reply
Histogram or +/- display is how you assess the exposure metering. Nevertheless, you continue to use the exposure metering.
Translated from Dutch.
Agreed, that is a way of working.
But then you say that you use exposure compensation +/- without changing the aperture/shutter speed/ISO. That is not possible. At least one of the settings will have to change with the exposure compensation. -
Donald Willemsen wrote on Wednesday 9 September 2026 at 11:51 | reply
Nando, regarding that last point, you're right. In 95% of cases I shoot in Av or Tv, and then the camera almost always chooses to adjust the ISO because I have the camera set to auto ISO. I have limited the auto ISO to 6400. I'm not afraid of noise. That's why I'd rather have the ISO value change than have my aperture or shutter speed change. In M mode, exposure compensation doesn't work, except for exposure bracketing. That does work.
Translated from Dutch.
Have your say
Please note: Articles older than a week can only be commented on by signed-in visitors.Would you still like to comment? sign in or create a free account.
Become a better photographer every week
A practical photography tip in your inbox every week.
38,990 photography enthusiasts already receive the tips! More about the weekly mail. Or keep up to date via  Facebook.

Elja Trum
Photofacts; everything to do with photography!
Would you like to take better photos and keep up with what is happening in photography? Photofacts publishes articles that teach you something about photography — from a product announcement to a practical shooting tip or a look at a website. Photofacts covers photography every day and is a hobby project of Elja Trum's that got out of hand. The articles are written by a team of volunteer authors. If you would enjoy writing one or more articles for Photofacts, do get in touch.More about PhotofactsPhotofacts is made possible in part by
