

Avoid Blurry Photos With These 10 Tips
Monday 24 August 2026, 20:20 by Nando Harmsen | 2,125 views | 9 commentsThis article was translated from Dutch with the help of AI. Read the original.
A blurry photo can have several causes. Preventing blur can sometimes be a matter of using the right settings. It can also be down to the way you take the photo.
A blurry photo can be frustrating. Do your photos often turn out blurry? There can be several causes. Find out what the reason is, and you can solve it.
I have listed a number of causes of blurry photos. See it as a guide to discovering why it happens to you.
1. A shutter speed that is too slow
The shutter speed must not be too slow, otherwise you cannot hold the camera still and you get motion blur. Follow this rule: the shutter speed must be at least 1/focal length, corrected for the crop factor.
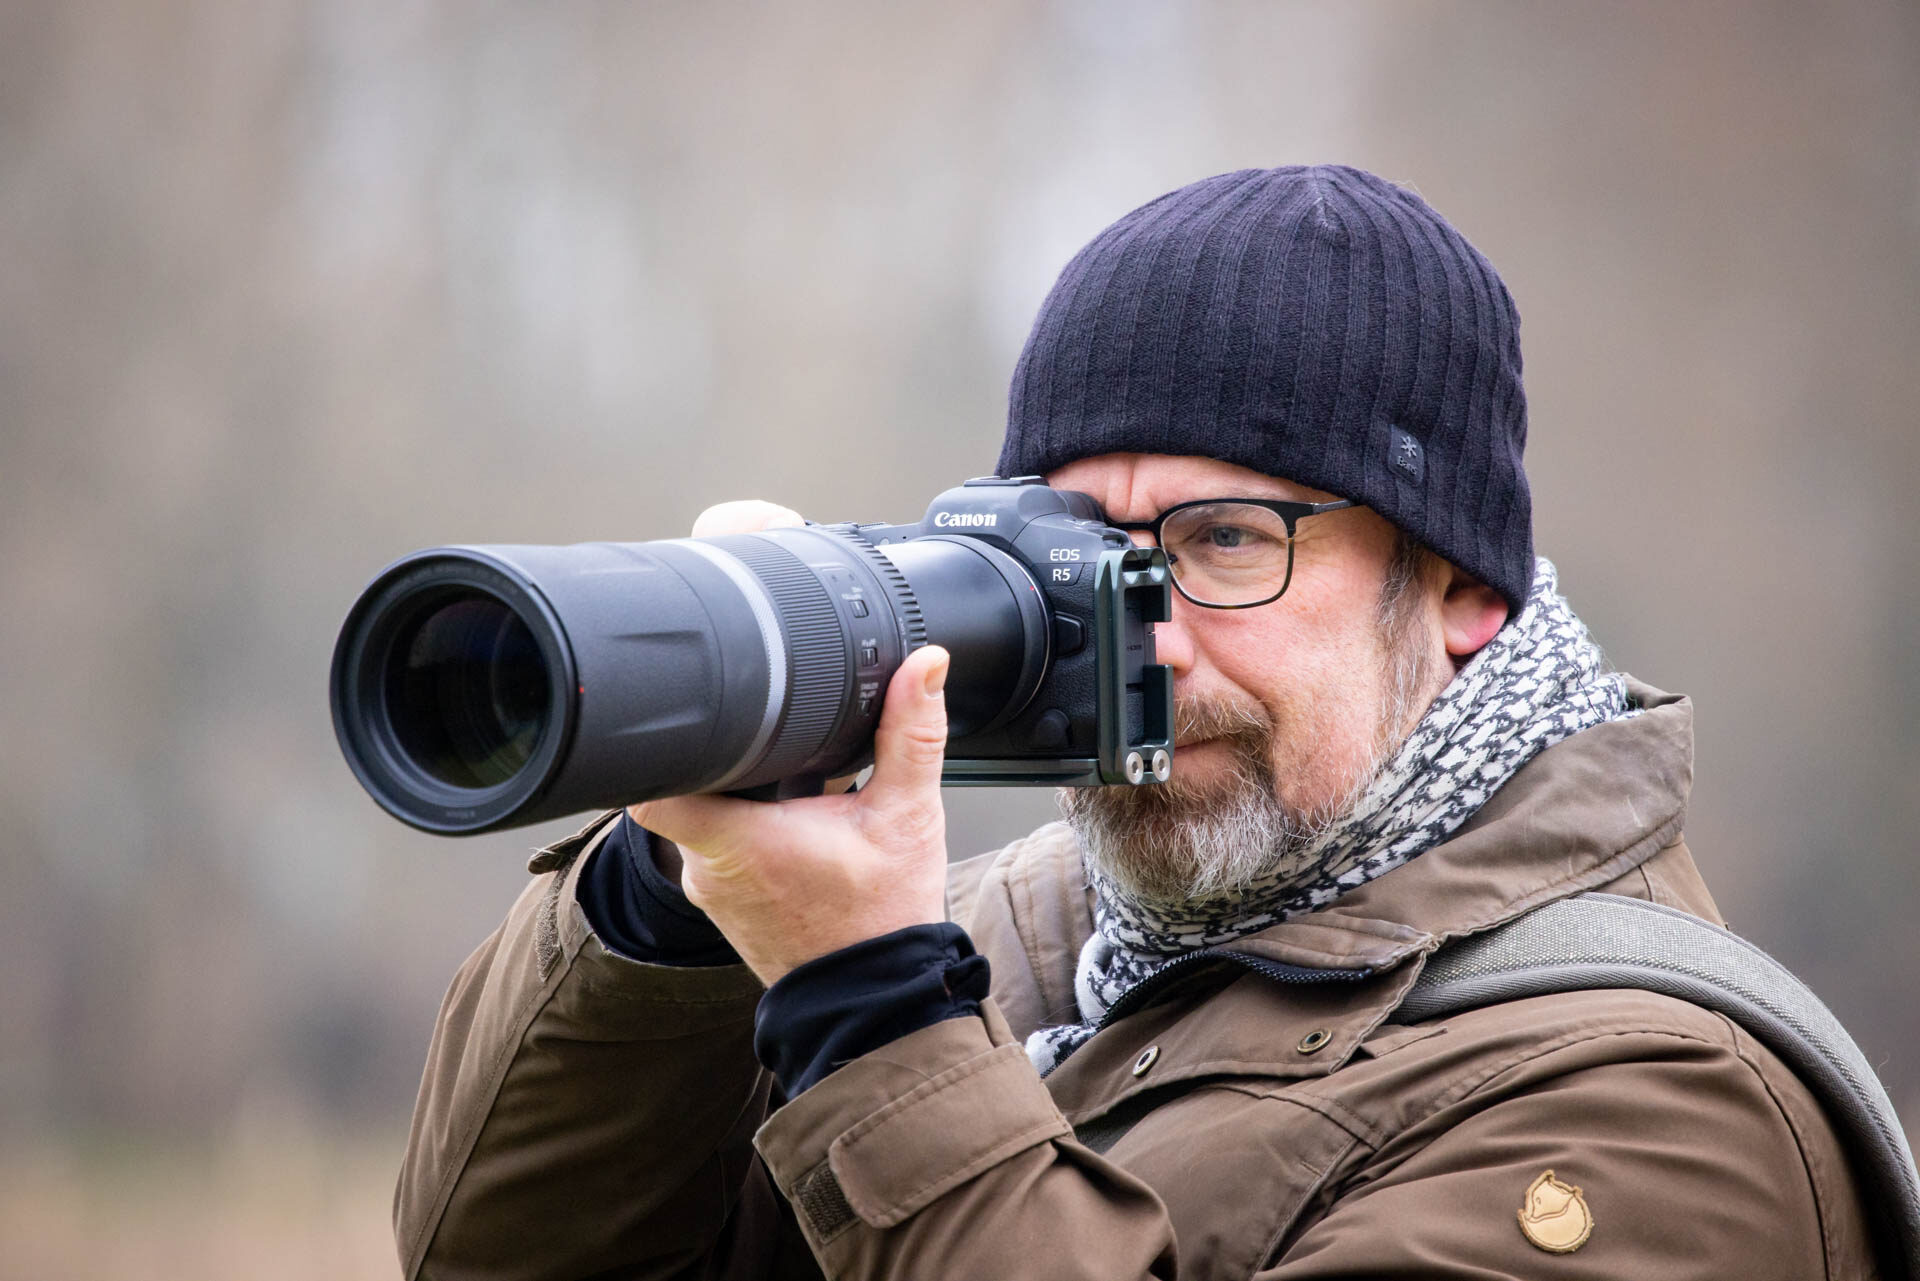
The longer the focal length, the faster the minimum shutter speed needs to be.
There is some room for manoeuvre. Image stabilisation can help. Some people have more difficulty holding the camera steady, and therefore need to use slightly faster shutter speeds.
2. Subject moves too fast
The 1/shutter speed rule, corrected for the crop factor, gives you the minimum shutter speed you should use for sharp photos. You can use slower shutter speeds thanks to image stabilisation.
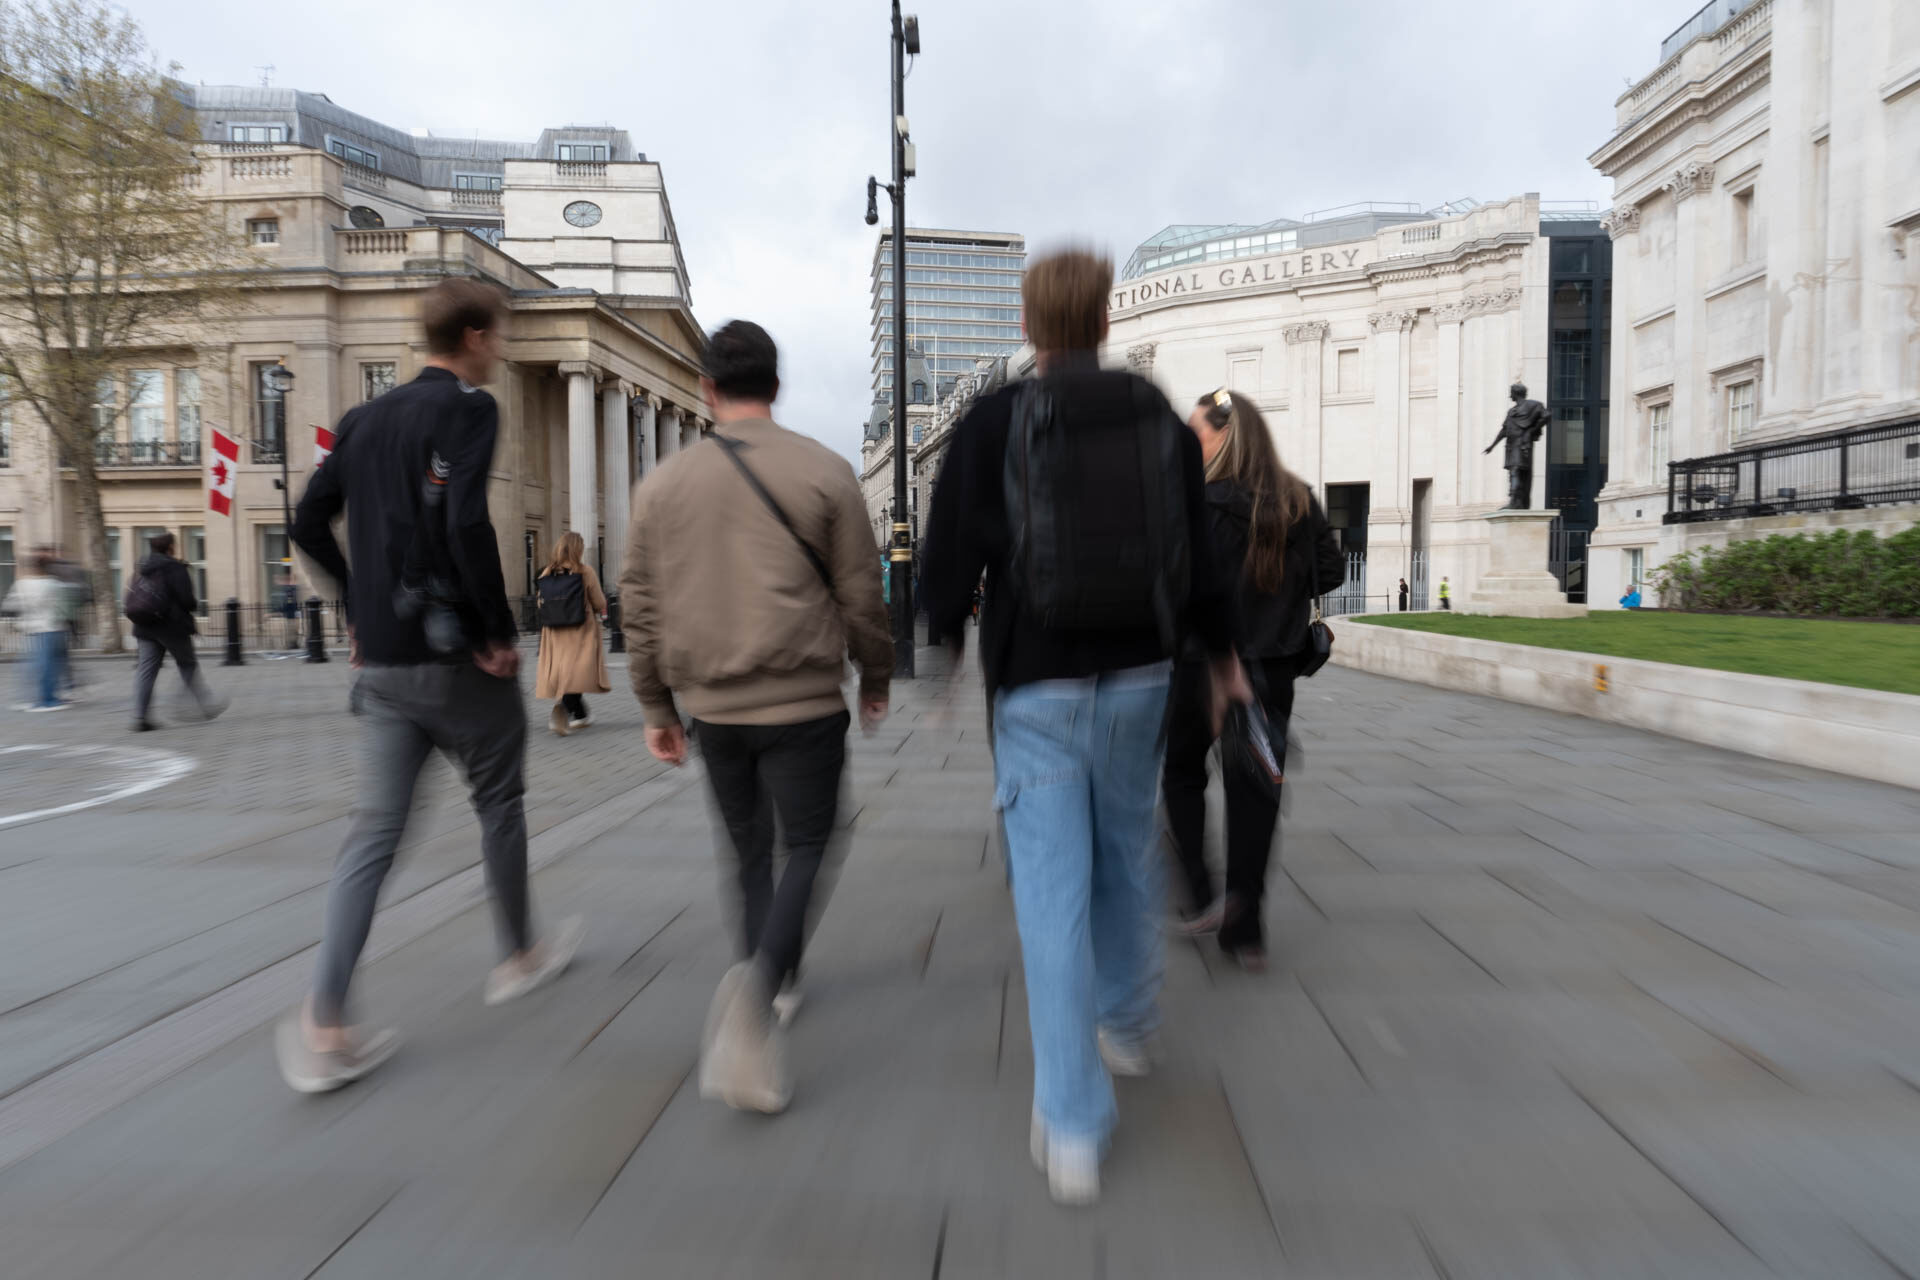
The movement of the subject determines the shutter speed you need to use.
Bear in mind that image stabilisation does not correct movement of your subject. The movement of the subject determines your minimum shutter speed for sharp photos.
Moving people certainly require 1/125 to 1/250 sec. If they are running, it needs to be faster. The same applies to other action photography. A flying bird quickly requires 1/2000 sec. Adjust your shutter speed accordingly.
3. Autofocus on the wrong point
There are many clever focusing methods. From subject recognition to eye detection. But if the wrong subject, or the wrong eye, is selected, things go wrong.

An autofocus mistake. The foreground, rather than the distant subject, has been selected.
Always keep an eye on the point where your camera is focusing. Make sure the right point is selected. Never blindly rely on what the camera chooses for you.
4. Wrong autofocus setting
This follows on from the previous point. Choose the right autofocus setting. This can be a single point, or you can give the camera the freedom to choose the point.
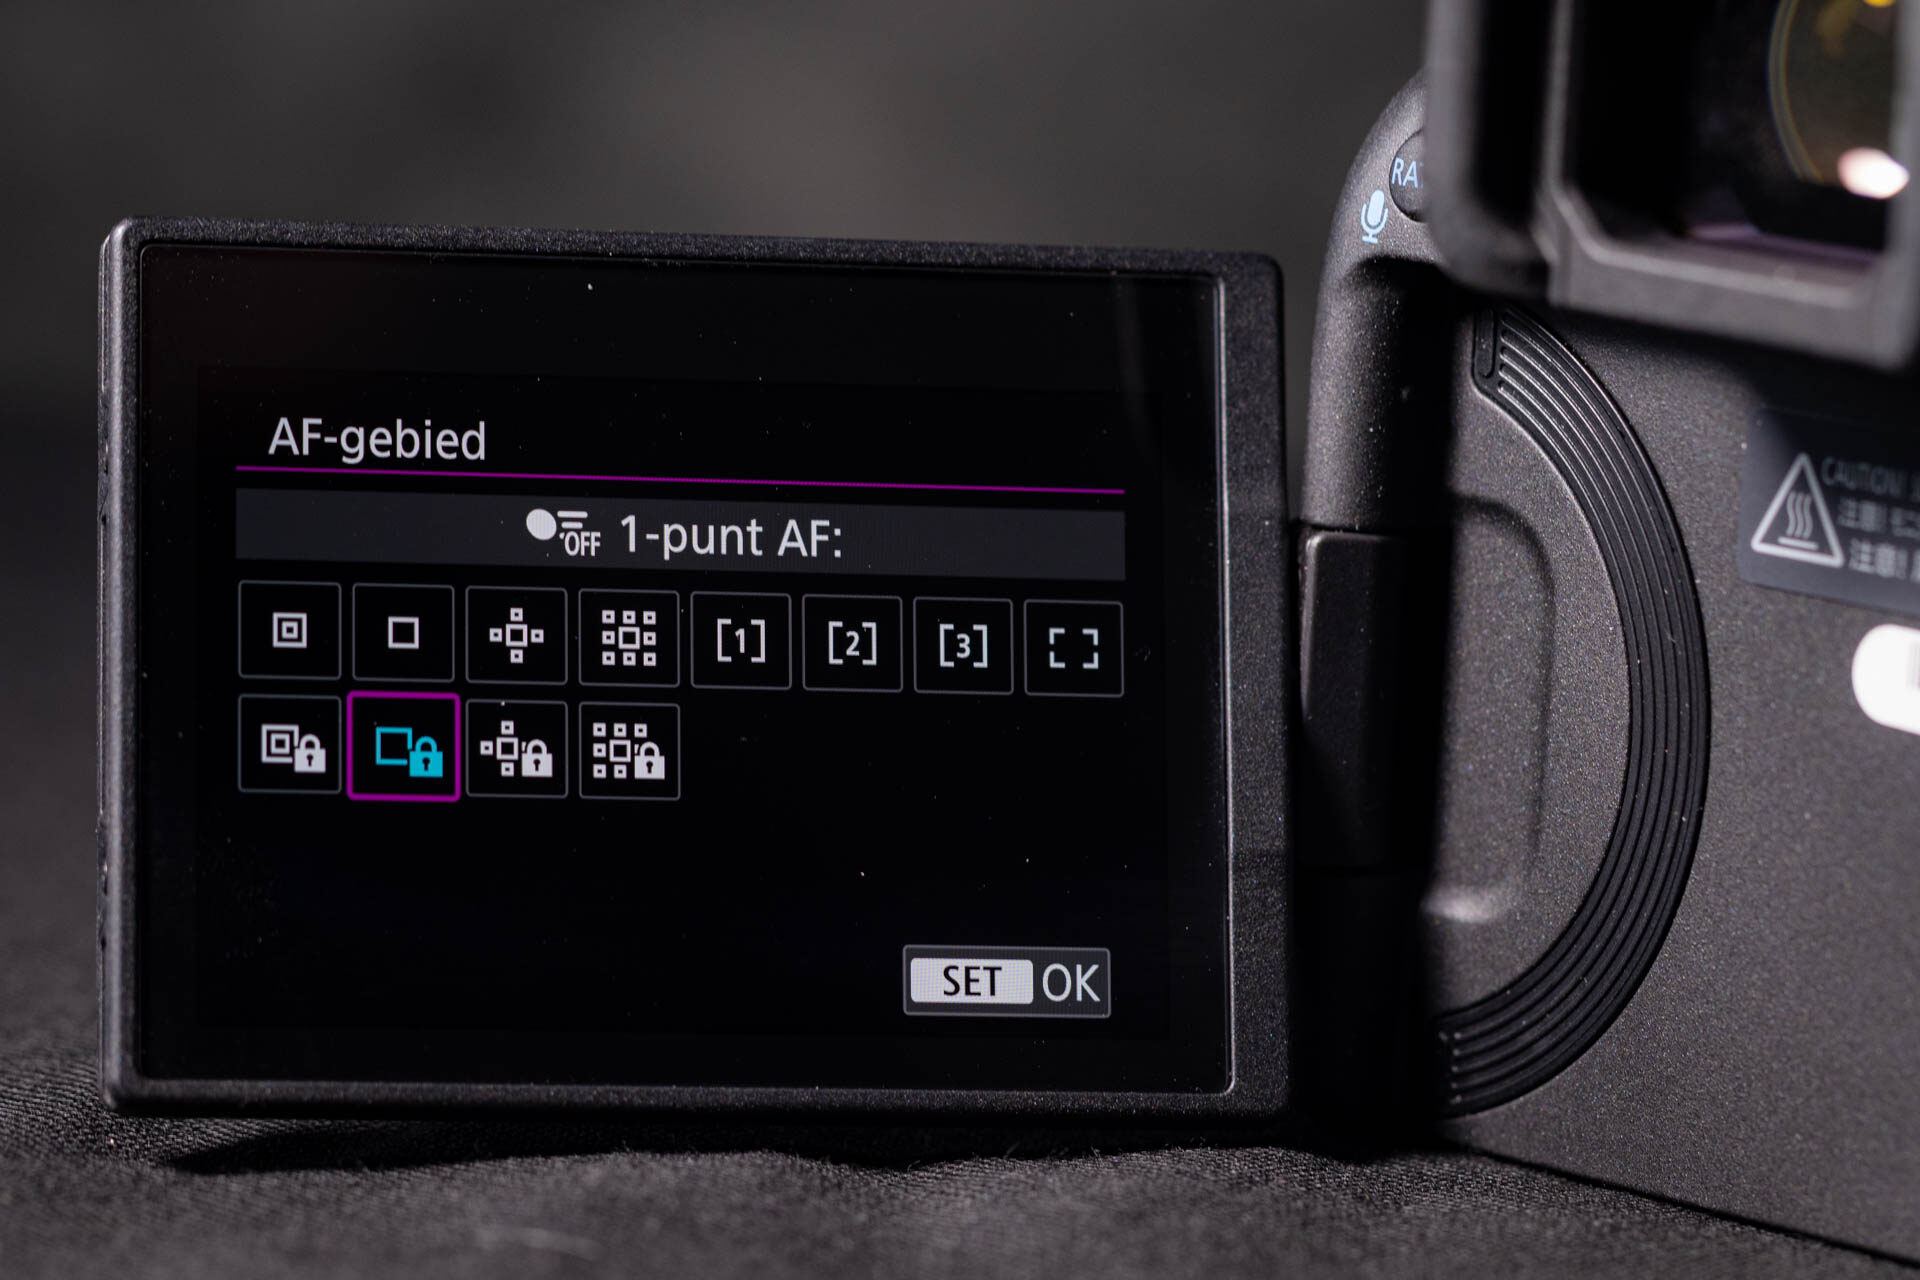
Choose the right autofocus setting for your photography.
There is no single perfect setting. Every situation has an optimal autofocus setting. Learn which one works best for your photography. That means trying things out and learning how your camera responds.
5. ISO value too high
A high ISO value causes noise. If the ISO is set extremely high, it can cause loss of detail. This can come across as blur. Bear this in mind.
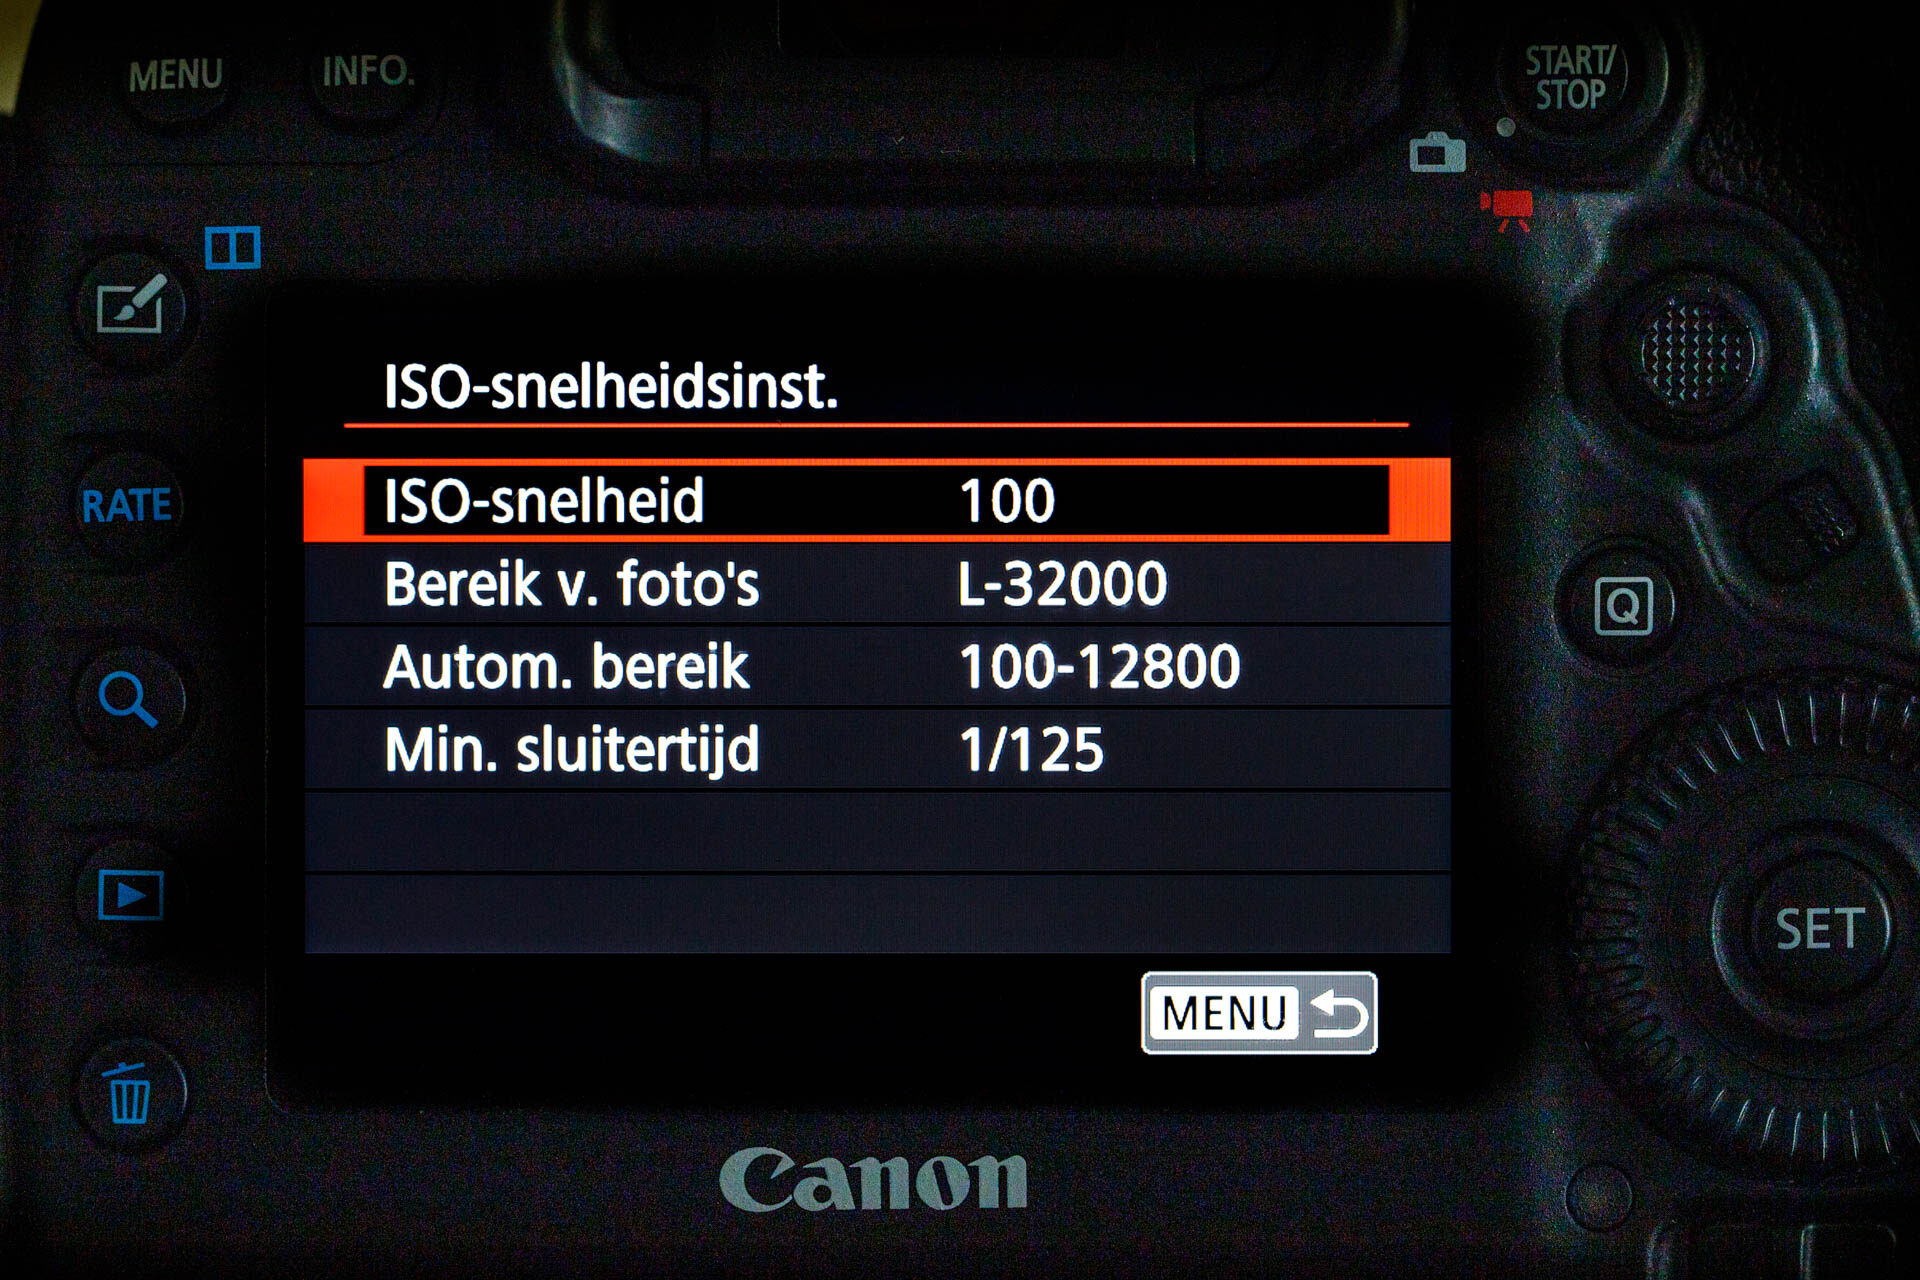
Make sure you do not use your camera's extreme ISO values.
This problem only occurs at extremely high ISO values. In fact, at values that already produce an unusable result. Prevent the camera from using those extremely high ISO values.
6. Poor or unstable tripod
A tripod is there for stability. It allows you to use slow shutter speeds or support heavy equipment. But it must actually be stable, otherwise it does not work.
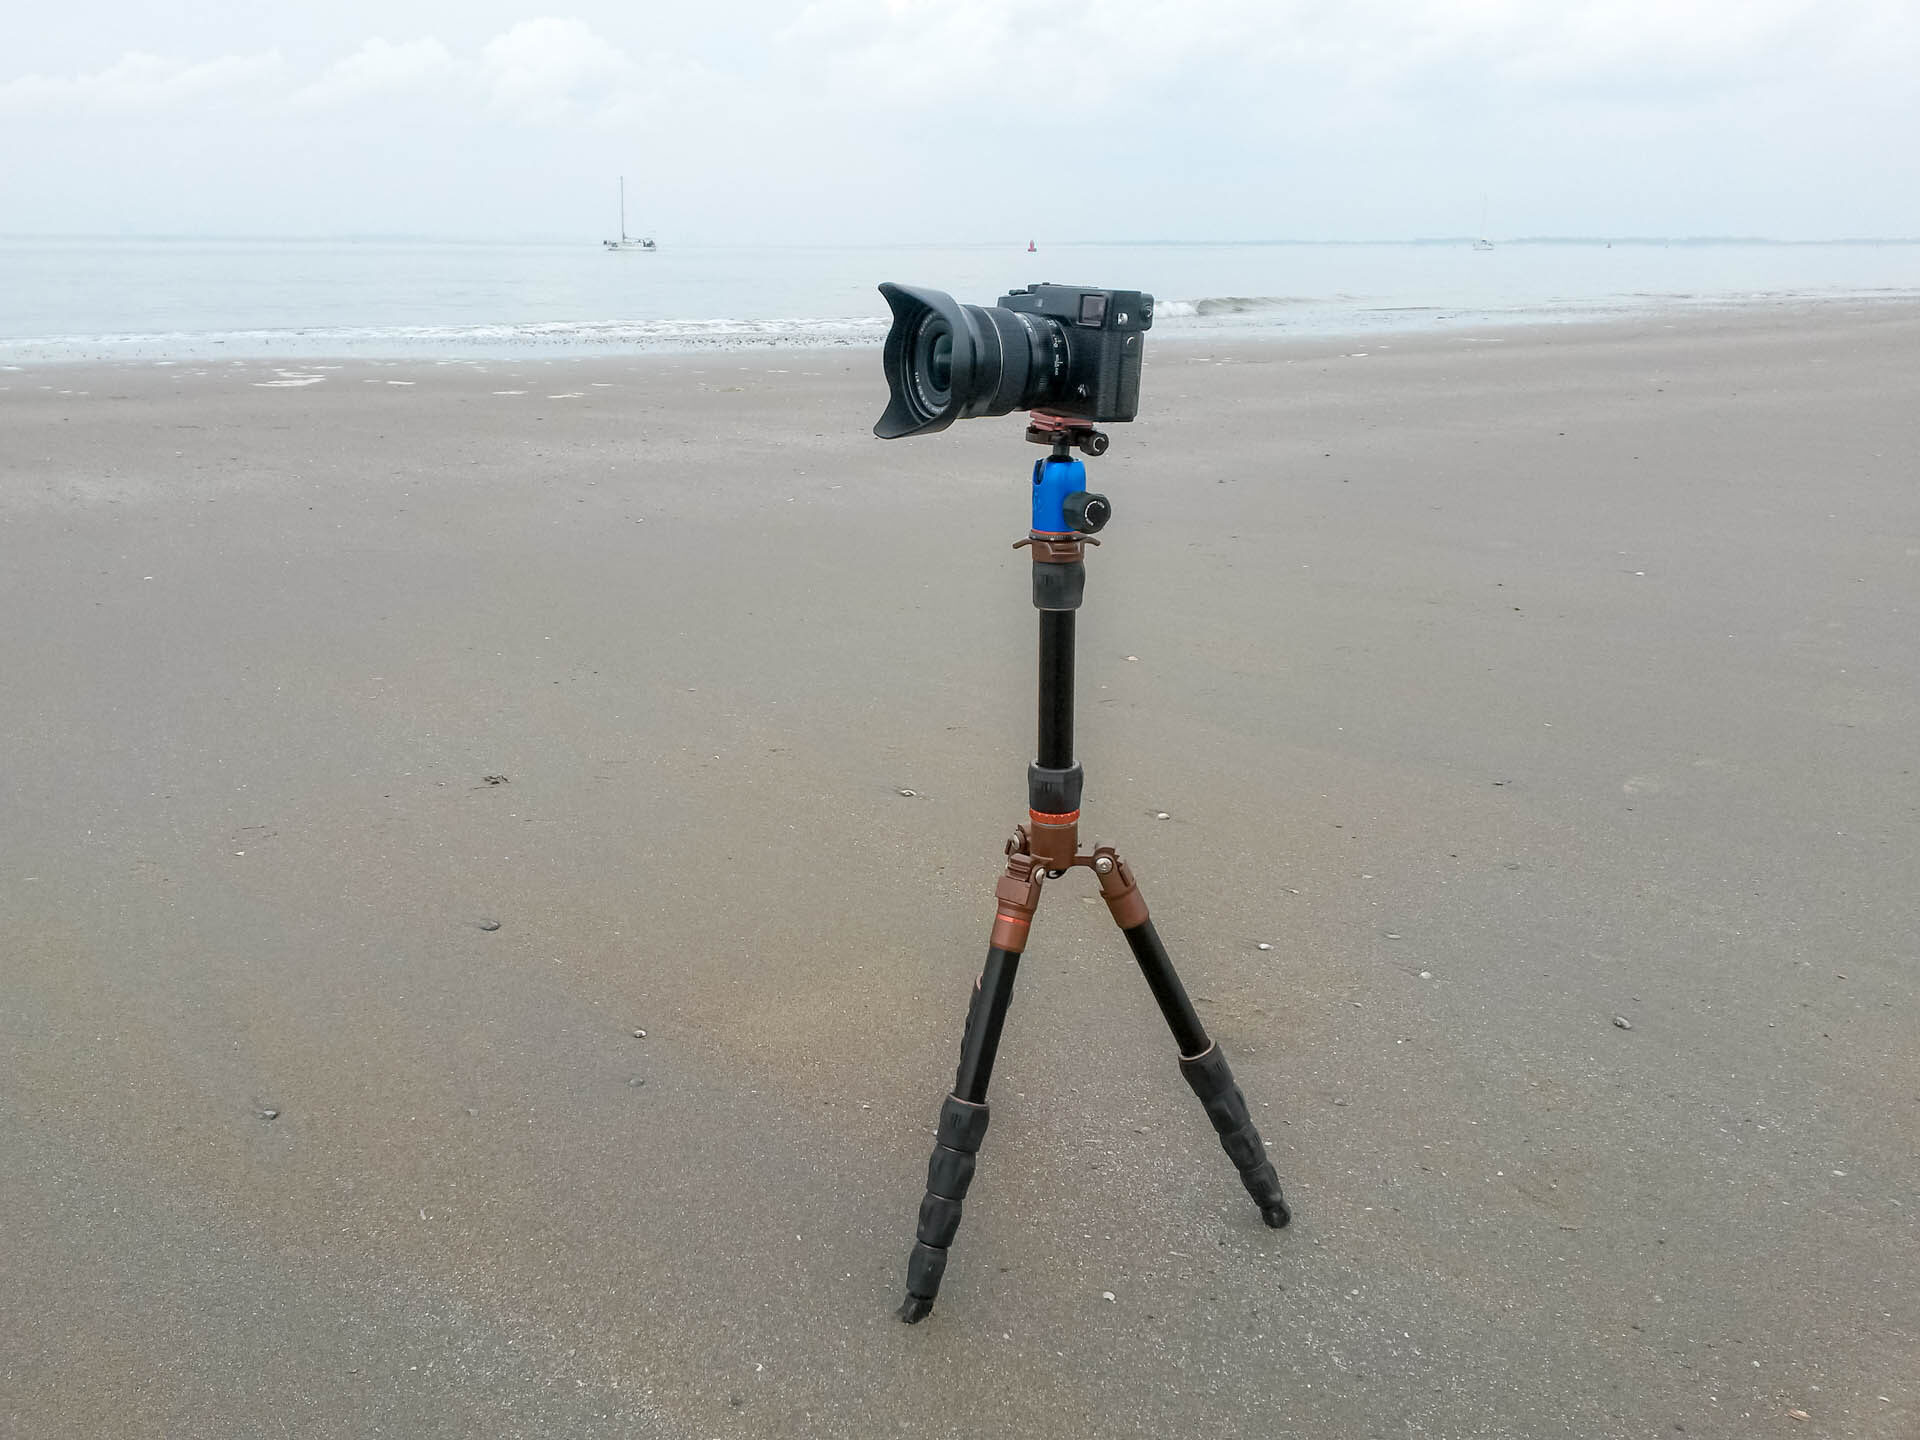
Use the right tripod for your equipment and use it correctly.
Match your choice of tripod to how you use it. Make sure you have a good tripod. Make sure your tripod is suitable for your equipment. Above all, make sure you set the tripod up stably.
7. Image stabilisation on when using a tripod
Modern lenses and cameras detect when a tripod is being used. Image stabilisation is then switched off. If it remains on, blur will occur.
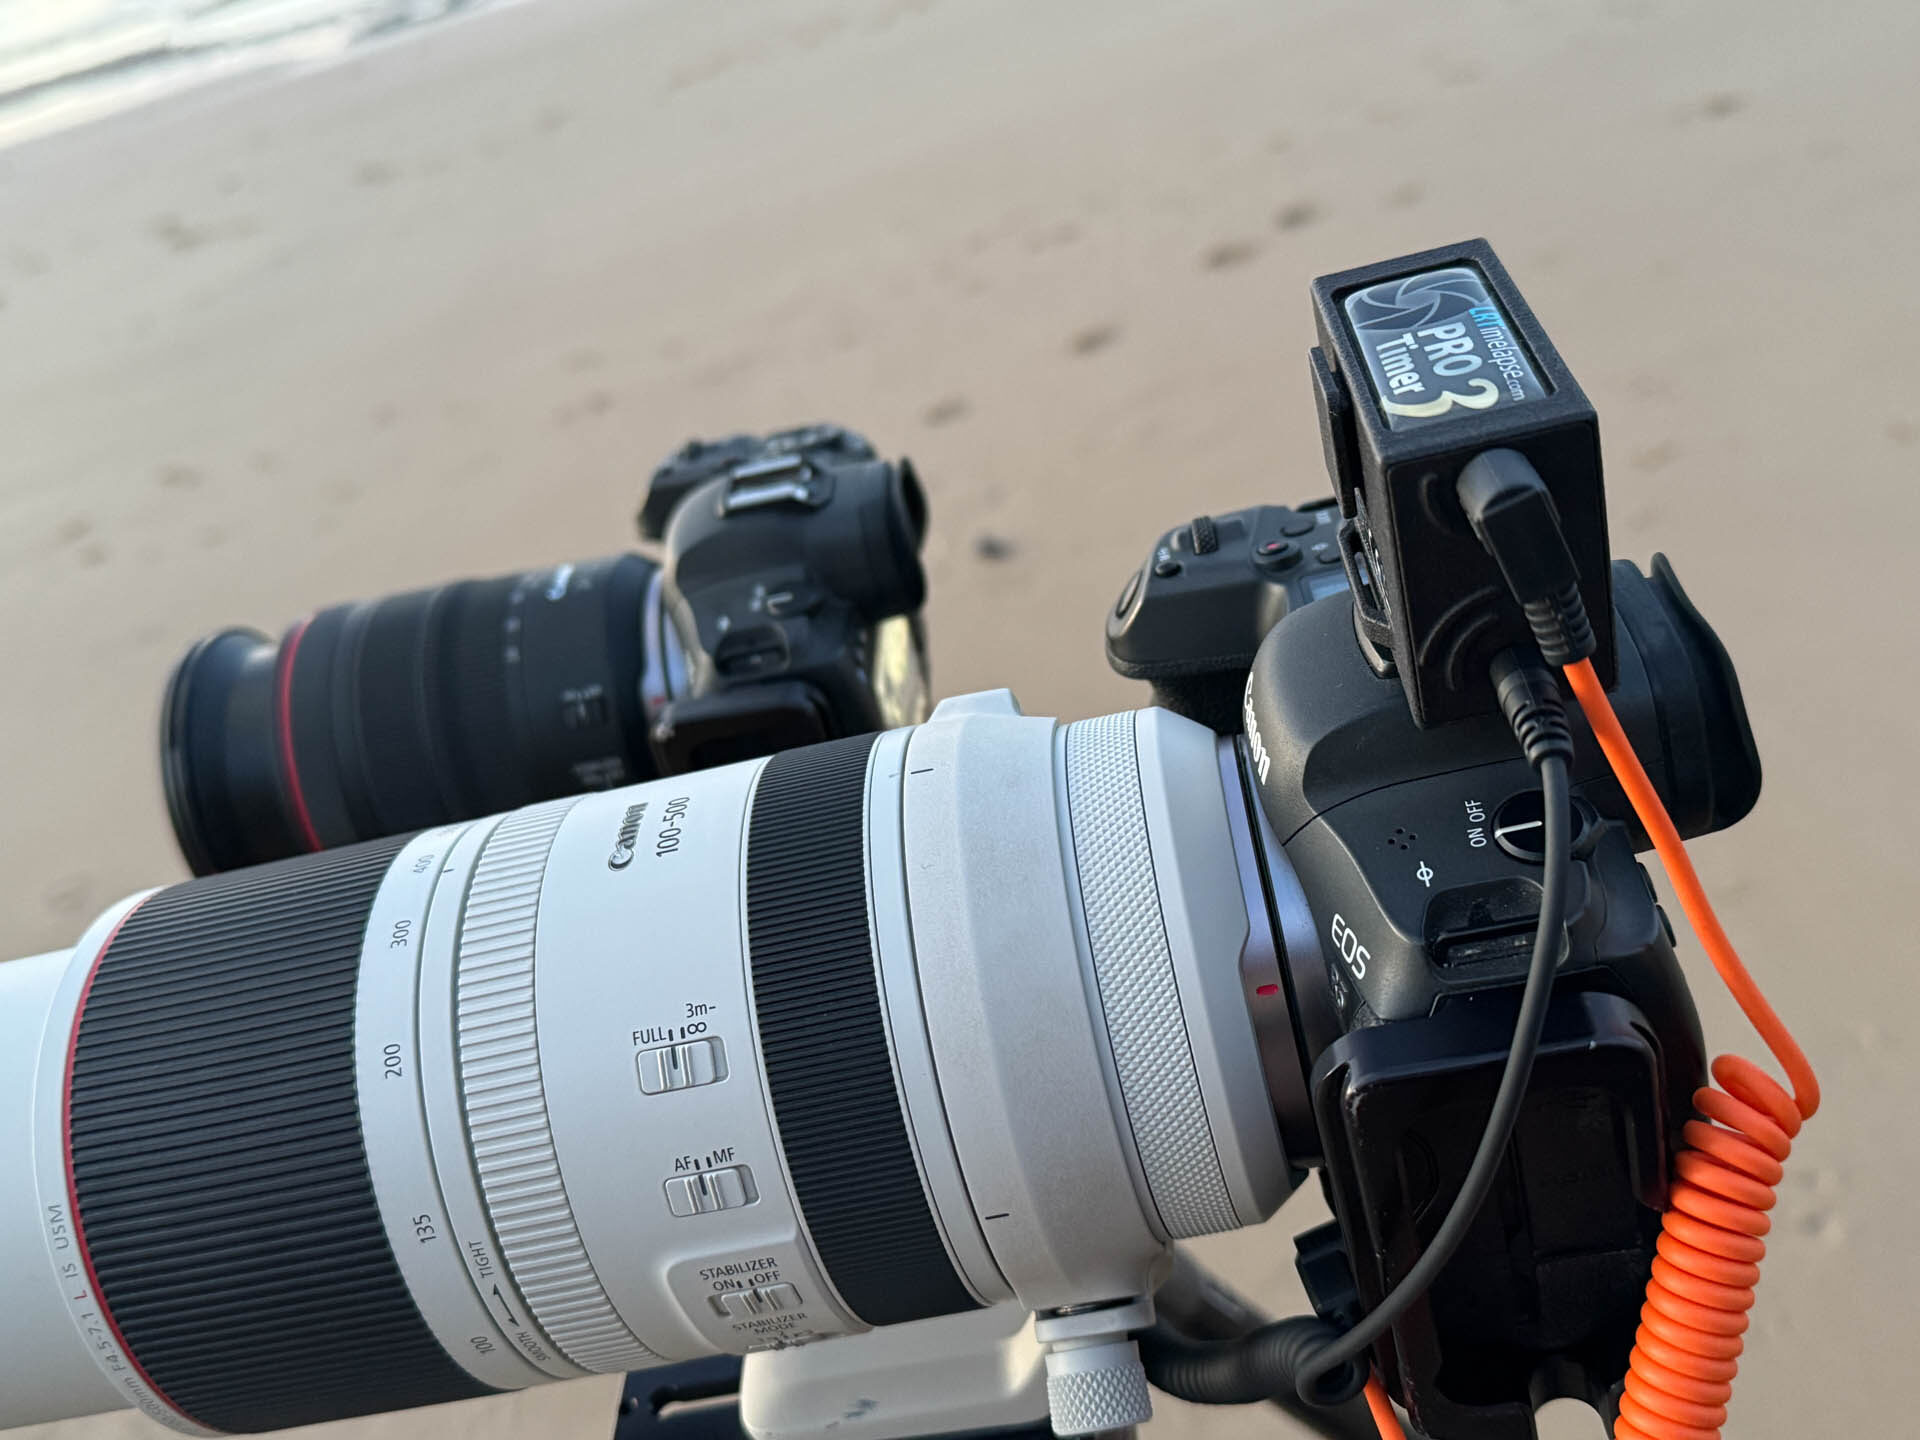
Photograph without image stabilisation when shooting from a tripod.
It is always better to switch off image stabilisation when working from a tripod. Even if the camera detects the tripod, operating the camera can be enough to switch the stabilisation back on.
8. Pressing the shutter button too abruptly
It is important to press the shutter button in a controlled way. If you do it too roughly or abruptly, you can move the camera, which causes blur.
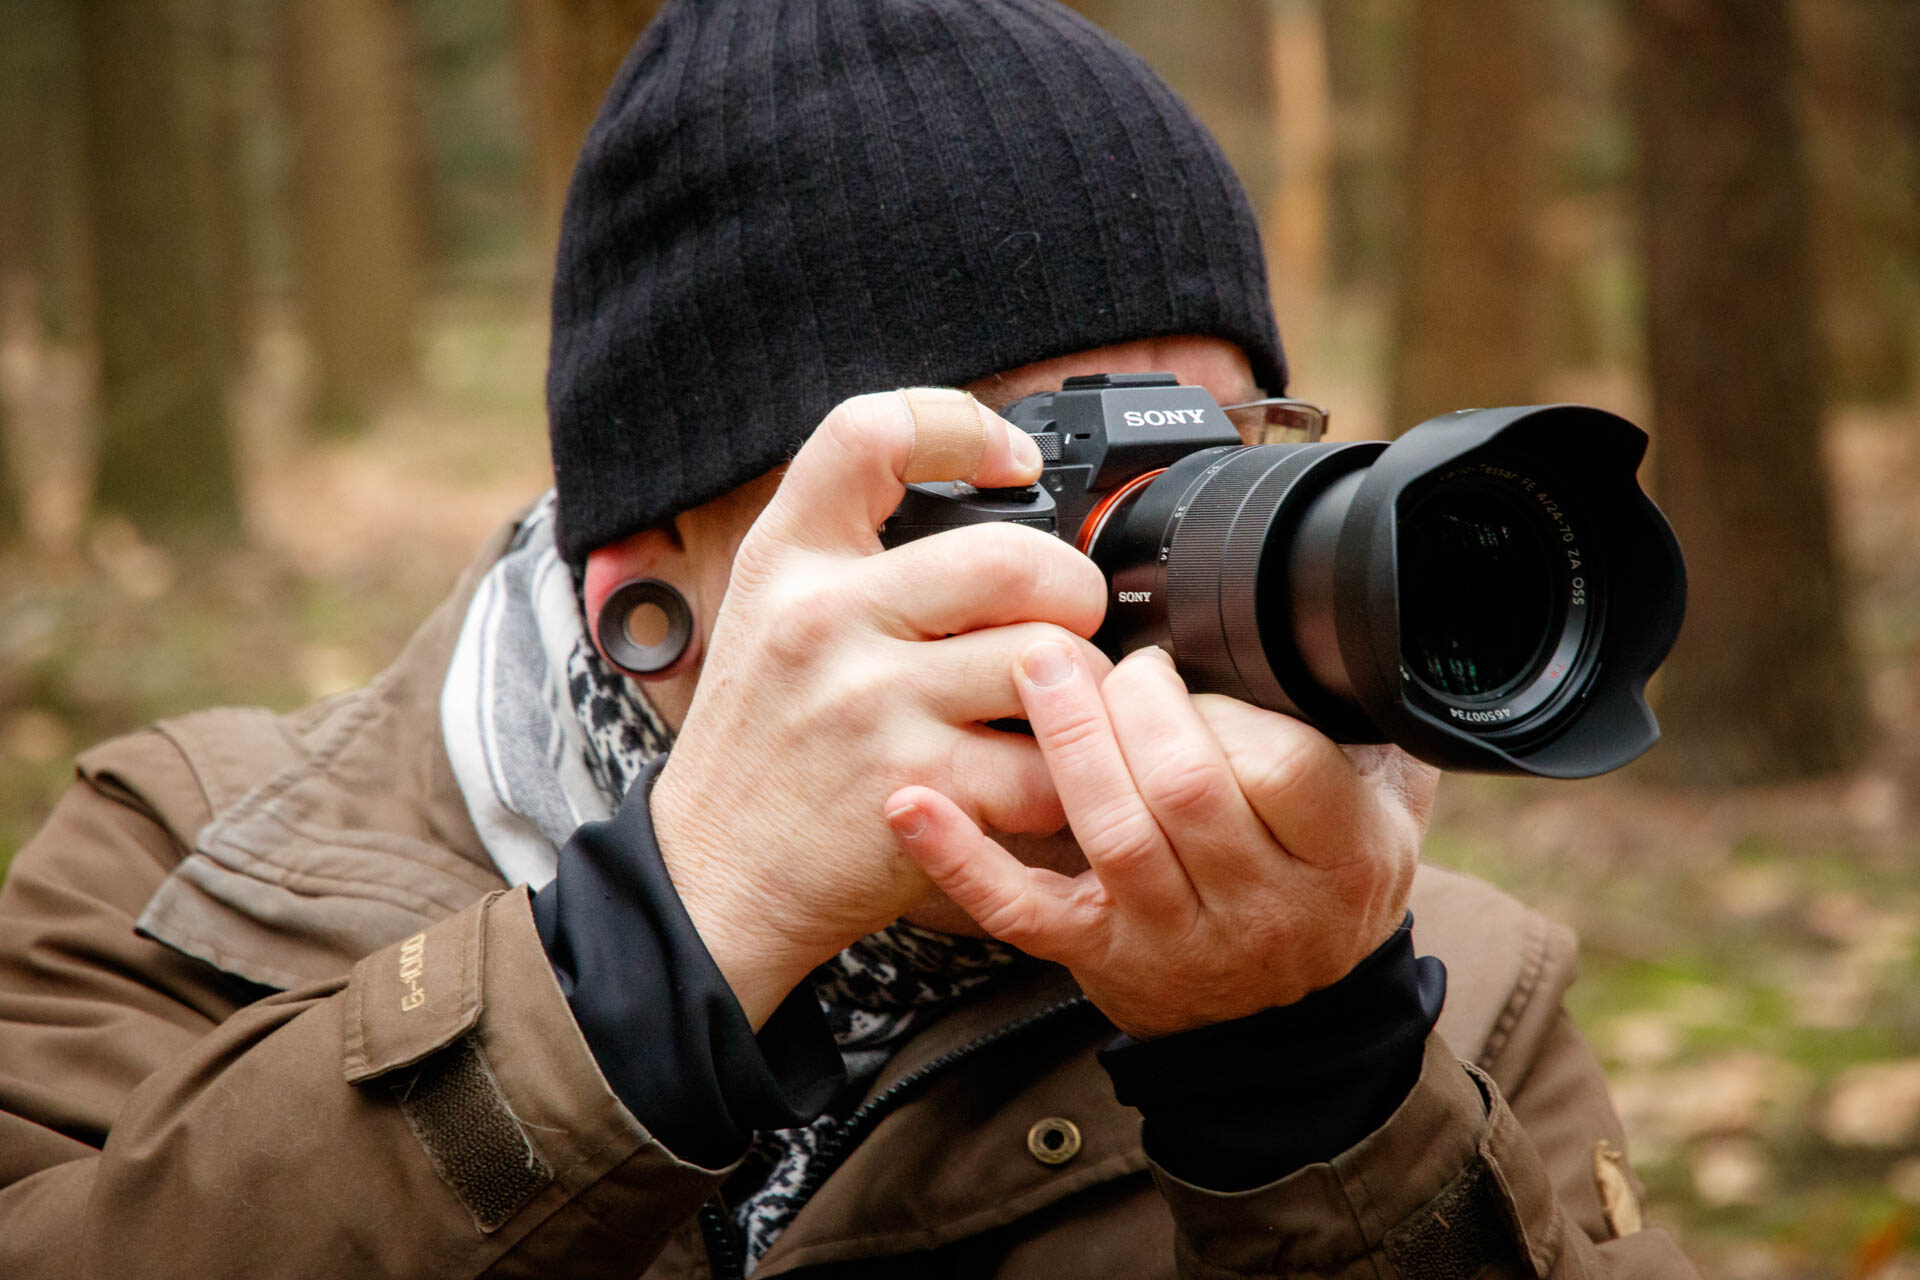
Press the shutter button gently and in a controlled way.
Press the shutter button gently. Practise this too. Avoid pushing the camera down when pressing the button.
9. Autofocus is off or limited
If autofocus is not switched on, the camera will not focus automatically. Always check that autofocus is actually switched on. This can easily go unnoticed, especially when using a wide-angle lens.
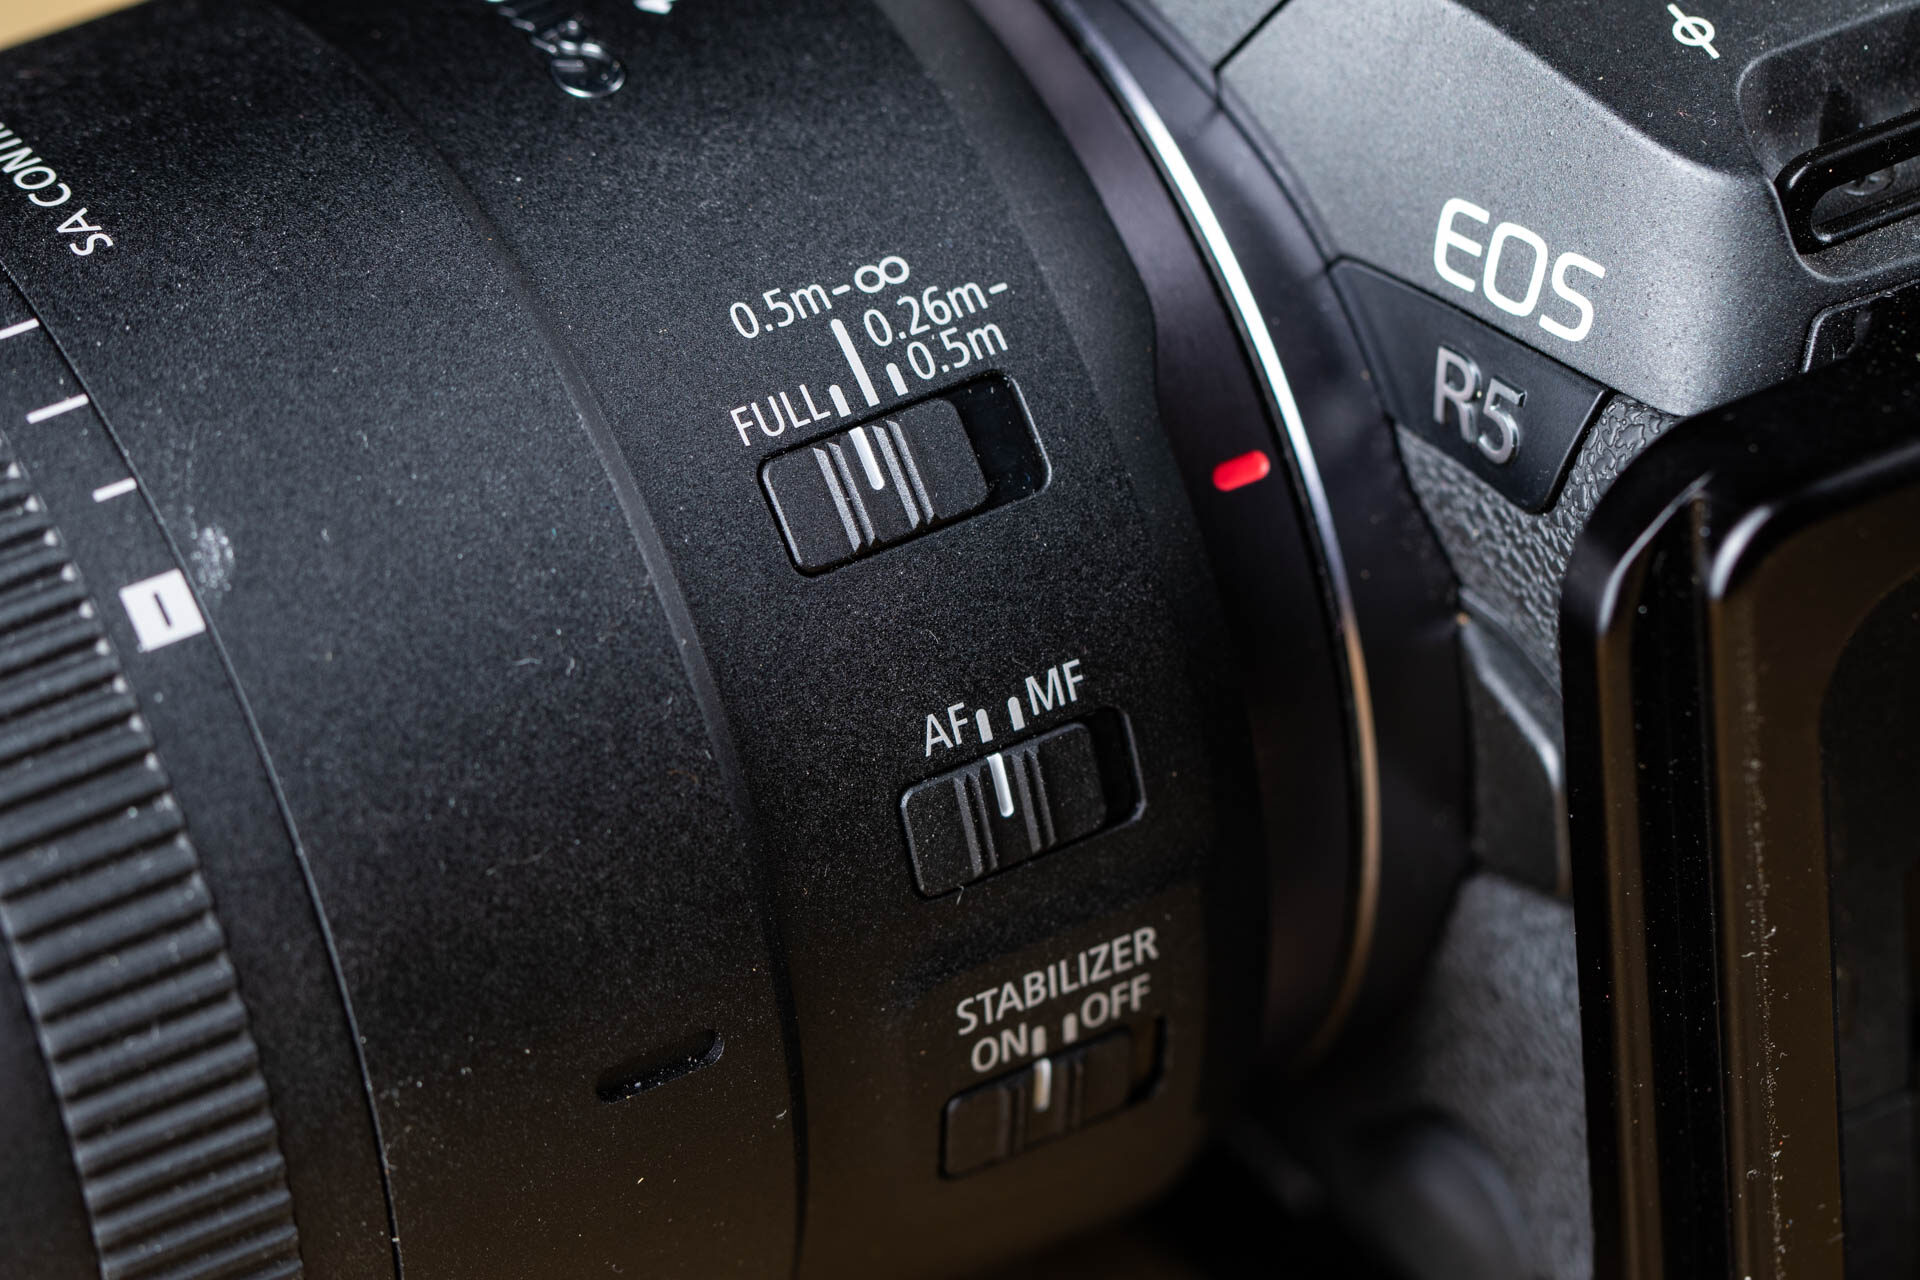
Make sure AF is enabled and check the focus limiter.
Also check the focus limiter, if the lens has one. It limits the range of the autofocus. This is often intended to focus better and faster, but it can also work against you.
10. No stable stance
Your stance while taking photos can make a big difference between a sharp and a blurry photo. If you stand on one leg while taking a photo, you are less stable than when standing on both legs.
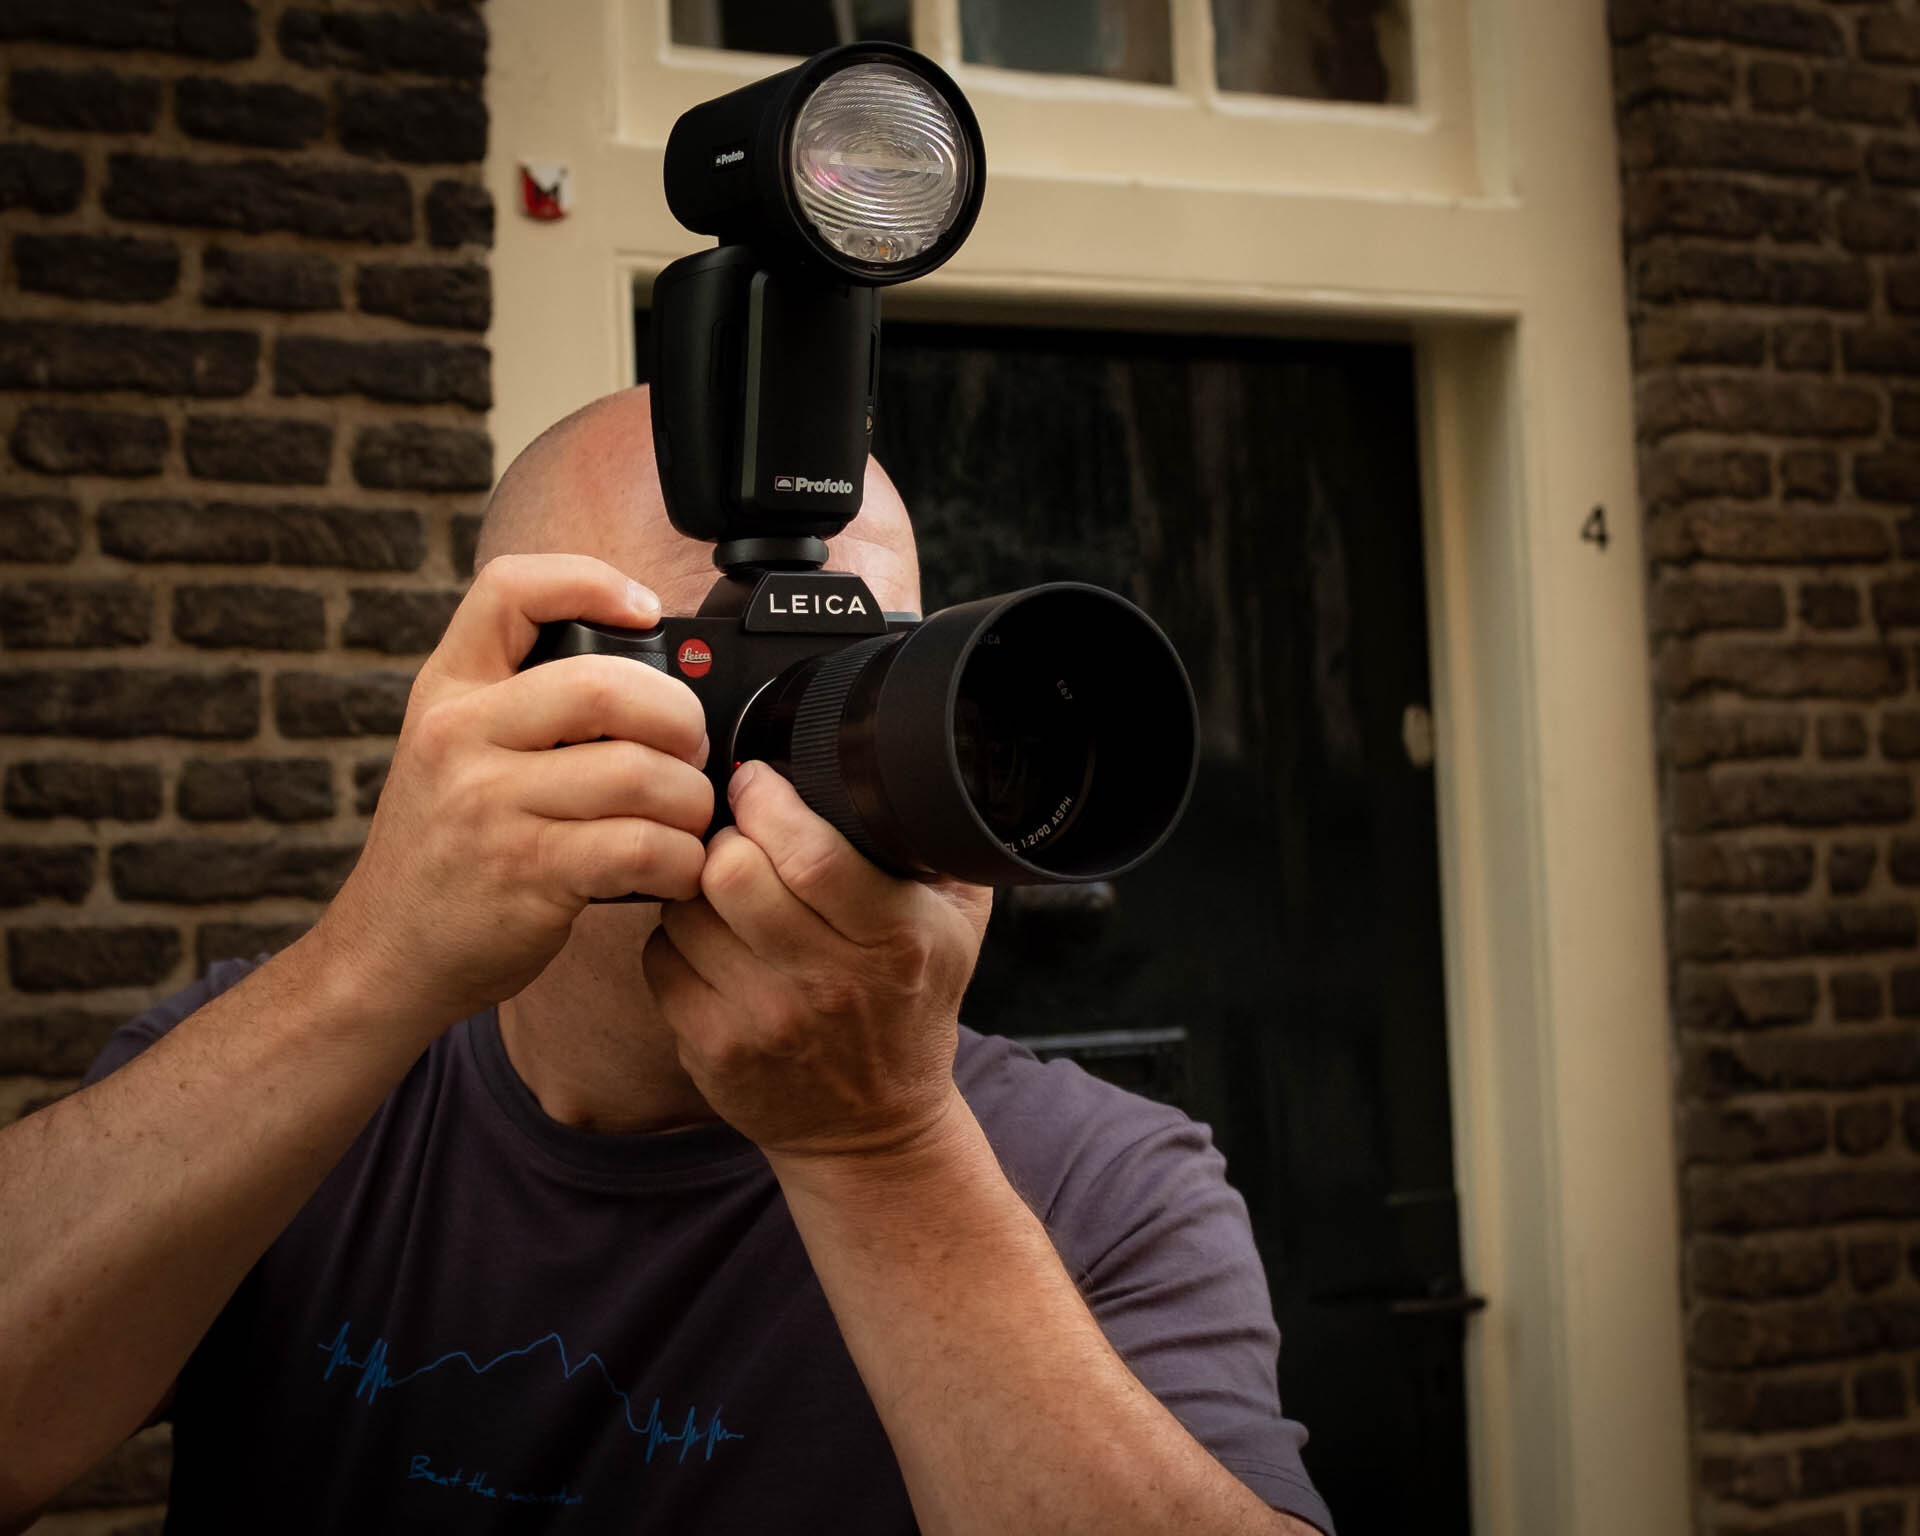
Adopt a stable stance and support the camera correctly.
Make sure you are standing steadily, with good support for the camera. Even breathing can make a difference. Find that stability, and the number of blurry photos can decrease.
It happens to everyone
Do not get frustrated when you occasionally have blurry photos. It happens to everyone to some extent. Always try to find out why they are blurry. Then you can do something about it.
About the author
Nando Harmsen has been photographing for more than 40 years. He specialises in wedding photography and landscape photography. Nando also gives talks, workshops, masterclasses and photo trips, and regularly reviews new and interesting equipment.
You might also like
-
 The sense and nonsense of image stabilisation in a camera or lens
by Nando Harmsen
-
 Using Motion Blur to Your Advantage
by Nando Harmsen
-
 Review: Laowa 10mm f/2.8 Zero-D autofocus
by Nando Harmsen
-
.jpg "15 practical tips for sharper panning photos") 15 practical tips for sharper panning photos
15 practical tips for sharper panning photosby Huub Keulers
-
 Changing autofocus behaviour in a Canon camera
by Nando Harmsen
-
 Sharpness, where do you place it and how deep?
by Erik Nevels
9 comments
-
 DIRK VAN DAMME wrote on Tuesday 25 August 2026 at 12:37 | reply
I myself am sometimes amazed at how quickly I get out-of-focus shots
Translated from Dutch.
in M mode you have the most control, but it is also easy to quickly make an error in judgement.
Still more fun photographing in M mode!!!!!!!!!!!
So lots of experimenting and what the purpose is.
Loyal reader
Dirk -

-
 Govaerts wrote on Tuesday 25 August 2026 at 12:39 | reply
When I photograph using a tripod, I use the hyperfocal point for my focusing. Then I set the lens to MF mode.
Translated from Dutch. -
-
 Bert van Veen wrote on Tuesday 25 August 2026 at 14:07 | reply
I only use 1 focus point. Once took a photo and the camera focused on the wrong subject, photo ruined. Couldn't do it over again, was too far away. So just 1 focus point aimed at the subject, focus and press the shutter and done.
Translated from Dutch. -
 Donald Willemsen wrote on Tuesday 25 August 2026 at 14:13 | reply
At point 9 I read the following: 'If autofocus is not switched on, it is not possible to focus'
Translated from Dutch.
At the risk of being accused of nitpicking, I dare to state that this claim is incorrect. You can still focus manually, after all. -
-
Donald Willemsen wrote on Tuesday 25 August 2026 at 14:48 | reply
Great, Nando! 👍👍. The article is also a good reminder to check where I went wrong when I have blurry photos. For me, it is usually the wrong choice of AF method and/or motion blur.
Translated from Dutch.
The article also discusses turning off the IBIS or image stabilisation of the lens when working on a tripod.
During the solar eclipse I took all the photos on a tripod and I did not think to turn off the IBIS. I did not have any problems with this in terms of blurriness. I did apply a 2-second delay when releasing the shutter (electronic shutter). -
 André Kremer wrote on Tuesday 25 August 2026 at 20:53 | reply
I almost always use eye detection when focusing. Usually works well. But recently I still ended up with blurry photos because of portraits with eyes in the background.... Had the system lost track (well, the eye).
Translated from Dutch.

Have your say
Please note: Articles older than a week can only be commented on by signed-in visitors.Would you still like to comment? sign in or create a free account.
Become a better photographer every week
A practical photography tip in your inbox every week.
39,077 photography enthusiasts already receive the tips! More about the weekly mail. Or keep up to date via  Facebook.

Elja Trum
Photofacts; everything to do with photography!
Would you like to take better photos and keep up with what is happening in photography? Photofacts publishes articles that teach you something about photography — from a product announcement to a practical shooting tip or a look at a website. Photofacts covers photography every day and is a hobby project of Elja Trum's that got out of hand. The articles are written by a team of volunteer authors. If you would enjoy writing one or more articles for Photofacts, do get in touch.More about PhotofactsPhotofacts is made possible in part by
