

When your camera has too many custom buttons
Monday 23 June 2025, 17:17 by Nando Harmsen | 5,221 views | 15 commentsThis article was translated from Dutch with the help of AI. Read the original.
Most cameras now have many buttons that you can set to suit your preferences. What do you do when you have too many customisable buttons? How do you use them best? I have a few suggestions.
Have you got a new camera? Setting it up is the first thing you should do. Go through the menu and set everything to your own preferences. Image quality, white balance, autofocus, frame rate, metering method and user information.
Many things are relatively simple and only need setting once. You change other things depending on the situation. These include white balance, autofocus and frame rate, to name a few. Sometimes you have to dive into the menu again.
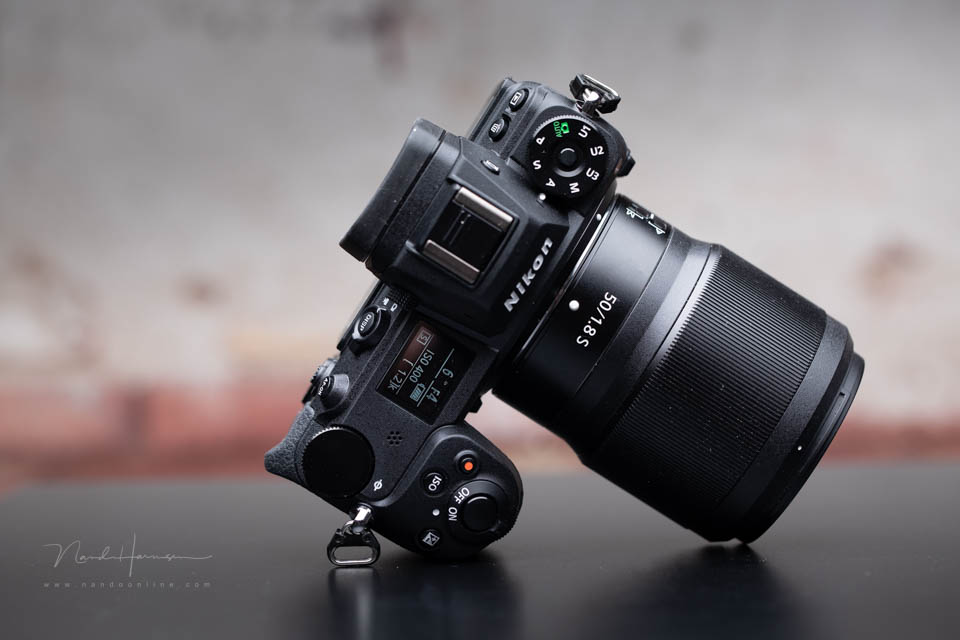
Cameras also offer ways to change settings quickly. A quick menu where you can add a selection of settings, or My Menu. These two complement each other, so all the important things are within easy reach.
You can also assign a custom function to buttons. This is a function of your own choosing, which can differ from the one the manufacturer selected for you. This puts your functions directly under a button. It's quick and convenient.
What if you have so many buttons available that some are left over? What do you do with them? There are a few options to choose from.
1. Leave the default function assigned
The simplest option is to use the default functions chosen by the manufacturer. Chances are you don't need them, which makes the button more or less useless to you.
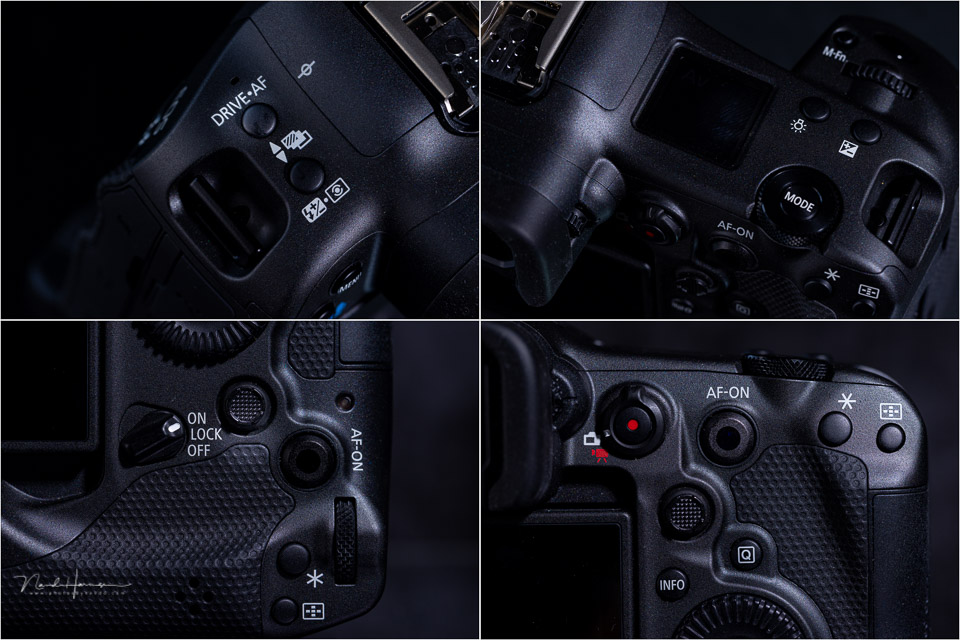
Is there a function assigned to a button that you don't use? Pressing it by accident can change your settings. That can result in failed or incorrect photos. Imagine suddenly shooting small JPEGs instead of raw files?
It can be frustrating and difficult to work out what happened. Especially because you have probably forgotten what the manufacturer assigned to that particular button.
2. Disable the button
You can solve the problem above by simply disabling the buttons with unwanted functions. If you press the button, nothing happens. This prevents settings you don't want from being changed.
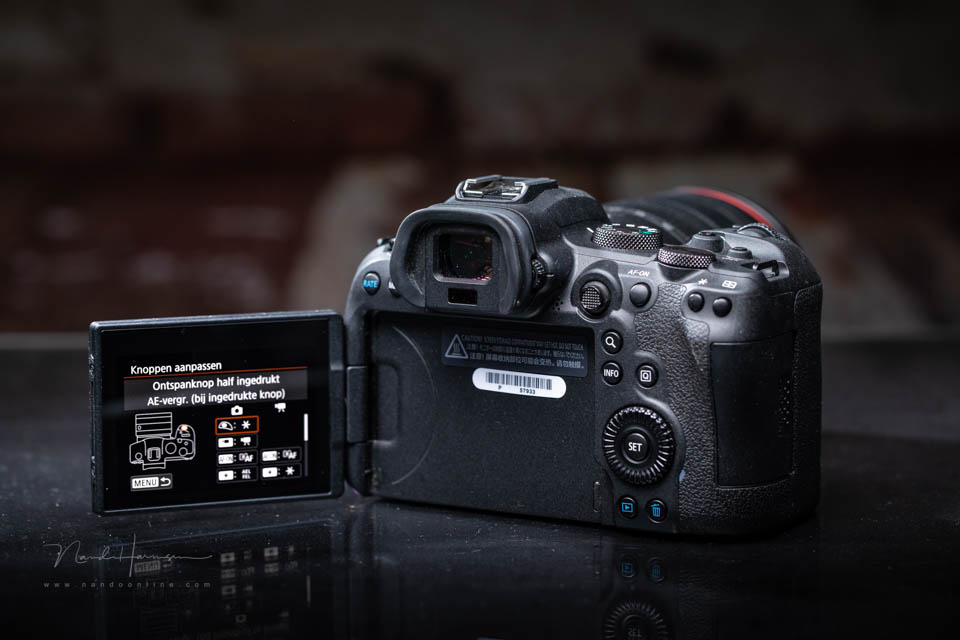
In fact, the button might as well not be there at all. In other words, you aren't using the options available to you. If that works for you, there is of course no problem with it. There are other options too.
3. Choose something at random
You can also assign the buttons with unwanted functions a random alternative function. Go through the list of options and choose something that seems useful to you.
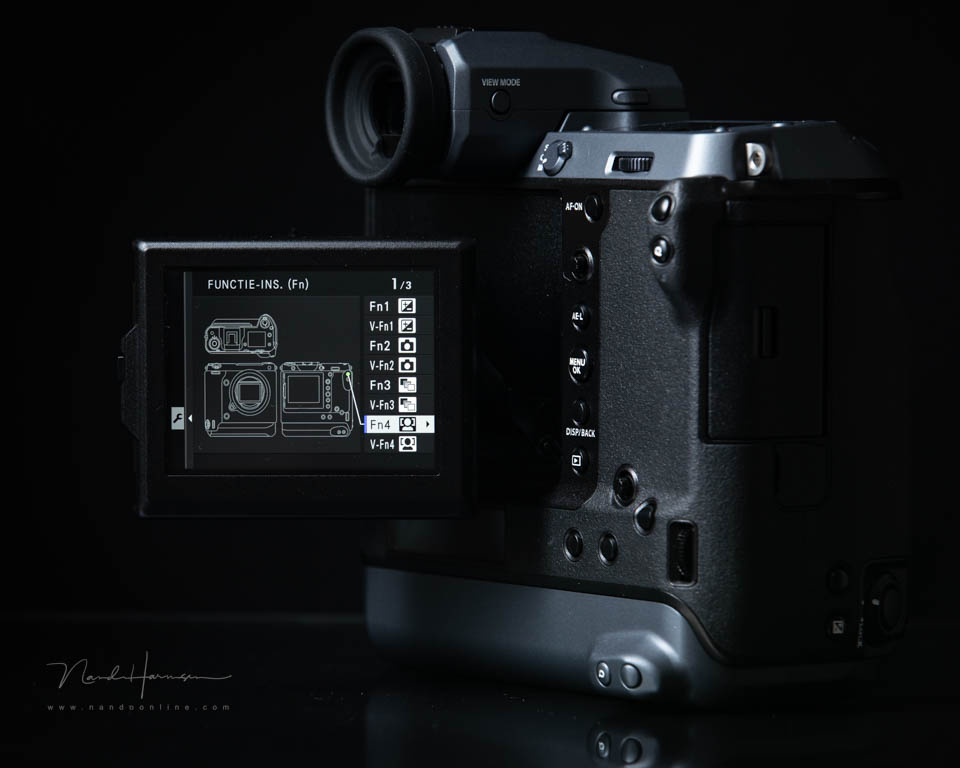
If you use this approach, be critical. Don't choose something that could cause problems if you press the button by accident. If it's a function you hardly ever use, you're more or less in the same situation as in point 1.
4. Use the same functions
You can also choose to programme a frequently used function under several buttons. For example, autofocus under three buttons, so you can use whichever button you like for that function.
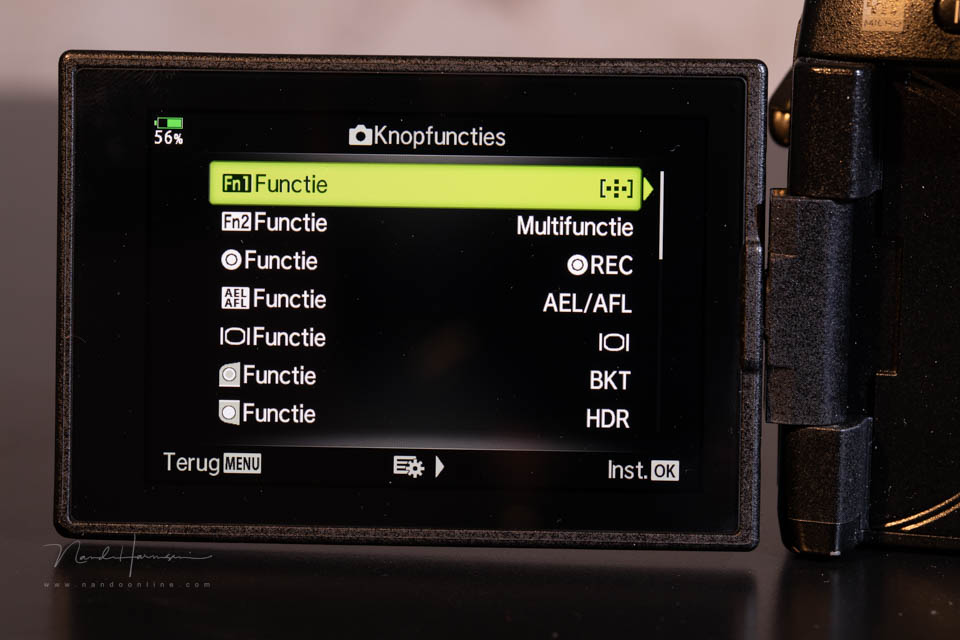
This prevents buttons from being left unused, or having functions assigned to them that are useless to you. The disadvantage is muscle memory. If you later want to add an extra function to a button, the habit can work against you.
Nothing is permanent
However you set up or disable the unused buttons, nothing is permanent. As you use the camera more and more, you develop as a photographer. You discover methods or settings that work best for your photography.
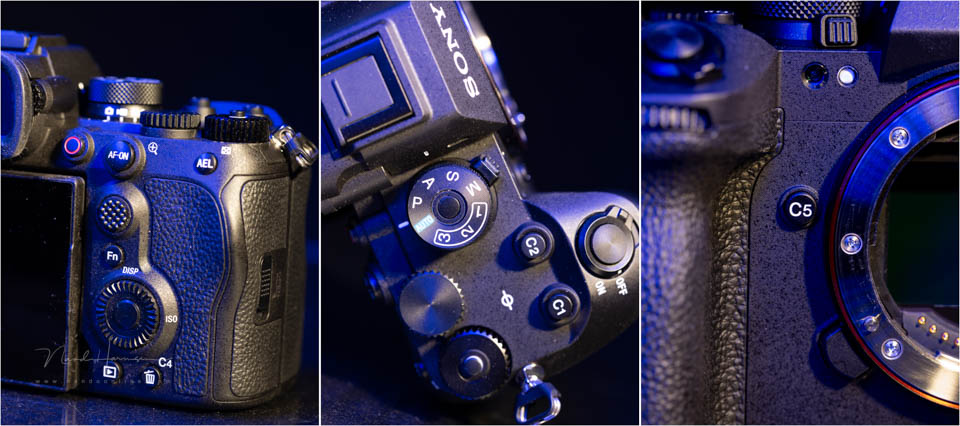
That means a function that seems useless to you now may become essential later. In other words, you can always change the functions you programme later. The settings become increasingly personalised. Give it time.
How do you set up your buttons?
Setting up a camera is very personal. What one person likes may not work for another. There is no right or wrong, only preferences.
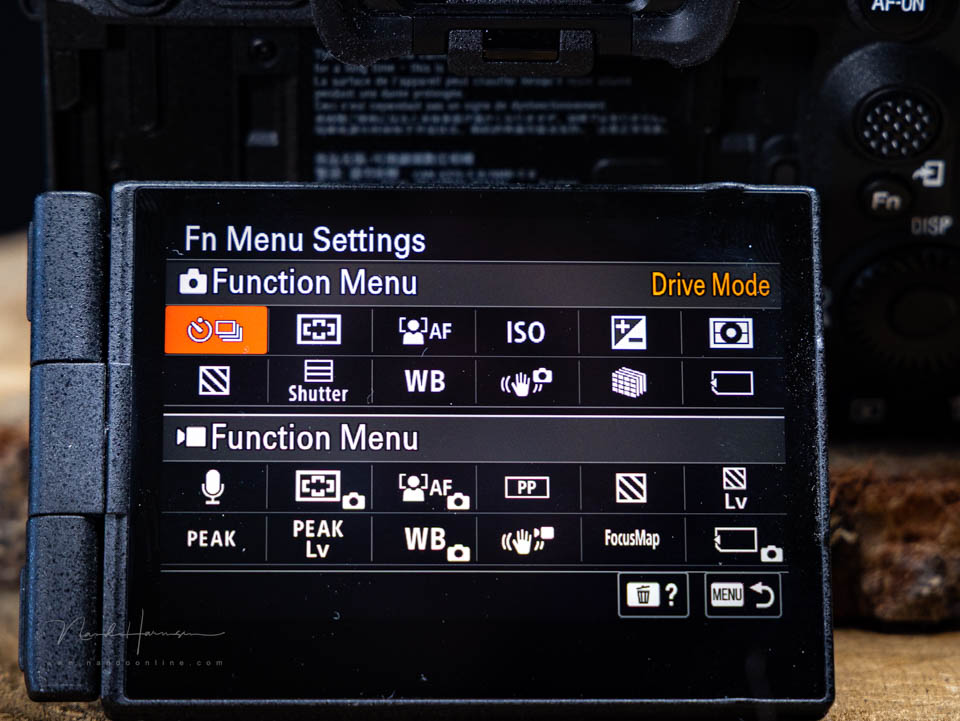
It is always useful to see how other people have programmed their buttons. You may discover options you didn't know existed. Use their experience and knowledge to your own advantage.
Have you set up buttons for specific functions? Tell us about them in a comment below this post. Name your camera, the function and the button. Also say why it works for you. That way we can all learn from each other.
About the author
Nando Harmsen has been photographing for more than 40 years. He specialises in wedding photography and landscape photography. Nando also gives talks, workshops, masterclasses and photo trips, and regularly reviews new and interesting equipment.
You might also like
-
 Setting tip: eye detection combined with back button focus
by Thijs Schouten
-
 Having someone take a photo? Make sure everything is set up
by Nando Harmsen
-
 The custom settings shortcut on the Canon EOS R5 and R3
by Nando Harmsen
-
 Photoshop tip: use the export function
by Nando Harmsen
-
 Pressing the black and white conversion button is never enough
by Nando Harmsen
15 comments
-
 Edwin wrote on Tuesday 24 June 2025 at 11:27 | reply
Nice tip, immediately gave some buttons their own function
Translated from Dutch. -
 MacBigfoot wrote on Tuesday 24 June 2025 at 11:39 | reply
I have an Olympus OM-D E-M-1 (Mark II).
Translated from Dutch.
It has 3 custom buttons.
Depending on whether I am going to do a special shoot the next day (landscapes, birds of prey recently), I choose a number of scenarios for which I then program the settings.
For the birds of prey, for example, I chose a portrait mode, a burst mode without tracking and a chest mode with tracking. During the shoot, for changing situations I only have to quickly turn the c-button.
The only difficult thing is that after a while I no longer know exactly what I have assigned to the c-buttons, or in what order. That is why I often make a cheat sheet on my phone with the date and subject the setting is intended for.
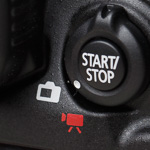
In addition, I can assign a separate function to certain buttons. Think back focus instead of AEL. I recently assigned the video button to assessing the depth of field using focus-speaking. -
 Donald Willemsen wrote on Tuesday 24 June 2025 at 12:05 | reply
I have adjusted the following buttons:
Translated from Dutch.
Shutter button->metering
BBF button-> autofocus
Mfn button-> quick switch onshot/servo
*button-> eye detection on/off
Focus point selection button-> raw burst mode
DoF button-> peaking on/off
There may be further adjustments to the buttons if experience shows that this is desirable. -
Donald Willemsen wrote on Tuesday 24 June 2025 at 15:21 | reply
In the end, I still adjusted the DoF button to H (high-speed shots).
Translated from Dutch. -
 ed van Hoof wrote on Tuesday 24 June 2025 at 17:52 | reply
This way I have the settings for when I work with a tripod under one button, and under another button the settings for when I photograph e.g. birds. Then I immediately have the right baseline and can adjust the rest on site depending on the light and weather.
Translated from Dutch. -
ed van Hoof wrote on Tuesday 24 June 2025 at 17:53 | reply
I would also like to have a button for the second curtain, but I haven't quite figured that out yet.
Translated from Dutch. -

-
 Bart Bart Rijvers wrote on Tuesday 24 June 2025 at 18:06 | reply
I use my Sony A7R4 with back button focus and I also have a few lenses without autofocus. 1 of the buttons is therefore 100% zoom and focus peaking is also in my quick menu. I usually shoot in Av mode with auto ISO. I have set 1 button to whether the shutter speed should be fast or slow. The camera compensates for the focal length with that shutter speed and adjusts ISO automatically for the correct exposure.
Translated from Dutch.
Furthermore, I use 2 custom modes of the mode selector:
1 = landscape Av mode, f/9 ISO 100 single shot
2 = sports mode 1/1250s mid speed burst ISO auto
When I photograph landscapes and a few birds happen to come along that I also want to photograph, I only have to switch from 1 to 2 and all the settings are already right straight away. -

 Fritsflow wrote on Tuesday 24 June 2025 at 23:11
| reply
Fritsflow wrote on Tuesday 24 June 2025 at 23:11
| reply
I keep it as simple as possible. What I use is shutter speed and aperture. ISO actually doesn't even belong in the exposure triangle. Furthermore 1 autofocus point, burst and VR under one button. That's it.
Translated from Dutch. -
-
Edwin wrote on Wednesday 25 June 2025 at 09:16 | reply
I actually consider ISO very important in the exposure triangle
Translated from Dutch. -
Fritsflow wrote on Wednesday 25 June 2025 at 10:34
| reply
Aperture determines the depth of field in addition to the amount of light that passes through. Shutter speed controls not only the amount of light but also how you capture movement. It is best to keep ISO at base, usually 100. Every adjustment has an adverse effect on image quality. Increasing ISO is nothing more than electronically amplifying the sensor signal. And that simply has no artistic effect. In the analog days, we didn't change the ISO ( ASA) for every shot either.
Translated from Dutch. -
MacBigfoot wrote on Wednesday 25 June 2025 at 14:36
| reply
With analogue photography, you indeed don't adjust the ISO for every photo. It can be done per roll, which is then called pushing, and that happens regularly. And pushing is done often enough to achieve an “artistic” effect, for example to get different contrast.
Translated from Dutch.
In addition, the grain will become more visible, comparable to the noise that increases in a digital image when the ISO is raised.
I don't want to discuss what is artistic and what isn't; there's no arguing about taste, one can even find a peanut butter floor artistic, or not. -
Nando
wrote on Wednesday 25 June 2025 at 20:13
| reply
Keeping the ISO at base limits you in your creativity. You choose the ISO to make the combination of aperture and shutter speed possible. The quality only deteriorates if you set the ISO higher than what the camera sensor can handle.
Translated from Dutch.
In short, if you compulsively want to keep the ISO at 100, it is no longer possible to use, for example, a very fast shutter speed for action, or use a very large depth of field when shooting handheld.
Holding on to what it was in the analog days, is not logical. We no longer photograph analog.
Moreover, You also chose a fast film back then if you wanted to use fast shutter speeds. 400ASA, or as already mentioned, expose 400ASA as 800ASA or 1600ASA and push process it. Even then, sensitivity was a tool for the exposure. -
Donald Willemsen wrote on Wednesday 25 June 2025 at 11:32 | reply
Edwin, although the discussion is completely beside the point: the ISO is to a certain extent the noise cannon of every camera????.
Translated from Dutch.
But you are right Edwin.
Have your say
Please note: Articles older than a week can only be commented on by signed-in visitors.Would you still like to comment? sign in or create a free account.
Become a better photographer every week
A practical photography tip in your inbox every week.
39,080 photography enthusiasts already receive the tips! More about the weekly mail. Or keep up to date via  Facebook.

Elja Trum
Photofacts; everything to do with photography!
Would you like to take better photos and keep up with what is happening in photography? Photofacts publishes articles that teach you something about photography — from a product announcement to a practical shooting tip or a look at a website. Photofacts covers photography every day and is a hobby project of Elja Trum's that got out of hand. The articles are written by a team of volunteer authors. If you would enjoy writing one or more articles for Photofacts, do get in touch.More about PhotofactsPhotofacts is made possible in part by
